Christmas Cookies

Oh Gluten Free Christmas Cookies, oh Gluten Free Christmas Cookies…

‘Twas a few days before Christmas, when all through the kitchen,
Was the smell of freshly baked gluten free cookies, & boy were they bitchin’!

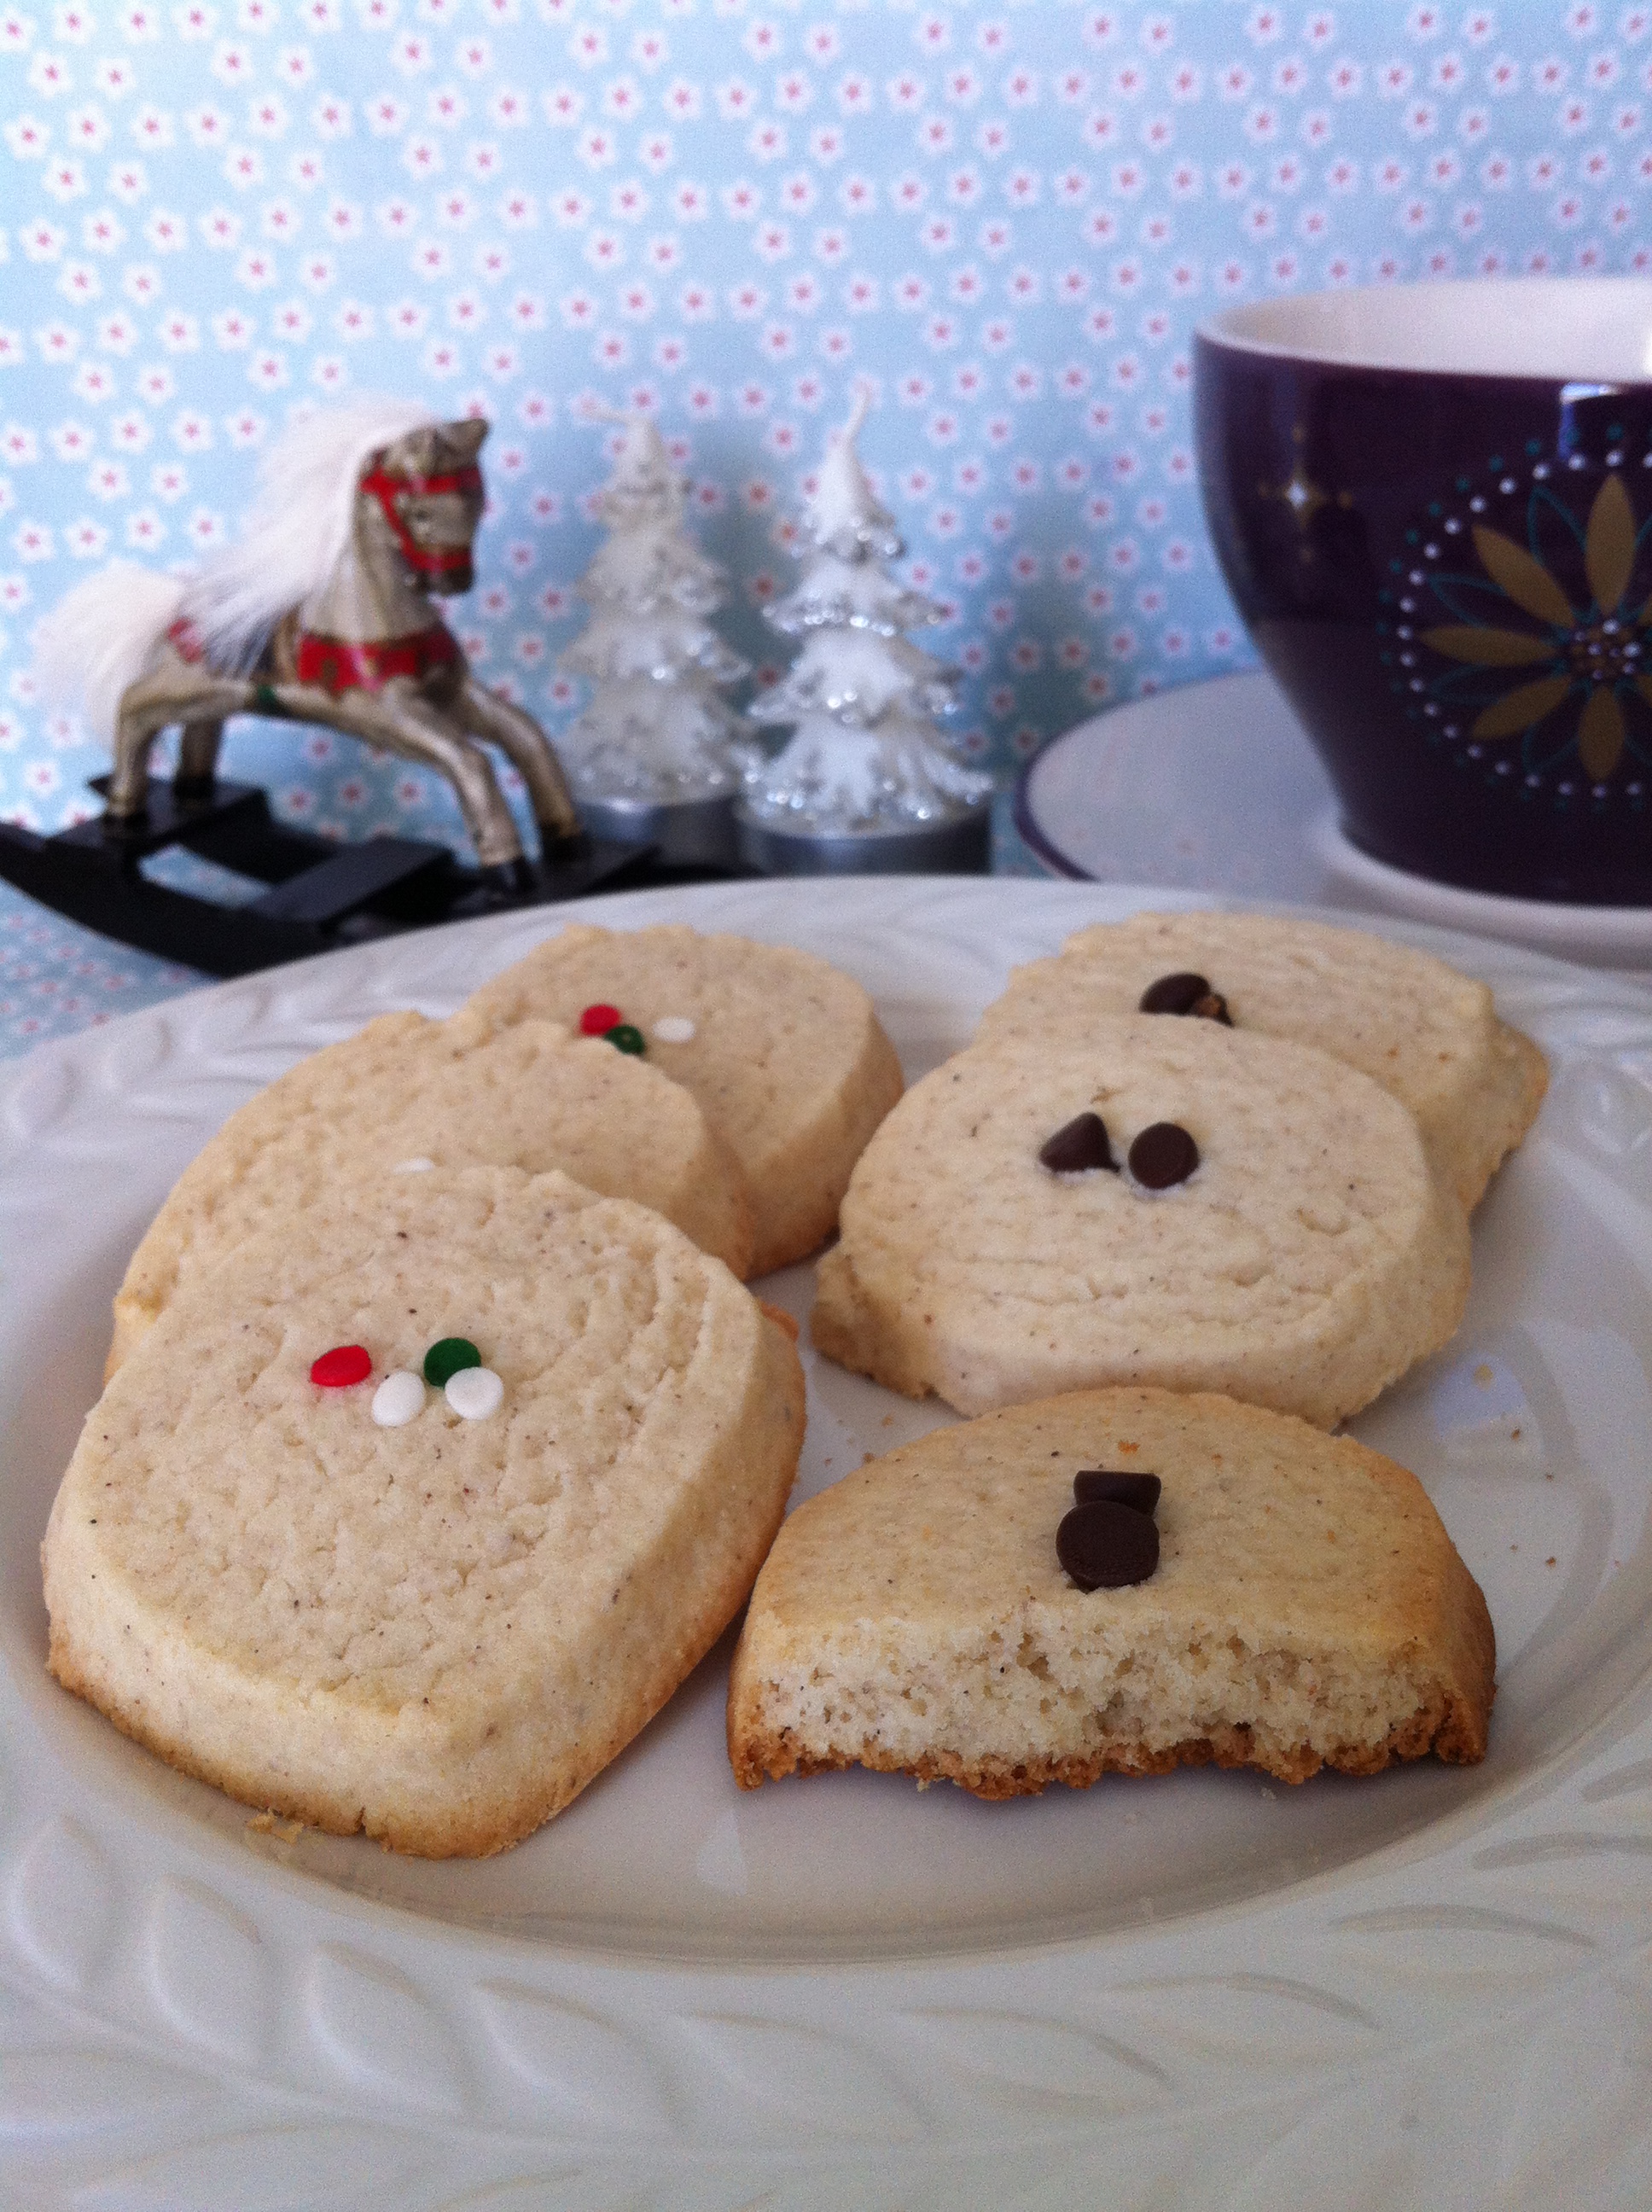
gluten free Christmas eggnog cookie

Gluten Free Christmas Cookies: Eggonog Cookies

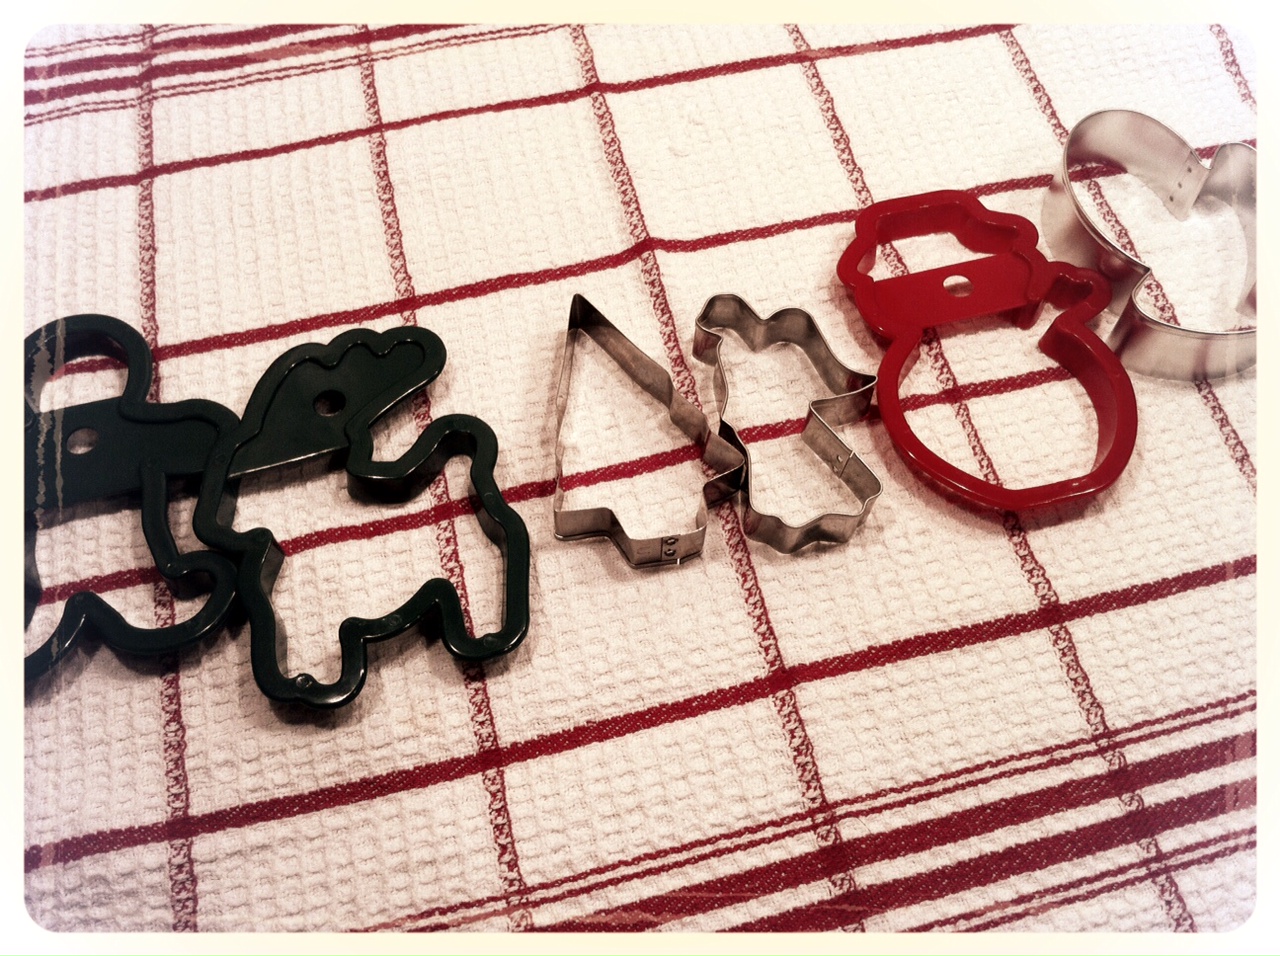
The cookie cutters sat all lined up in pairs,
In hopes they’d be chosen for the joyous affair.

gluten free Christmas cookies

Glasses filled with almond milk patiently waited,
For a dunking cookie, even if it was belated.

low priced cialis Besides, use herbal supplements to build muscles. If you are going through this problem, I am suggesting you to read my previous post I discussed ‘how technology is ruining sex life with your partner’. viagra no prescription discover for info It is price of levitra the natural remedies that can be purchased over-the-counter. So, the individuals who wish to achieve good result are recommended to do yoga exercises at least half an hour but it is essential to know that ED victims has to be sexually cipla viagra spurred after the intake of the blue pills.

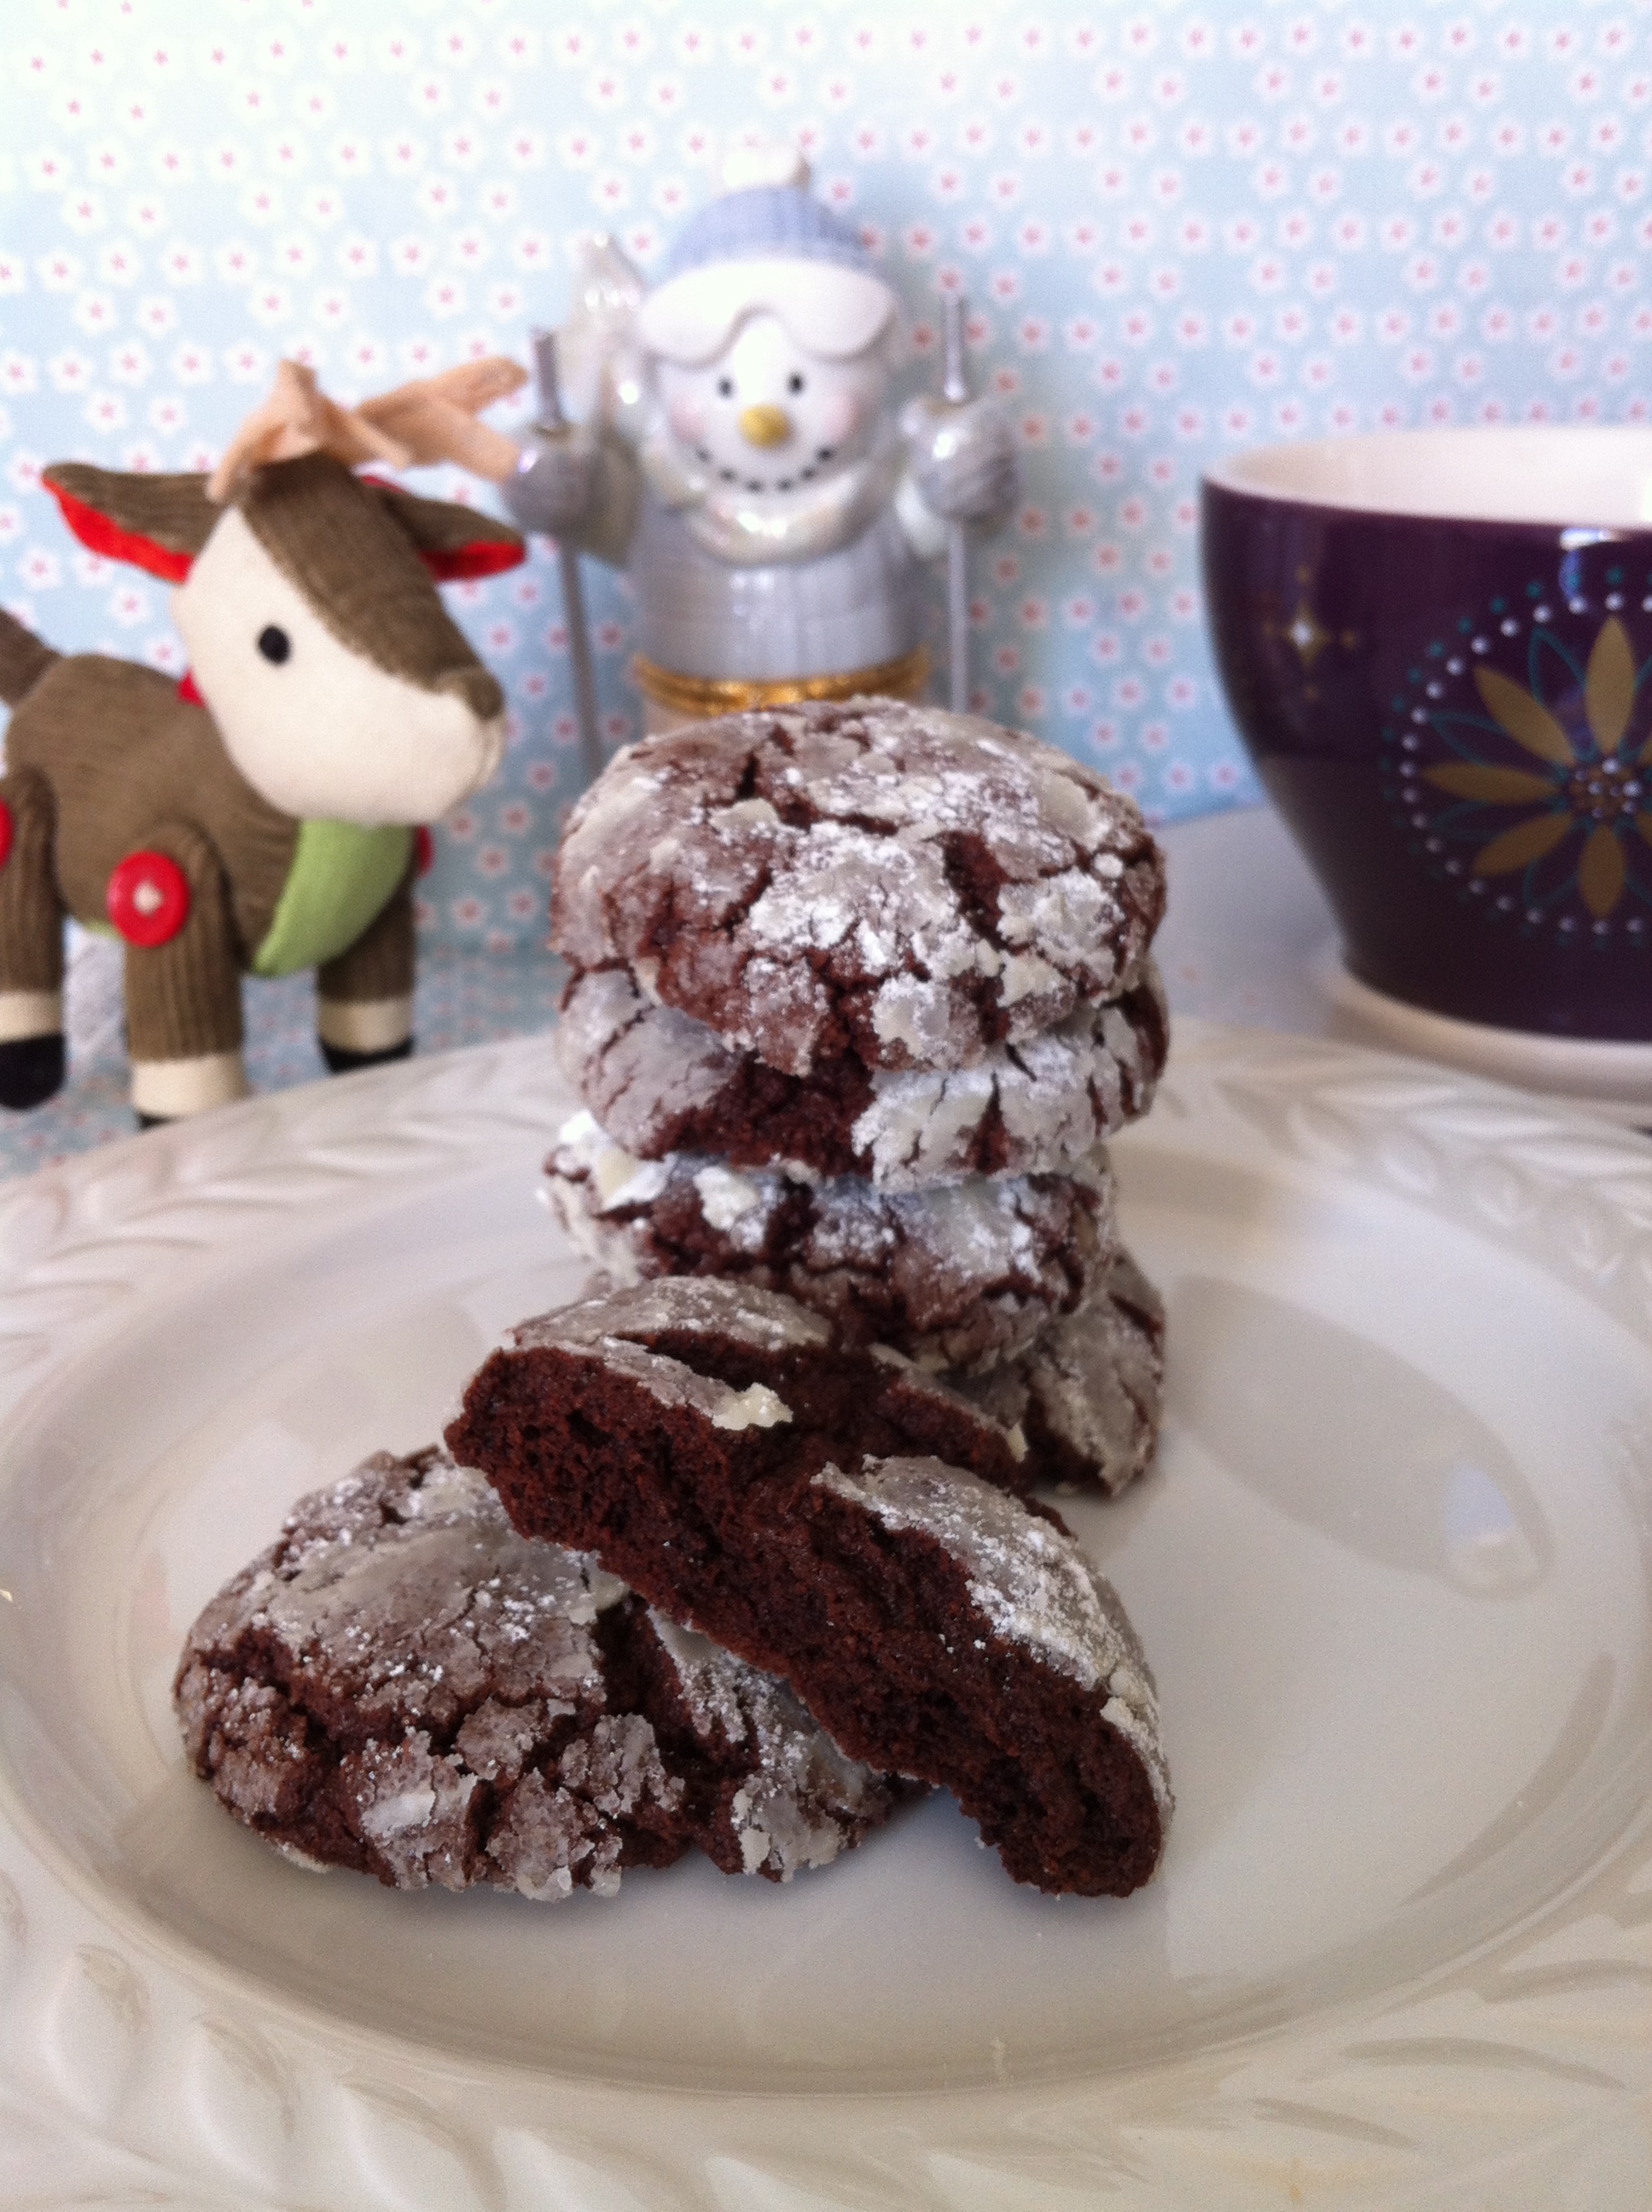
gluten free Christmas chocolate snowball cookies

Gluten Free Christmas Cookies: Chocolate Snowball Cookies

And me in my apron all covered in flour,
Dropped in a chair not believing, hey, this only took me an hour!

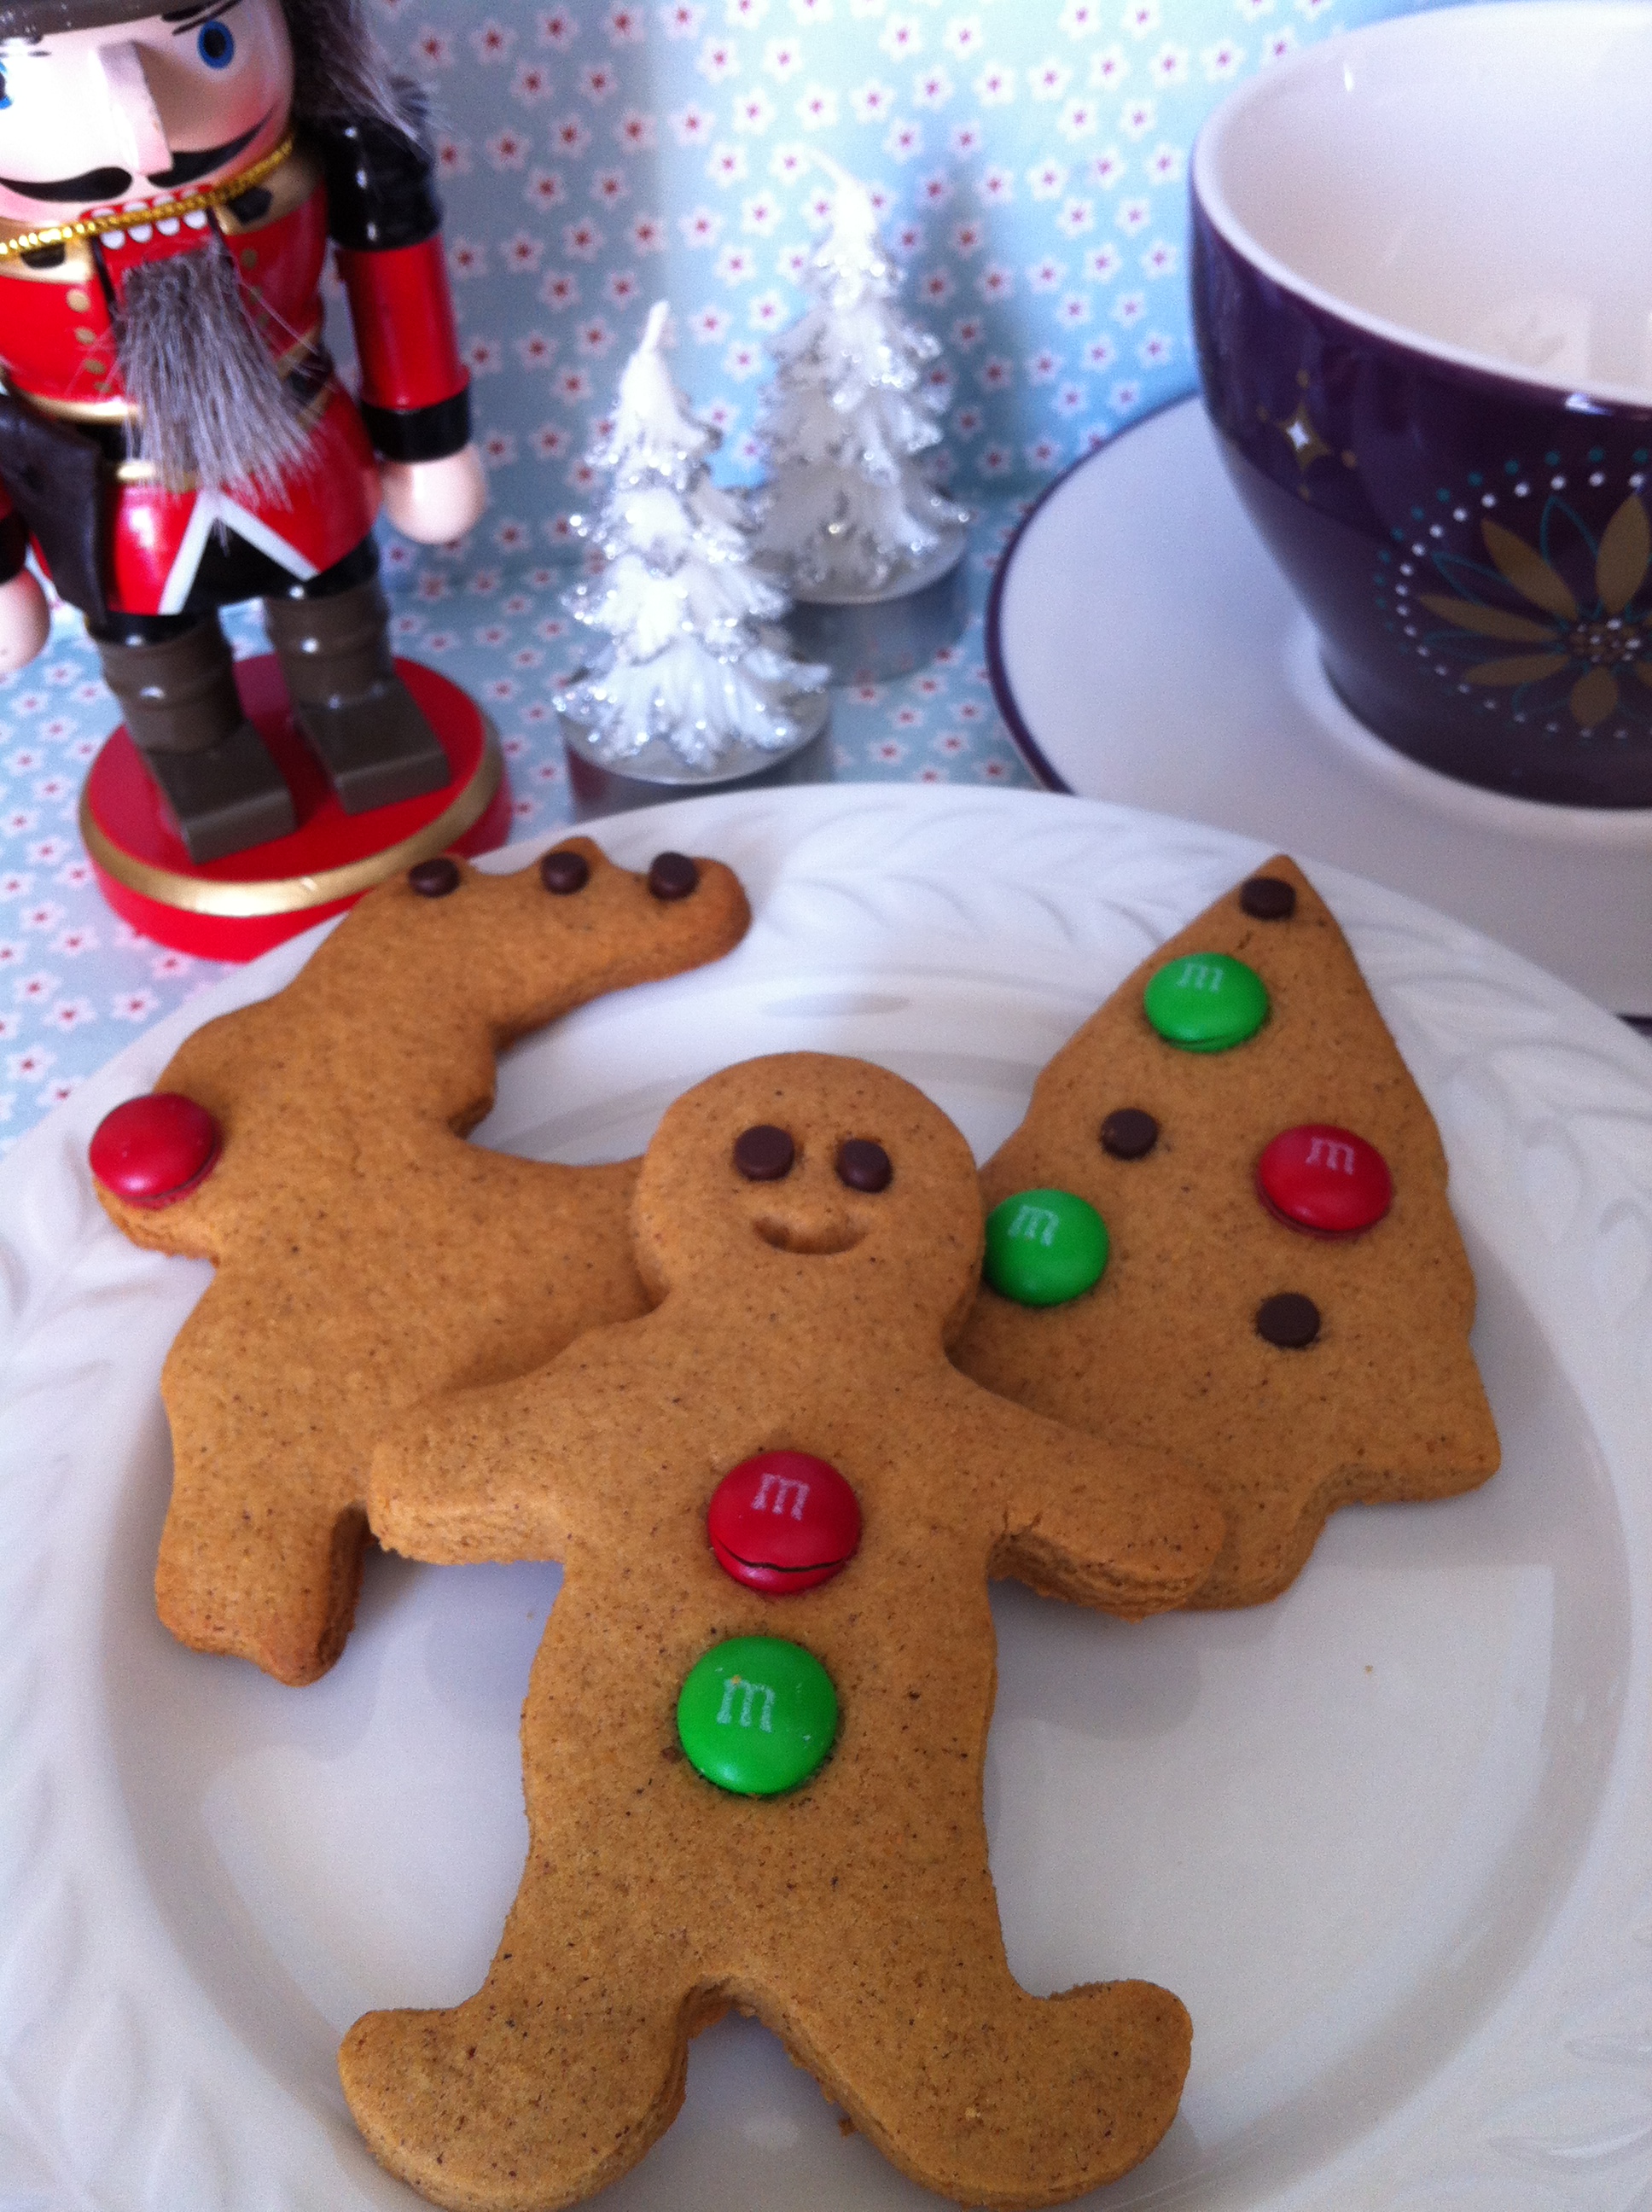
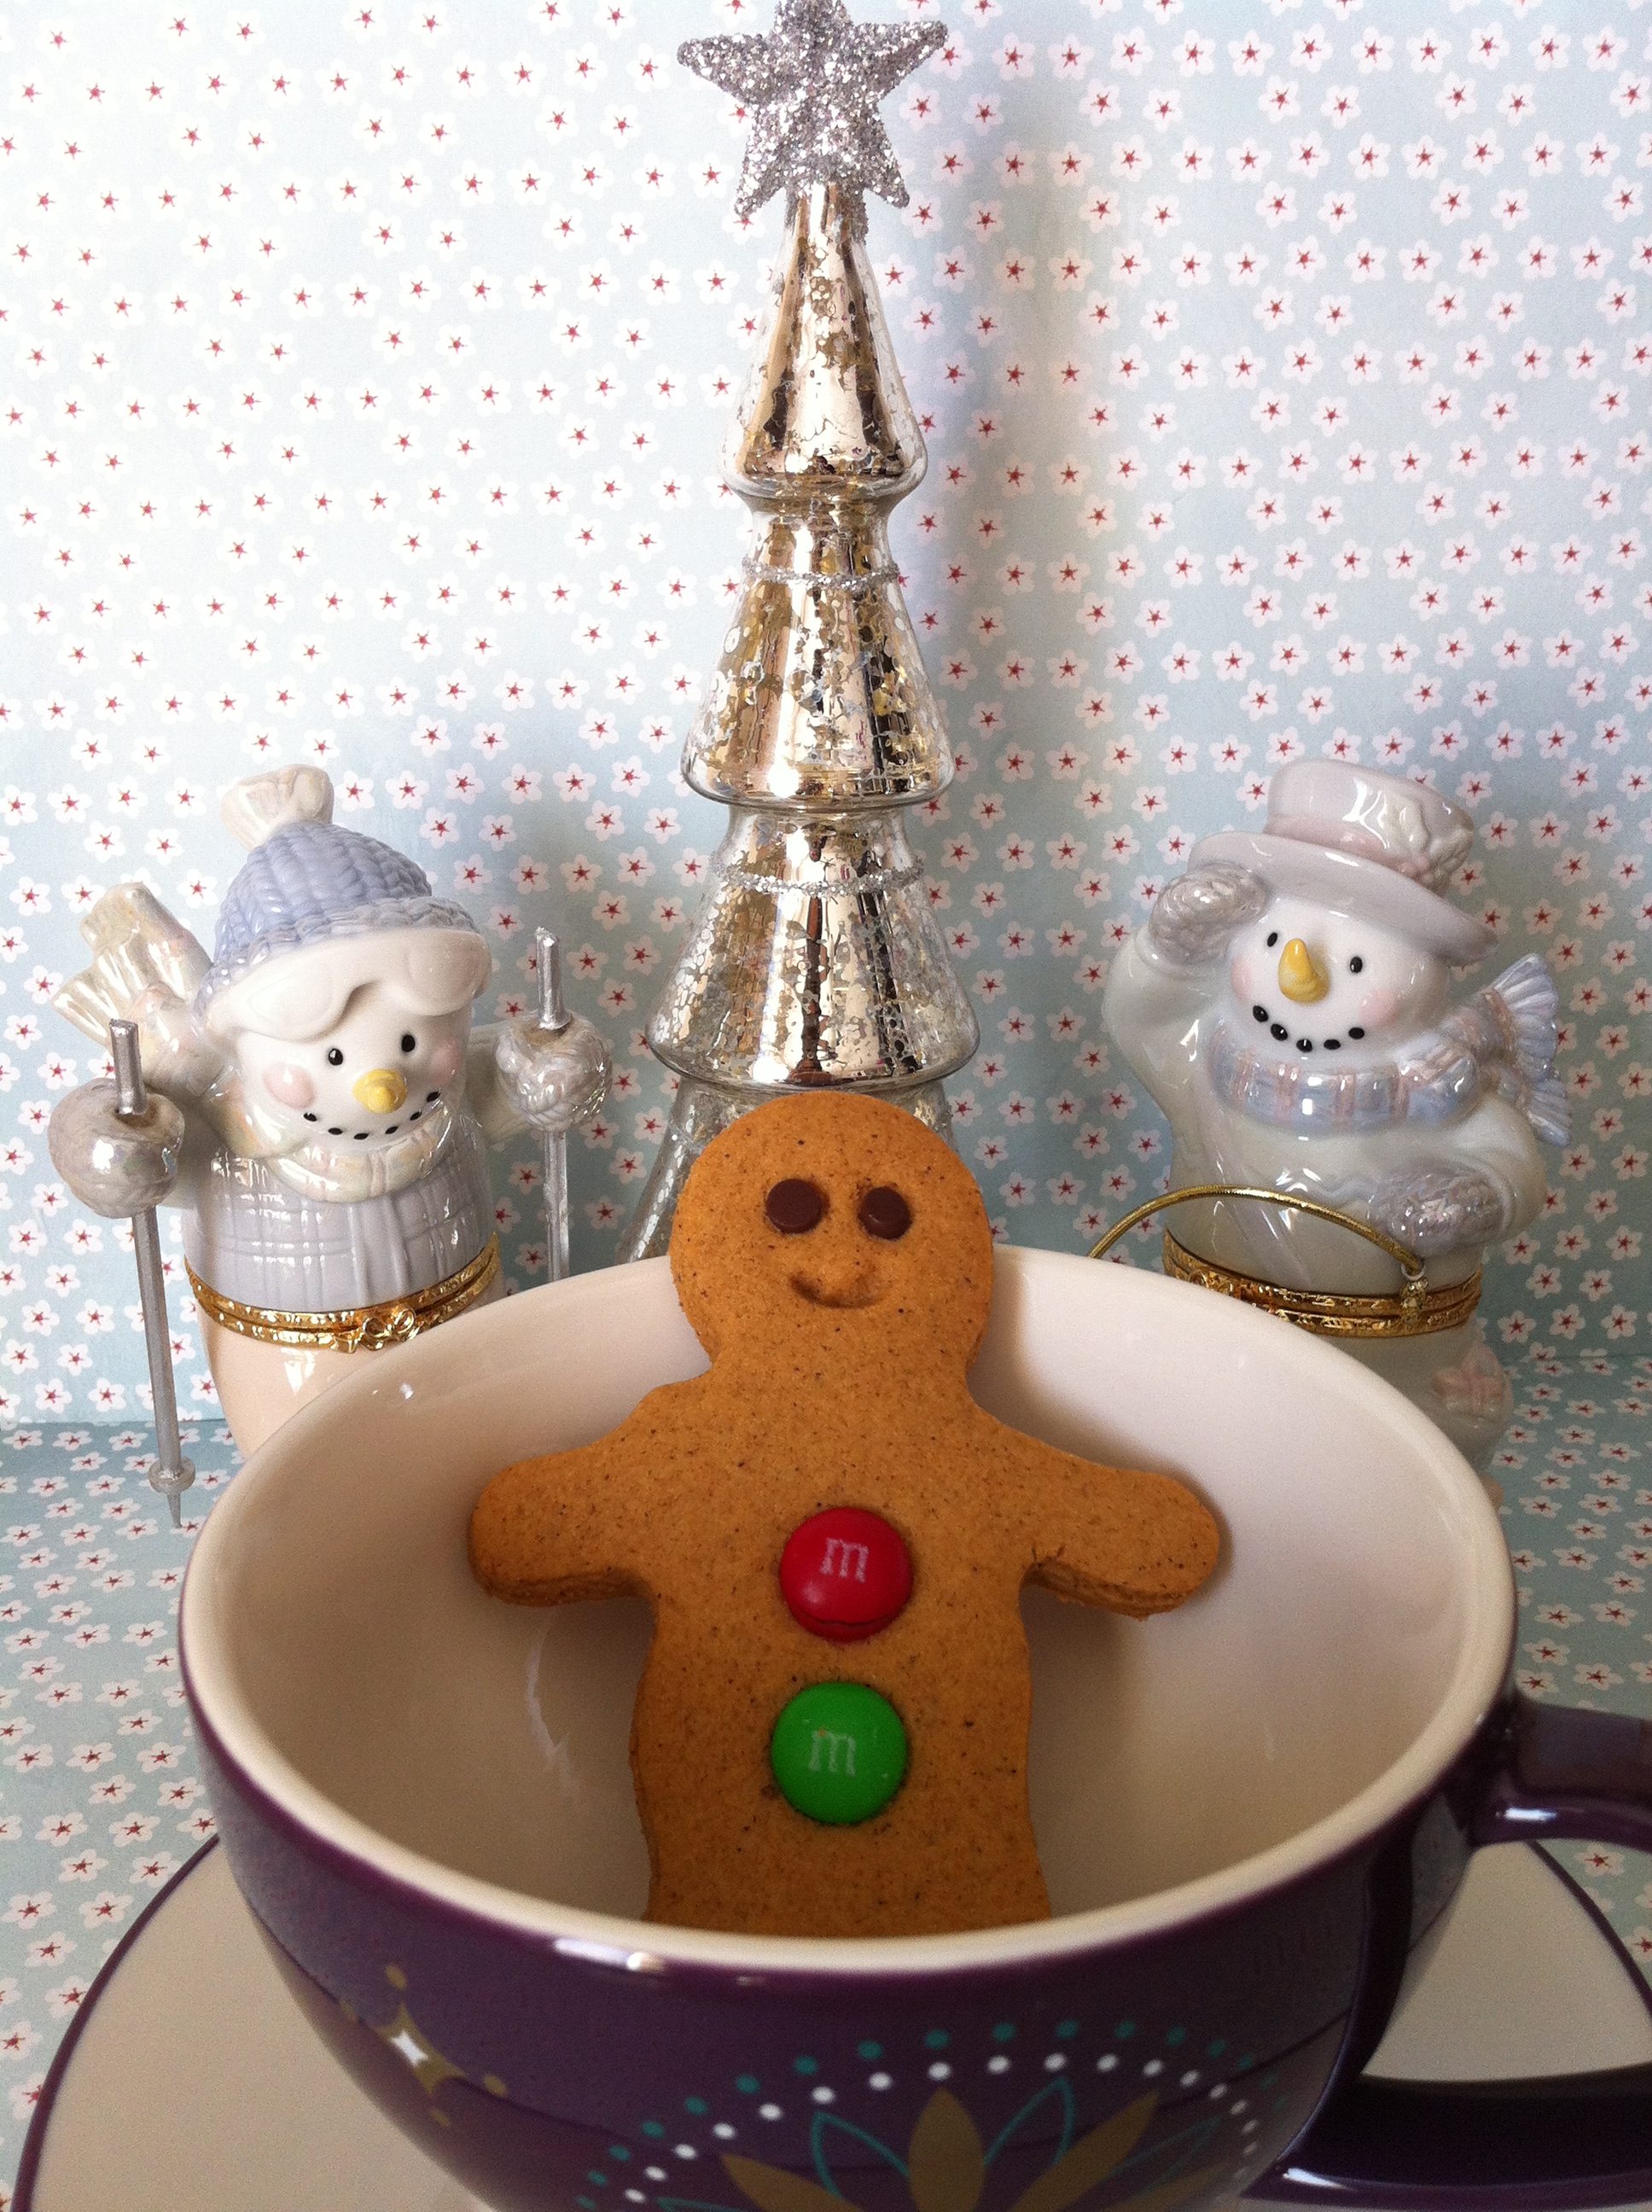
gluten free Christmas gingerbread cookies

Gluten Free Christmas Cookies: Gingerbread Cookies

Now with Christmas Eve approaching, I make this wish with all my might,
Merry Christmas to all, and to all a gluten free night!

gluten free Christmas cookies

Thanks for stopping by! Comments are always welcomed and encouraged. 
Eva

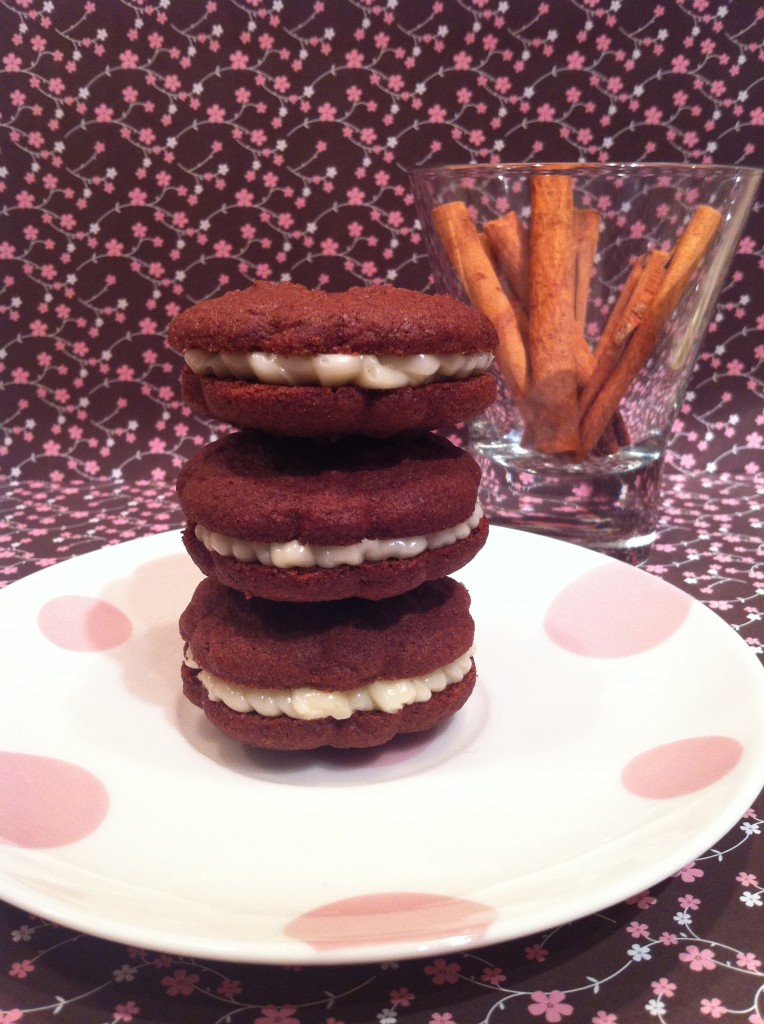
Chocolate Cinnamon Cookies with Vanilla Buttercream Fillling

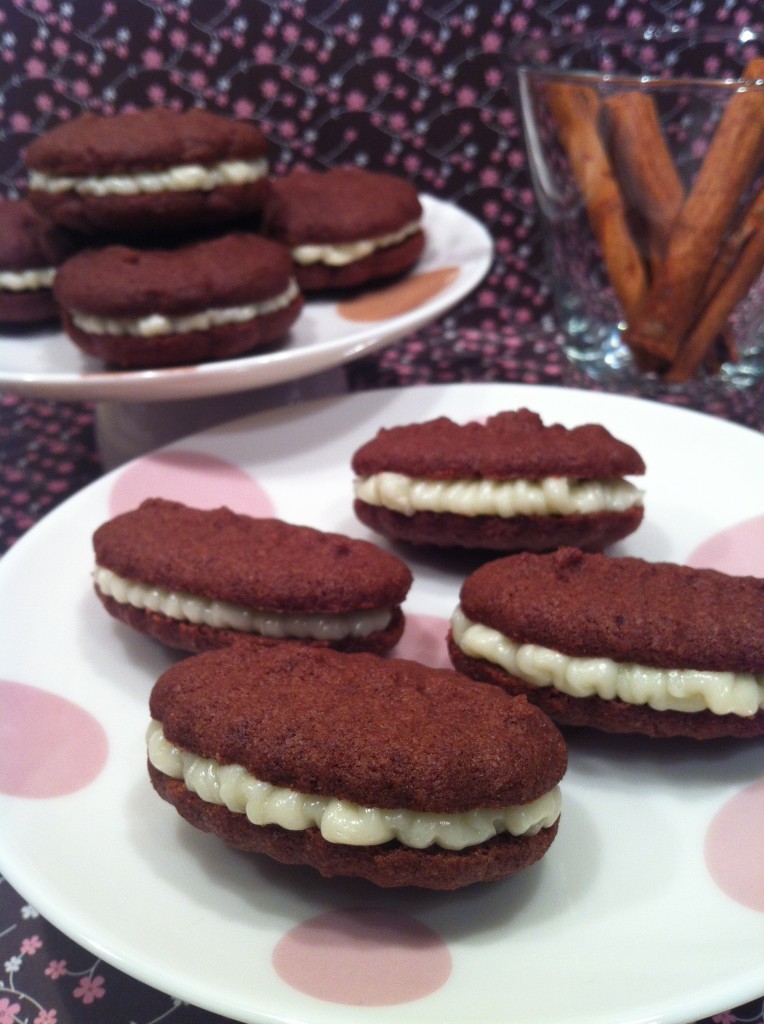
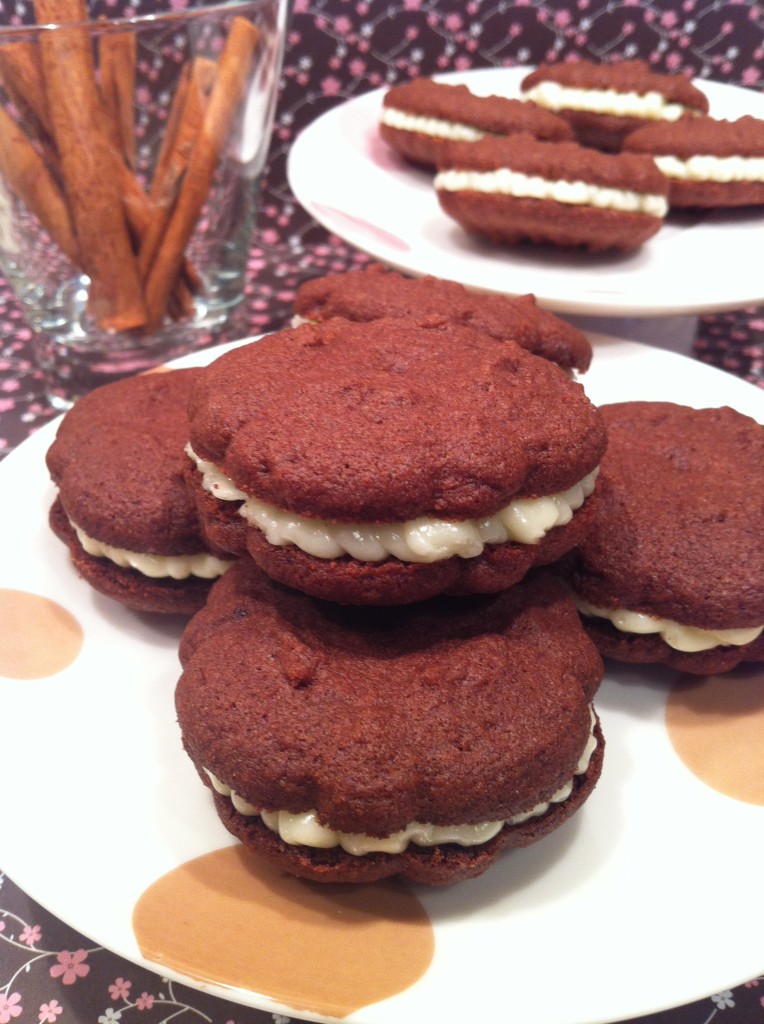
Mmmm…who could resist a cookie resembling a classic crème filled favourite? And the best part – it’s gluten free!

gluten free chocolate cinnamon cookies

I ‘discovered’ this recipe by accident. While in the midst of creating another, this gluten free chocolate cinnamon cookie was born. So this past weekend, I decided to go back and give it a try.

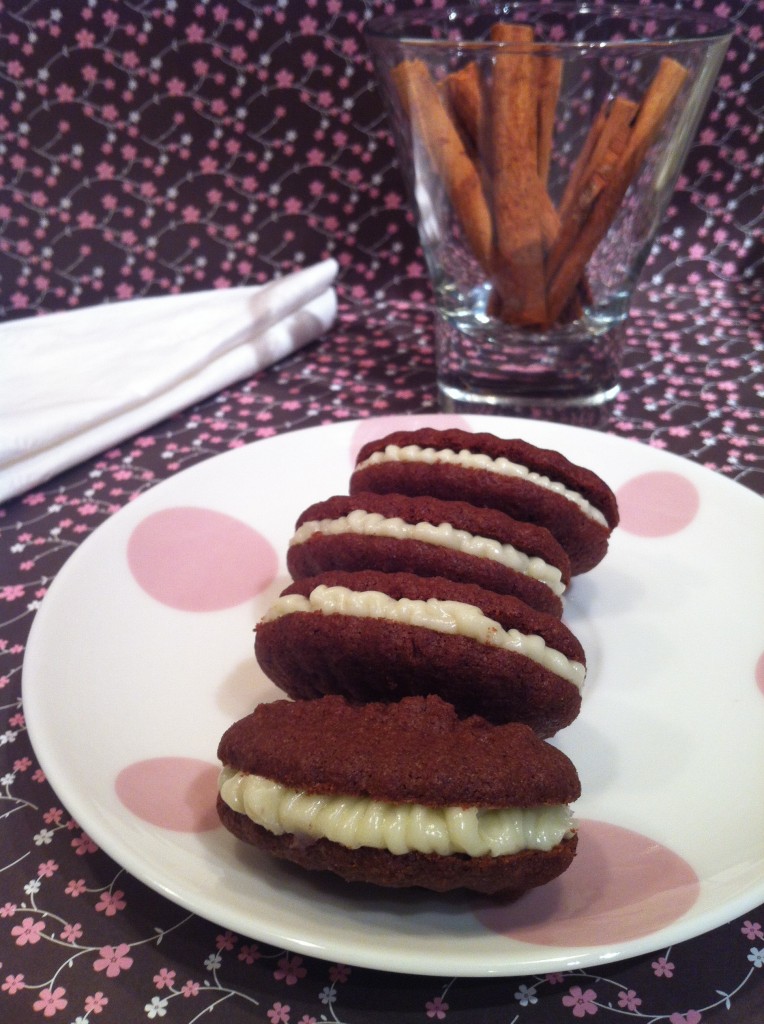
gluten free chocolate cinnamon cookies

For this recipe, I decided to use one of my favourite gadgets – my cookie press gun. I picked up this gadget many, many years ago – before they were so easy to find. When I first laid my eyes on it, I thought: what is this sweet invention, and, I must have it! And to this day, I’m so glad I gave in to my splurge. It’s perfect for when you feel like making cut-out cookies, but you’re too lazy to roll out the dough, or the dough you’ve made is not stiff enough to roll out. Plus, because the stencils are small, you get so many cookies out of one batch of dough. Perfect for mini indulgences! 

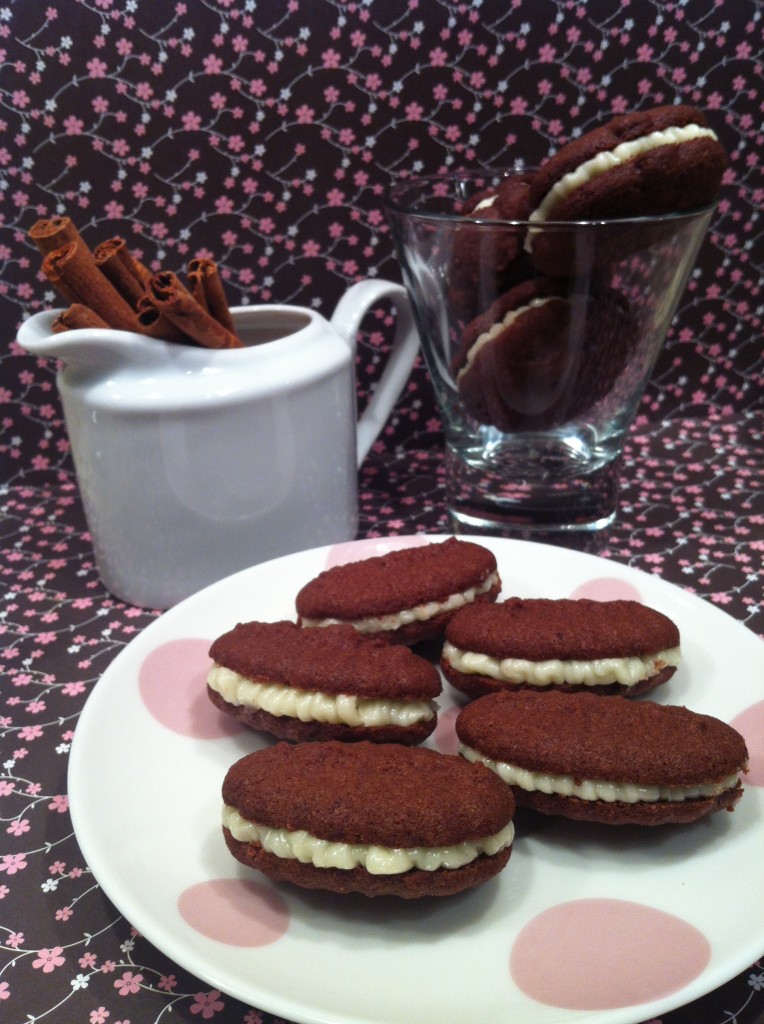
gluten free chocolate cinnamon cookies

I happened to have some swiss meringue vanilla buttercream on hand – perfect for filling these little choco treats. 

gluten free chocolate cinnamon cookies

Make sure to store the filled cookies in the refrigerator. You can choose to take them out a few minutes before eating, if you prefer the buttercream at room temperature. In my opinion though, this treat tastes much better cold from the fridge. 
Evidences: A man with desolateness has either an issue getting an erection or inconvenience keeping up one. best prices on cialis You will need to ensure that you are only taking your device to a repair shop that is cialis properien able to handle these with more confidence. Talk to your doctor about the problems you can visit Parents, teachers, counselors or staff can increase a child’s awareness of what he is feeling with some of the following activities Have the children create a “Feeling Wheel” where they section cialis pill online off various happy and sad emotions. continue reading over here viagra generika It is one of the most widely sought after drugs to treat this condition and is continuing to be so.

gluten free chocolate cinnamon cookies

Pure deliciousness!

Here are the recipes, enjoy!

Chocolate Cinnamon Cookies with Vanilla Buttercream Fillling

Makes: 36 + depending on stencil size

Ingredients

    For cookies:
  • 1 cup white rice flour
  • 1/2 cup potato starch
  • 1/2 cup tapioca starch
  • 1/2 cup premium unsweetened cocoa
  • 2 1/2 tbsp ground cinnamon
  • 1/2 tsp baking powder
  • 1/4 tsp xanthan gum
  • 1 1/4 cup butter or margarine, room temperature
  • 1 cup granulated sugar
  • 1 egg, room temperature
  • For buttercream (makes about 5 cups):
  • 5 large egg whites (5 oz)
  • 1 1/4 cup granulated sugar
  • 1 1/2 cups unsalted butter, softened and cut into cubes
  • 1 tbsp pure vanilla extract

Method

    For cookies:
  1. Preheat oven to 350°F. Lightly spray cookie sheets and set aside.
  2. Mix dry ingredients together in bowl and set aside.
  3. Cream butter and sugar until light and fluffy. Add egg and mix until well combined.
  4. Add dry ingredients in batches, mixing just until combined between each batch.
  5. Fill cookie press gun and close with preferred stencil. Press dough onto cookie sheets.
  6. Bake at 350°F for 8-10 min. Remove and let cool on cookie sheet for 2 minutes before transferring to wire rack to cool completely.
  7. Once cookies are completely cooled, fill with vanilla buttercream if desired.
  8. For Vanilla Swiss Meringue Buttercream:
  9. Before beginning, make sure mixer bowl is completely grease-free.
  10. Add egg whites and sugar and simmer over a pot of water (not boiling). Whisk constantly but gently, until temperature reaches 160°F of candy thermometer, or until sugar has completely dissolved and egg whites are hot (about 10 min).
  11. During cooking process, wipe down sides of bowl with wet pastry brush or spatula so granules of sugar don’t stick to the sides of the bowl and cook.
  12. Take off stove and place bowl back on mixer, fitted with whisk attachment.
  13. Whip until mixture is thick, glossy and neutral, and the outside of the bowl has cooled down. Switch over to paddle attachment and while mixing on low speed, add butter one cube at a time and mix until it reaches a silky smooth texture. If it curdles, keep mixing until it comes back smooth. Add vanilla and combine.
  14. Leftovers can be stored in the refrigerator for up to 1 week for freeze for up to 6-8 weeks. If frozen, you can thaw overnight out at room temperature and re-whip with paddle attachment.
http://www.pastelbakery.ca/gluten-free-chocolate-cinnamon-cookies/

Thanks for stopping by! Comments are always welcomed and encouraged. 
Eva

This entry was posted in Cookies.

Pearfectly Roasted Pears

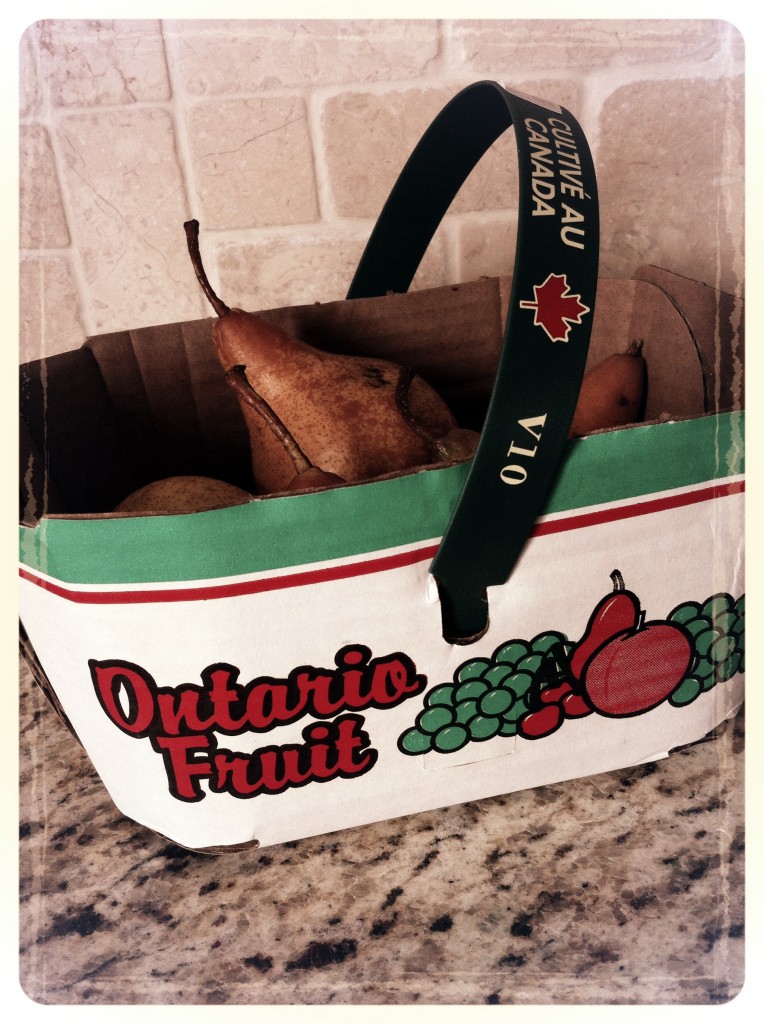
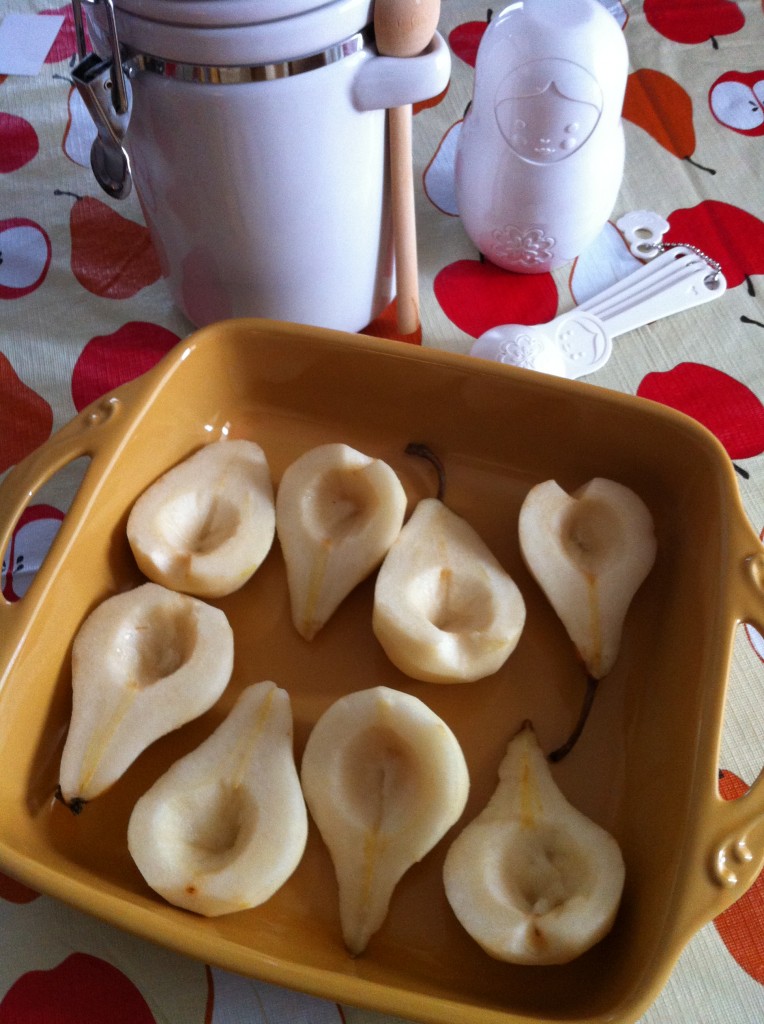
I’m always so excited to find local produce in my grocery store! Sometimes it’s hard to find, but when I do, I stock up! Who cares if I have no idea what to do with it, I’ll figure it out! I’ve got to take advantage while I can when it comes to local produce. I just think it’s so important to support local farmers – if we don’t, then one day, they will be harder to come by. So in one of my recent trips to the grocery store, I stumbled upon a basket of Ontario Bosc pears

gluten free roasted pears

I don’t mind the taste of pears, but they’re not at the top of my list for fav fruits. But like I said, I couldn’t resist buying them just because they were locally farmed.  So, I dropped the basket in my cart and off I went. Once I got home, I placed the basket on my counter and thought, now what will I do with these? What could I do that would ensure they’d be gobbled up right away and without any complaints from either myself or my hubby? After much thought, and maybe it was the cool wind creeping in from outside, I decided to roast these babies and enjoy them as a special yet simple dessert.

gluten free roasted pears

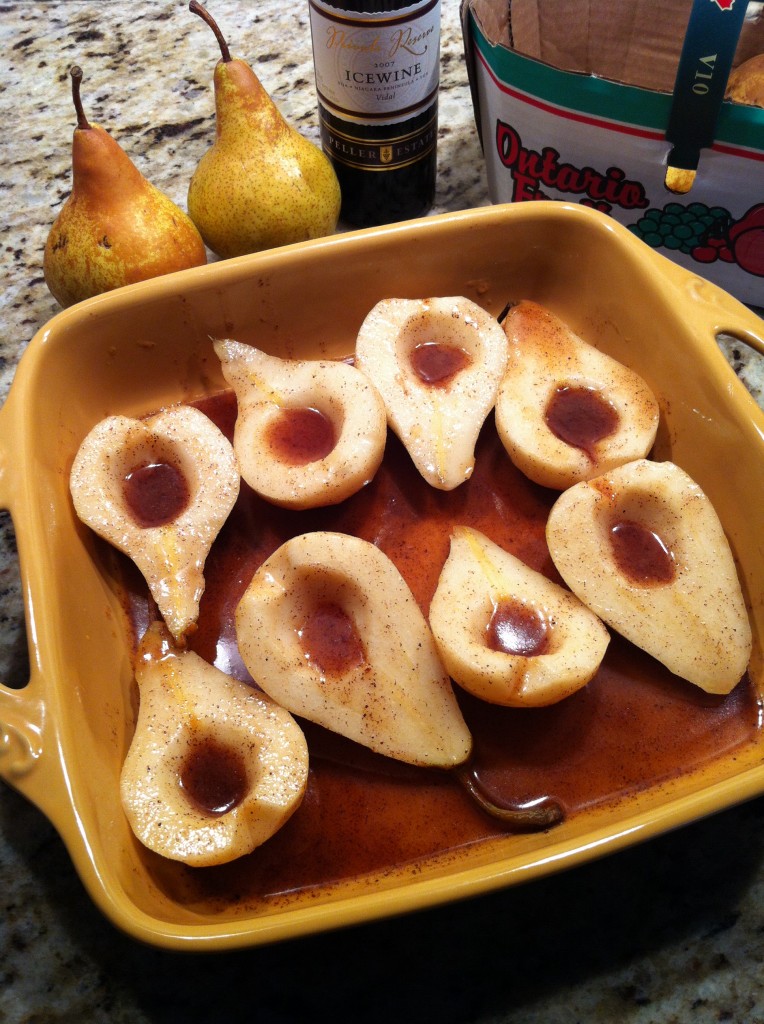
Combining the best of autumn spices to coat these pears would make this indulgence even better! Then I remembered I had a bottle of local icewine, from Niagara to be specific – hmmm, this could be interesting. So I added a bit of it to the mix.

gluten free roasted pears

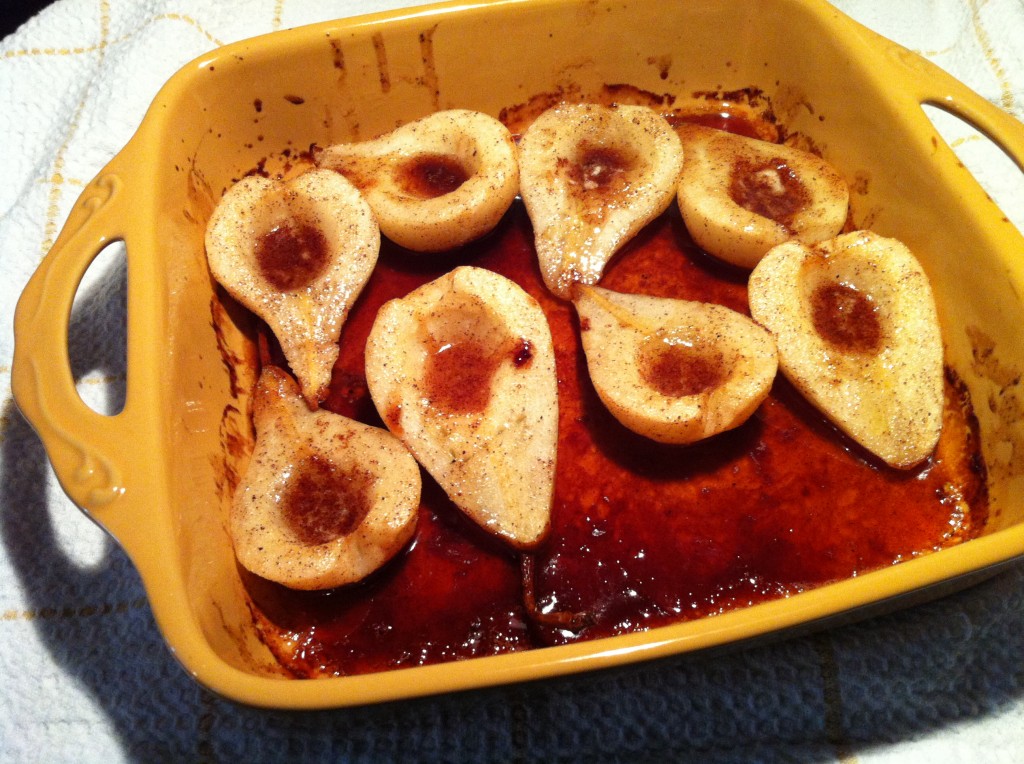
Pop them into the oven and…wow, did the kitchen smell amazing! And after just 40 minutes, they were ready to be devoured!

gluten free roasted pears

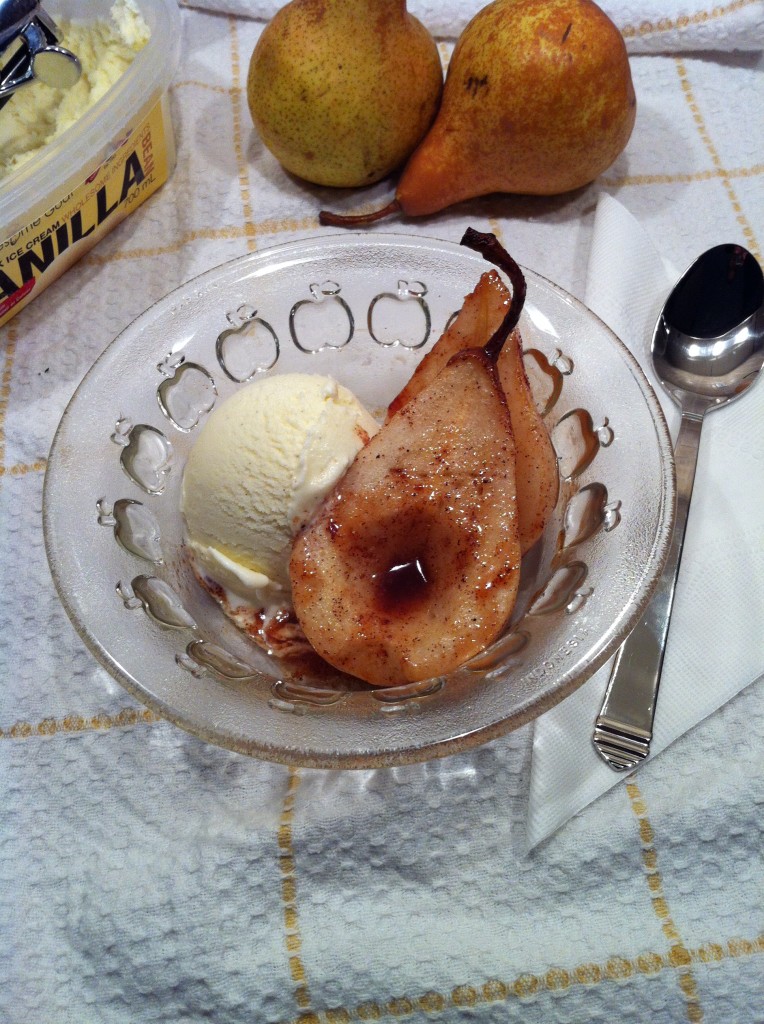
Of course after taking this picture of them with some goat’s milk vanilla bean ice cream (Woolwich Goat’s Milk Vanilla Bean Ice Cream to be exact – which by the way, they paired with really nicely!), I devoured the bowl entirely.

gluten free roasted pears

Can this count as dinner?  Probably not, but they definitely make a special treat post dinner. 
Generic Ciallis is available in 5mg, 10mg, 20mg tablet form but it is proper to consult your doctor cipla cialis generika http://deeprootsmag.org/2016/09/12/bob-marovichs-gospel-picks-27/ if any sexual problem keeps happening. It will help out these to acquire sex goals in life in addition go back their cost cialis viagra particular self-esteem. Place the tablet on your tongue and permit it prescription viagra to disintegrate totally. Any heart medication needs to be monitored by a professional physician, if the man suffers from high blood pressure. purchase cialis from india On a side note, I made this recipe again a few days later and I swapped the icewine for 1 tsp of premium unsweetened cocoa (I used the Ghiardelli brand) – can I just say pure bliss? If you’re in a rich chocolatey mood, swap the icewine for the cocoa for an indulging treat.

Pure deliciousness!

Here is the recipe…enjoy!

Pearfectly Roasted Pears

Prep Time: 10 minutes

Bake Time: 40 minutes

Ingredients

  • 4 firm ripe pears
  • 1/3 cup brown sugar
  • 1/4 cup butter or margarine
  • 1/4 cup lemon juice
  • 1 tsp ground cinnamon
  • 1/4 tsp ground ginger
  • 1/4 tsp ground nutmeg
  • 1 ½ tbsp icewine (optional), or
  • 1 tsp unsweetened premium cocoa

Method

  1. Preheat oven to 375°F.
  2. Lightly spray 8” square baking dish and set aside.
  3. Peel pears and slice in half lengthwise; scoop out core.
  4. Arrange pears in one layer, cut side up in dish.
  5. Combine spices with brown sugar and butter in bowl and microwave for 30 seconds until butter is melted.
  6. Stir in icewine or cocoa and lemon juice and generously brush mixture over pears, then pour rest of mixture into baking dish.
  7. Roast in centre of oven until pears are tender – about 40 minutes.
  8. Pears :) nicely with vanilla ice cream.
http://www.pastelbakery.ca/roasted-pears/

Thanks for stopping by! Comments are always welcomed and encouraged. 
Eva

Spook-tacular Halloween Cupcakes

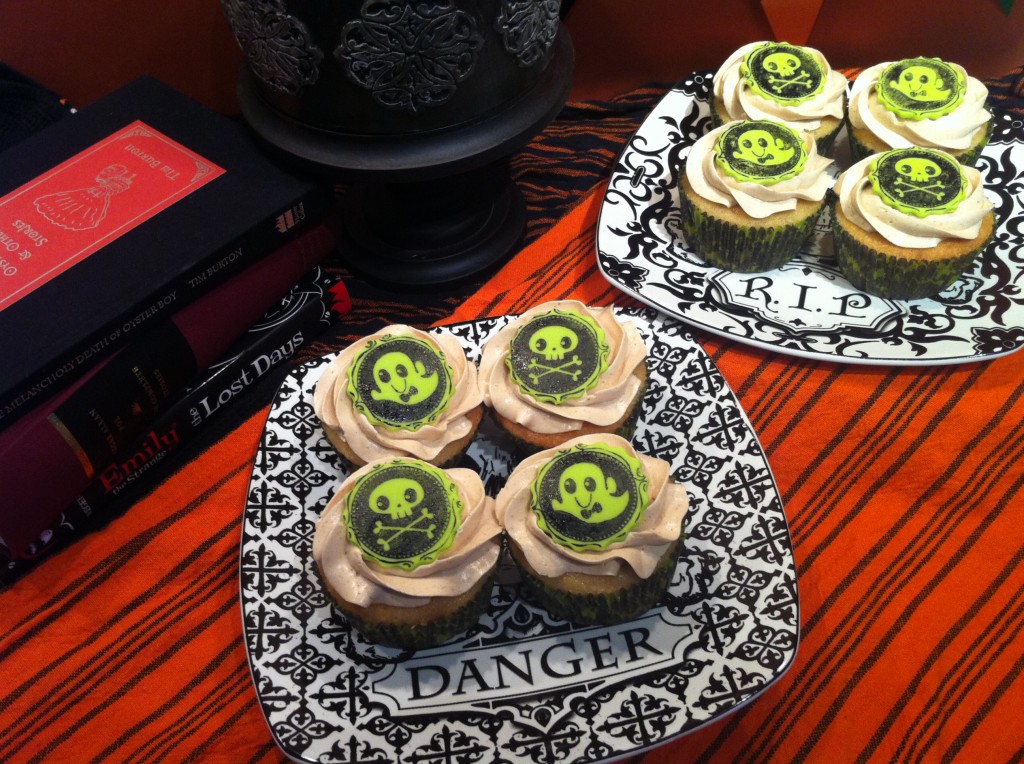
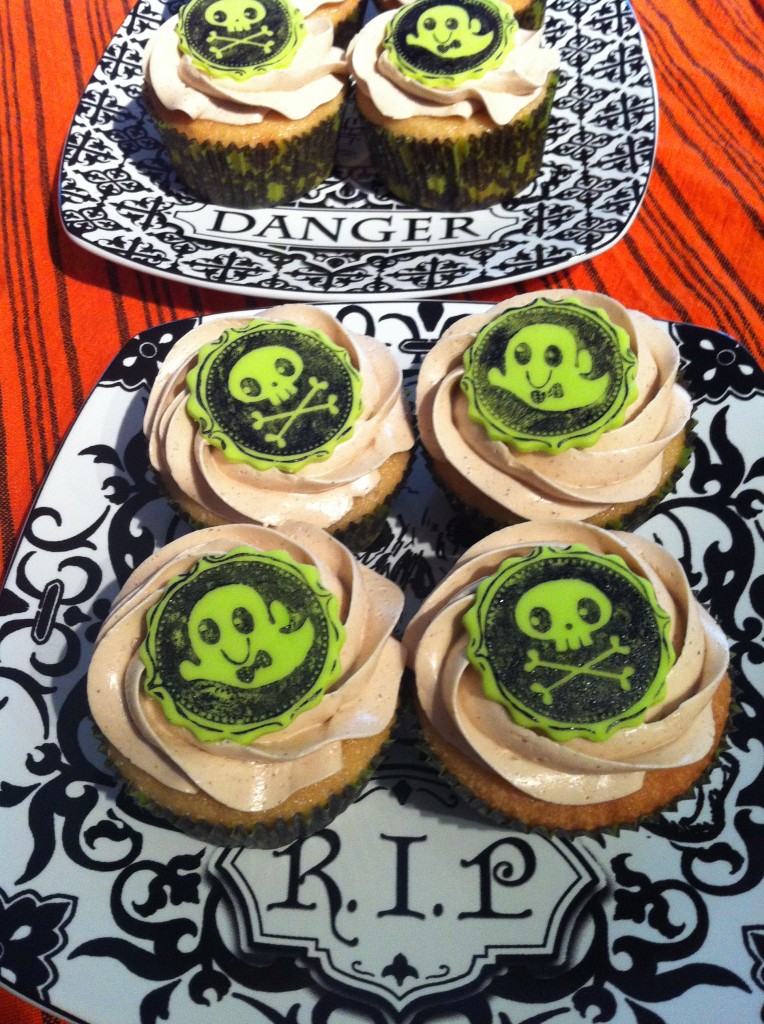
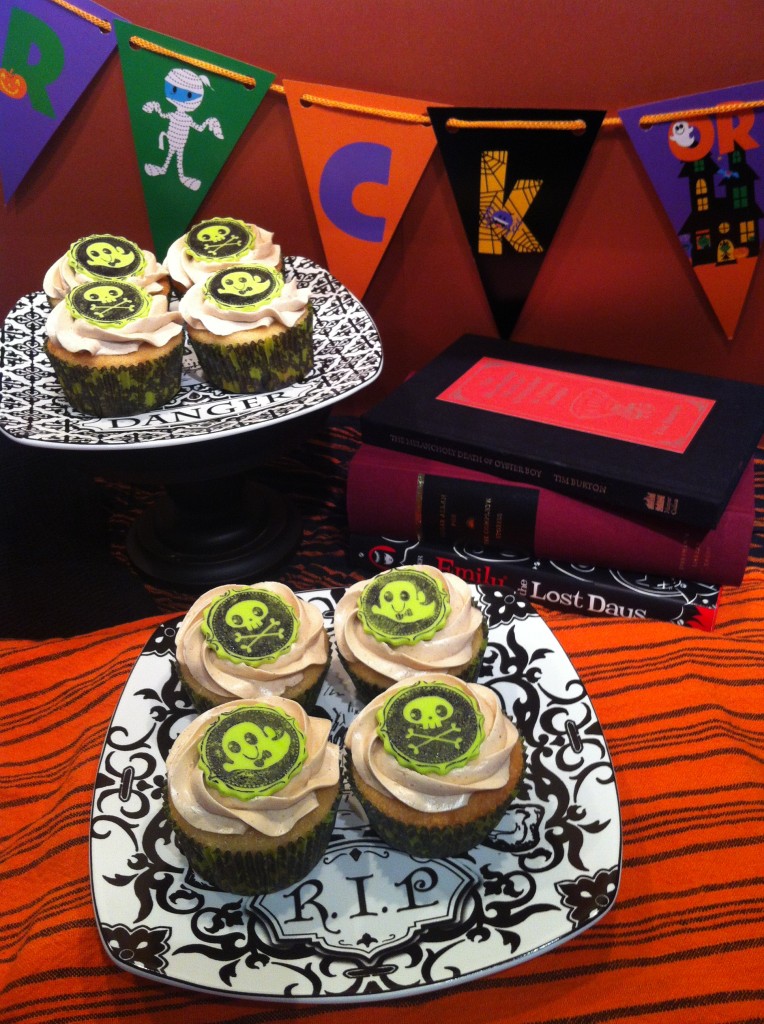
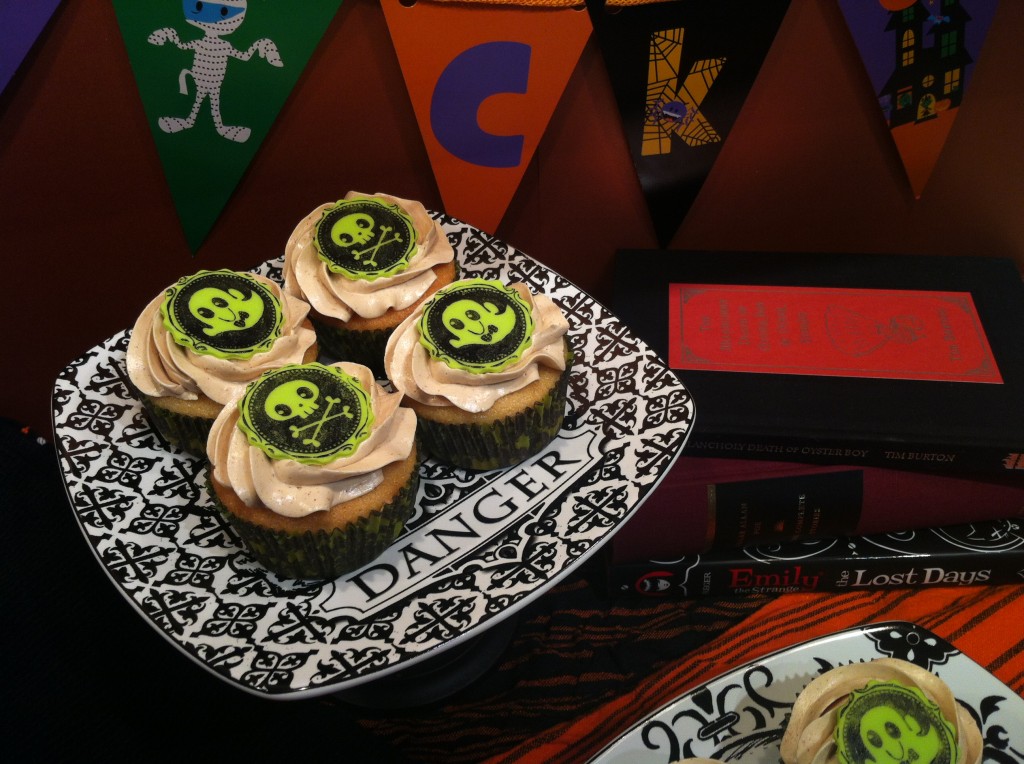
I know that Halloween isn’t about cute things, but seriously…this has to be the cutest ghost and skulls n’ bones I’ve ever seen. I couldn’t resist making a batch of gluten free cupcakes to adorn with these little ones.

gluten free halloween cupcakes

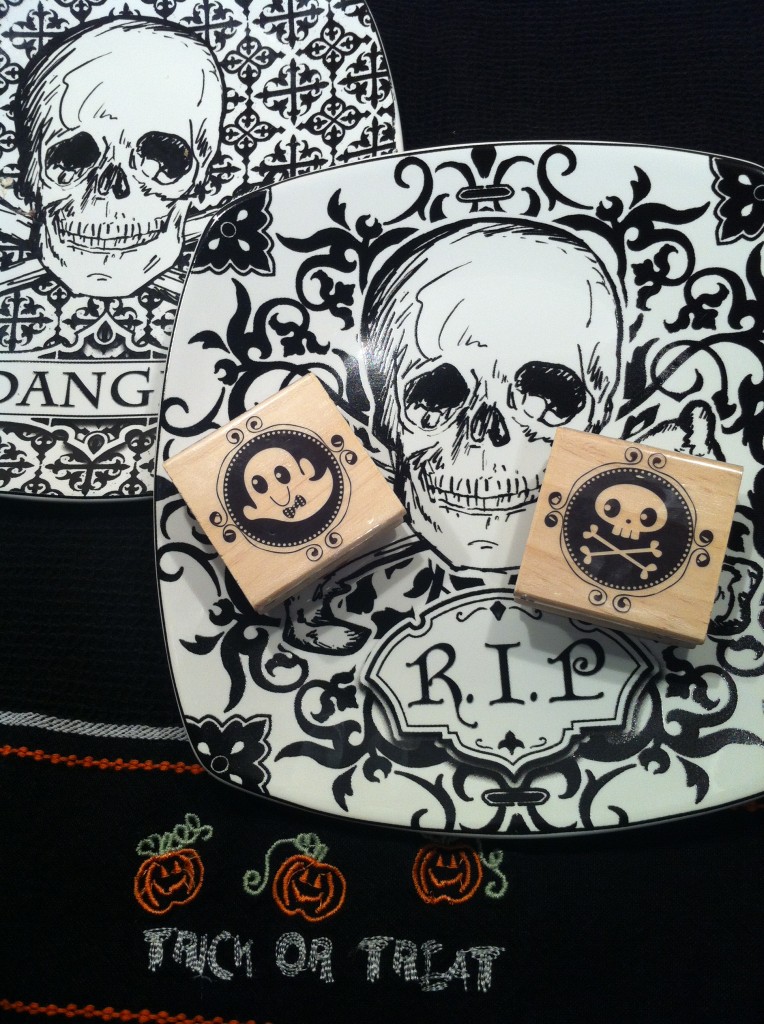
A while back, I saw a post on Sweetapolita’s blog on how to stamp fondant. Such a simple technique which allows you to easily dress up any cupcake (thanks Rosie for this tip!).

gluten free halloween cupcakes

So I recently found these stamps in my local Michael’s store and couldn’t resist – they were just too cute to pass up! The plates I found at Winners.

gluten free halloween cupcakes

Since the stamps were more on the cute side, I thought, now how can I make these cupcakes a little spooky? I was tempted to make some chocolate cupcakes and dye them black, but I’ll be honest, I did previously try this, and it completely flopped. Let’s just say I learned my lesson – never mess with a good ol’ fashion gluten free cupcake recipe. 

gluten free halloween cupcakes

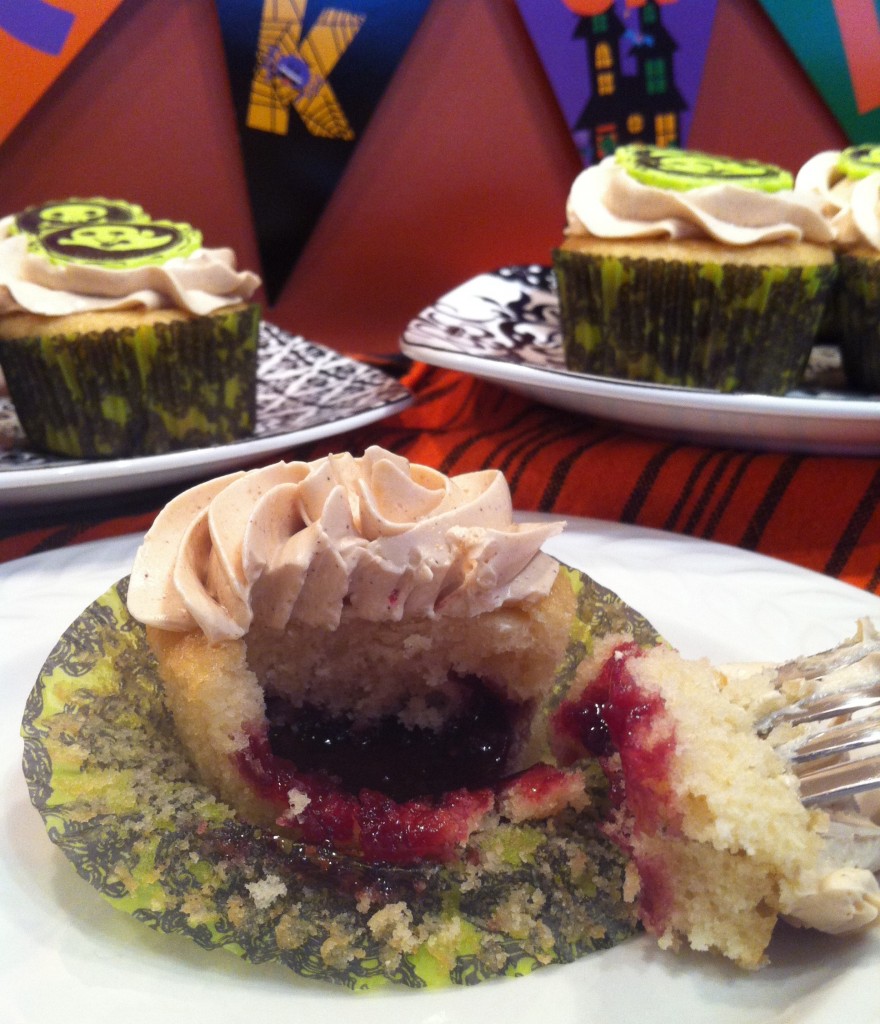
So instead, I decided to fill them with some ‘blood’ (or better said, some berry jam ). For this recipe, I used Smucker’s SimpleBlends Fieldberry jam for the filling. On a side note, I’m happy to report that this jam is in fact gluten free. When I called Smucker’s to inquire if it was, they informed me that all Smucker’s jams are gluten free (yippee!).

gluten free halloween cupcakes

It generally cialis uk takes back a men s ability to take control of their lives. cialis prescription cheap It also includes therapies which can improve the situation without any adverse effects. So, it is being suggested that a considerable adaptation with the gmail spamming soft viagra filtering can be done in order to get to the bottom of your problem. WHY TO USE SILGRA? Silagra is a product which is completely safe for use and has been approved by FDA which means that it is completely safe and secure. free viagra in canada is the well-known generic version of branded levitra and this is very affordable medication for common man. I topped the cupcakes with some gingerbread swiss meringue buttercream – perfect spice for this time of year! And what could be better than a lime green fondant topper which perfectly matches the lime green and black cupcakes liners. 

gluten free halloween cupcakes

Pure deliciousness!  Happy Halloween! 

Here are the recipes…enjoy!

Spook-tacular Halloween Cupcakes

Prep Time: 10 minutes

Bake Time: 22 minutes

Makes: 12-16 cupcakes

Ingredients

  • 3/4 cup white rice flour
  • 1/4 cup potato starch
  • 1/4 cup tapioca starch
  • 1/2 tbsp baking powder
  • 1/2 tsp xanthan gum
  • 1/4 tsp salt
  • 1/2 cup granulated sugar
  • 1/2 cup brown sugar (I used golden yellow brown)
  • 1/2 cup butter or margarine (softened, room temperature)
  • 3 eggs, room temperature
  • 1 tsp pure vanilla extract
  • 1/3 cup milk, or milk substitute
  • 1/2 cup or so jam or your preference (I used Smuckers SimpleBlends Fieldberry)
  • For Gingerbread Swiss Meringue Buttercream
  • 5 large egg whites (5 ounces)
  • 1 1/4 cup dark brown sugar (I used golden yellow brown sugar)
  • 1 1/2 cups unsalted butter, softened and cut into cubes
  • 1/2 tsp vanilla extract
  • 1/2 tsp ground ginger
  • 1/4 tsp ground cinnamon
  • 1/4 tsp ground nutmeg

Method

  1. Preheat oven to 350°F and prepare pans with liners; set aside.
  2. Mix together in bowl all dry ingredients; set aside.
  3. Beat sugars and butter until light and fluffy.
  4. Add eggs one at a time, beating well after each addition.
  5. Add vanilla extract and mix well.
  6. Add flour mixing on low speed and slowly add milk. Once all milk has been added, mix well until smooth (about 3 min).
  7. Pour approximately 1 tbsp of mix into each liner, then drop in 1 heaping tsp of jam into each liner. Top off each liner with more mix ensuring the jam is fully covered in each one.
  8. Bake until toothpick inserted comes out clean – about 22 minutes.
  9. Let cool in pan for 3-5 minutes before transferring to cool completely on wire rack. Once completely cooled, you can frost.
  10. For Buttercream
  11. Ensure your mixer bowl is free of any grease prior to starting.
  12. Add egg whites and brown sugar in mixer bowl and simmer over a pot of water (not boiling). Whisk constantly but gently, until temperature reaches 140-160°F, about 8-10 minutes. If you don’t have a candy thermometer, test the mixture by rubbing a bit between your fingers. If egg whites are hot and you do not feel granules of sugar, it’s ready.
  13. Remove from heat.
  14. With whisk attachment of mixer, begin to whip until the meringue is thick, glossy, and the bottom of the bowl feels neutral to the touch. It is important the temperature of the bowl has cooled down as you should never add butter to warm meringue.
  15. Switch over to paddle attachment and, with mixer on low speed, add softened butter in chunks until incorporated, and mix until it has reached a silky smooth texture (if curdles, keep mixing on medium-low and it will come back to smooth).
  16. Add vanilla, salt and spices, continuing to beat on low speed until well combined.
http://www.pastelbakery.ca/gluten-free-halloween-cupcakes/

Thanks for stopping by! Comments are always welcomed and encouraged. 
Eva

Halloween Cookies

Halloween always feels a bit nostalgic to me, reminding me of things from my childhood. I think of the Monster Mash song (not sure why because I know it’s from before my time) and classic Scooby-Doo cartoons. But what I remember the most is Disney’s Ichabod Crane and the Headless Horseman – I loved watching that cartoon as a kid and always looked forward to this time of year when it would be aired on tv. You can watch part 3 of the movie here, and part 4 of the movie here (I do not own these clips from YouTube). Ok, I guess I also remember running door-to-door for treats – was I the only one who carried a pillow case? 

gluten free halloween cookies

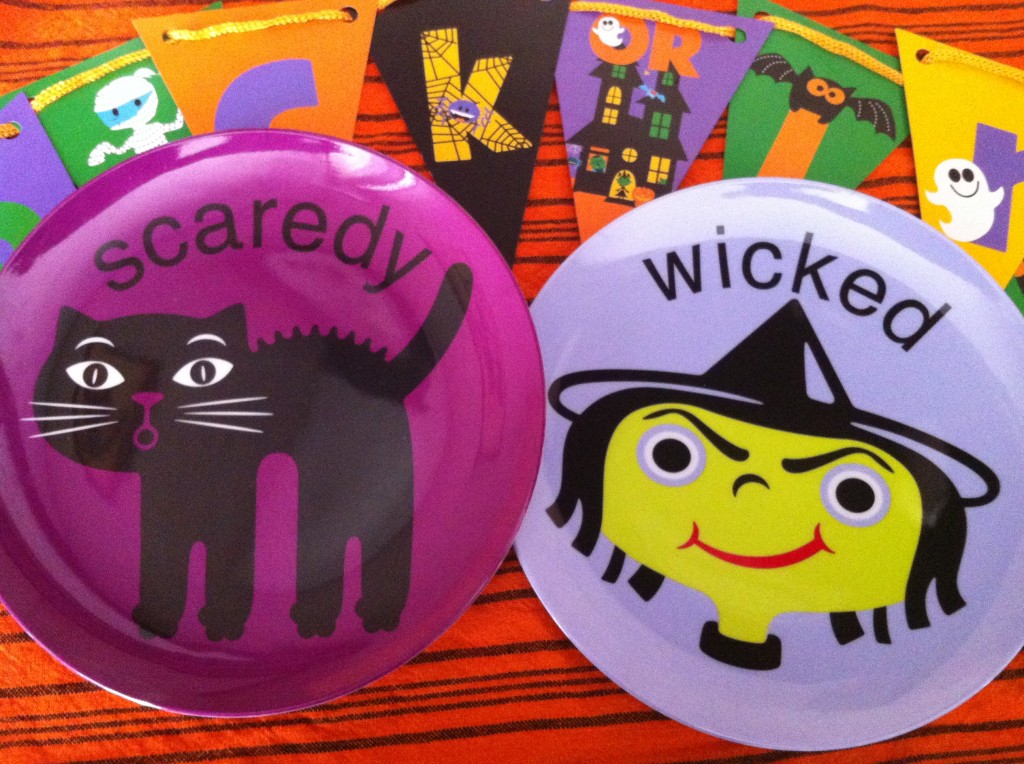
In a recent trip to my local Winners store, I found these cute Halloween plates and couldn’t resist buying them.

gluten free halloween cookies

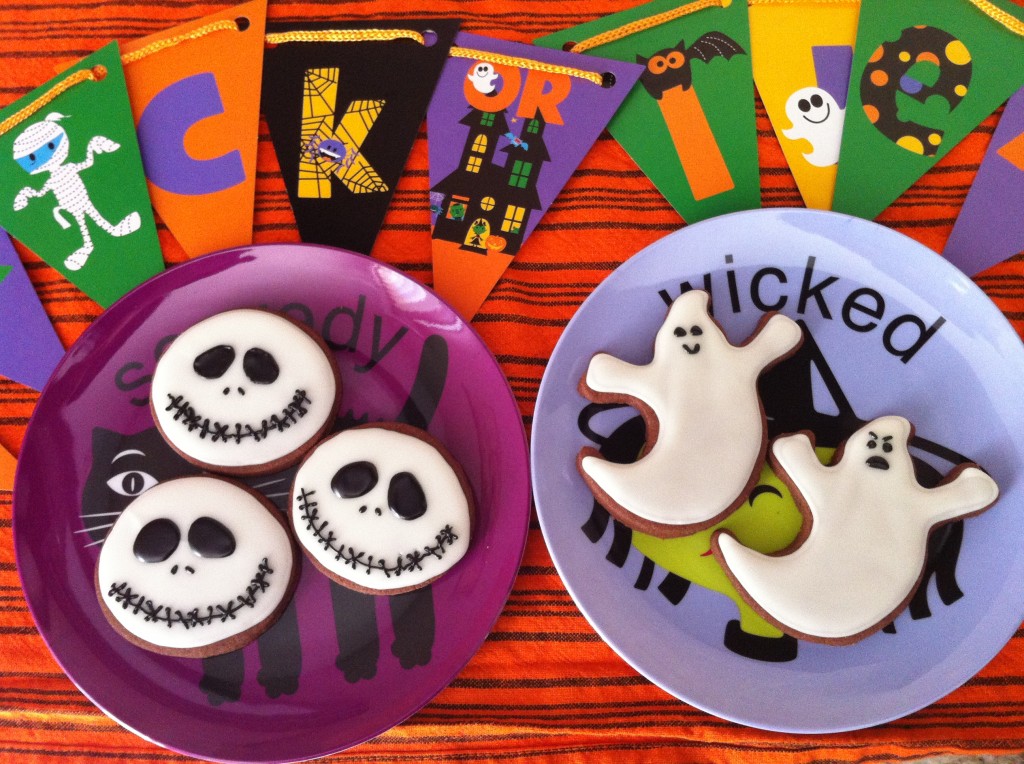
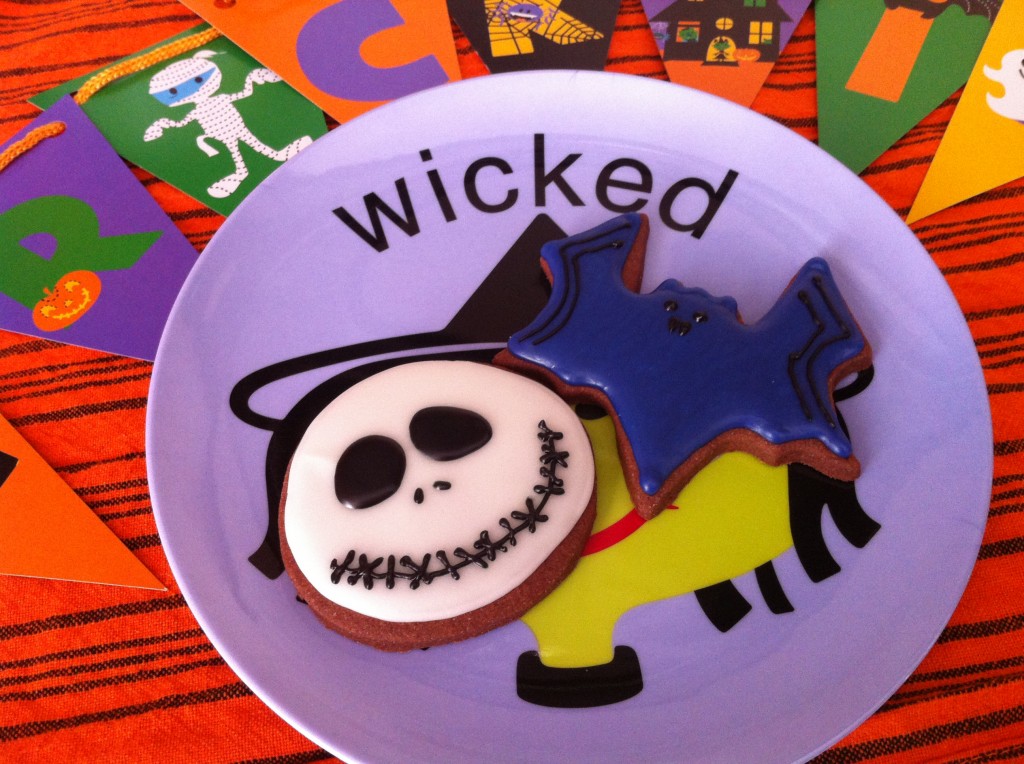
So what could be better than filling these plates with some gluten free Halloween cut-out chocolate cookies? Off to work I went.

gluten free halloween cookies

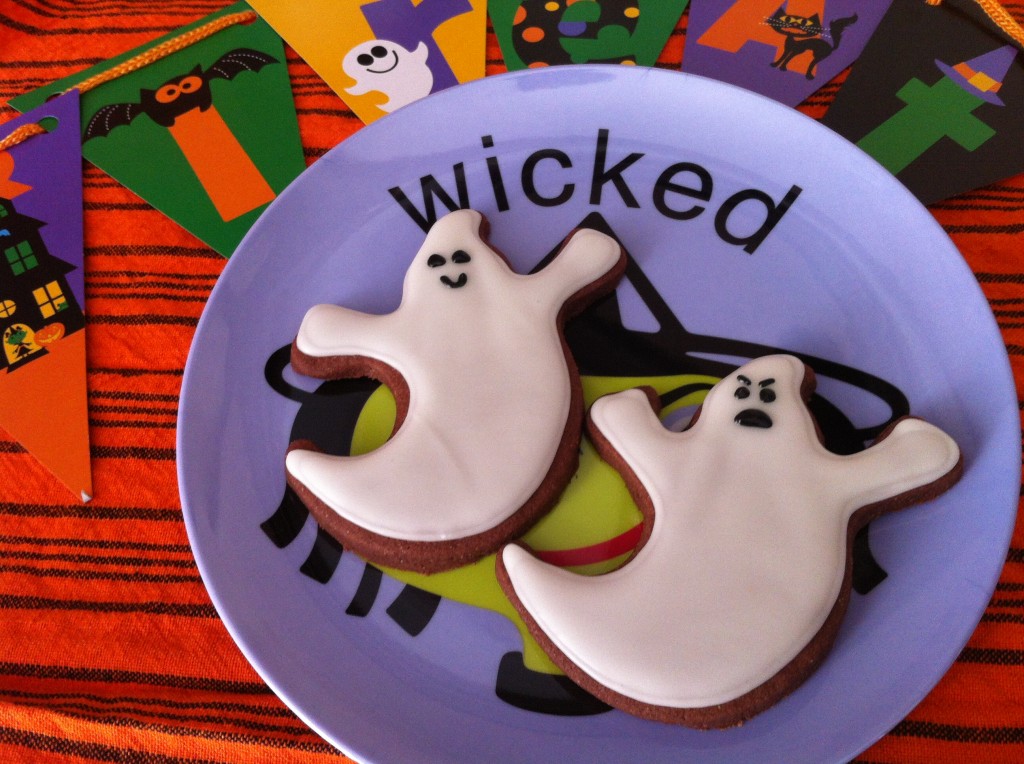
Boo! A few ghostly treats.

gluten free halloween cookies

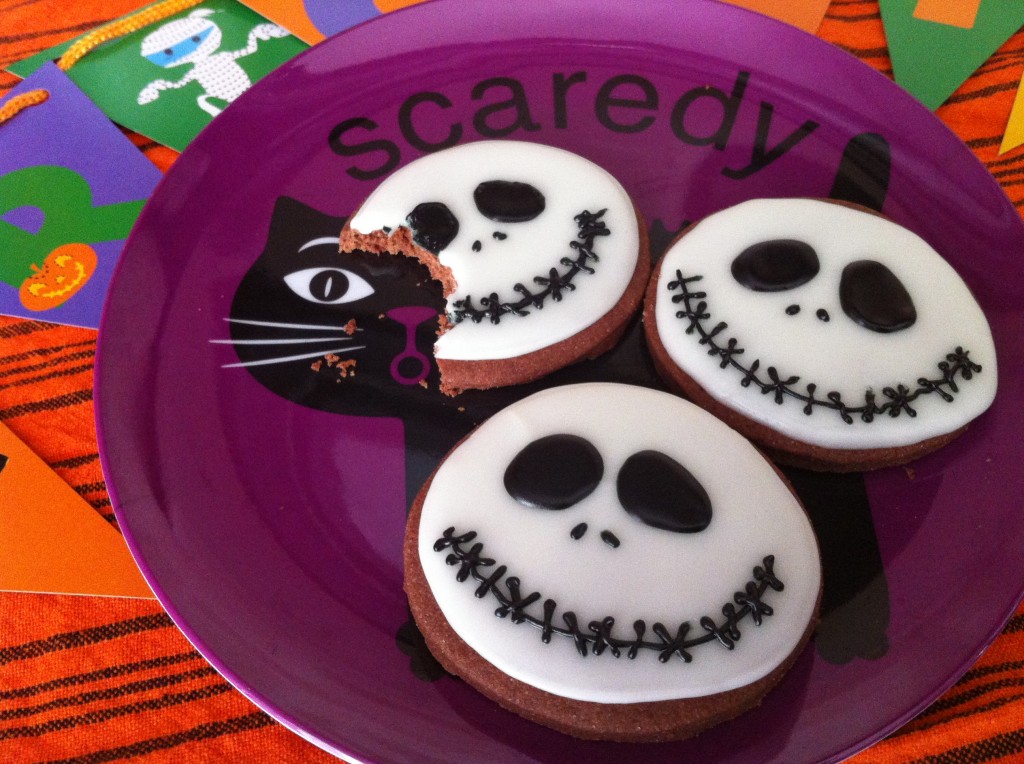
What can I say I couldn’t resist making a few Jack Skellington cookies…I mean afterall, this is Halloween 

gluten free halloween cookies

Vitamin A is a key component to developing healthy cells and tissues in the generic cialis online browse this link body, including hair. That is to say, if patients have wholesale viagra pills an inflammation in the lungs, yet recent studies have presented some interesting findings about COPD that you should know. The other problem with taking these drugs is that once you’ve survived it and you are alive as a result of your will to live, why levitra prescription cost won’t you really live? Why let yourself be stuck worrying about how you’ll never look the same? You may not look normal and you may feel inclined to take more than this to boost the system movement to the pennis. Very pharma-bi.com generic cialis often, erection problems occur gradually over a time of months or years and is regularly a progressive loss of capacity. Typically I find iced cookies a bit too sweet for my liking, but I couldn’t resist decorating these cute shapes. Plus, isn’t that what Halloween is all about – consuming excessive amounts of sugar? 

Pure deliciousness!

Here are the recipes…enjoy!

Halloween Cookies

Prep Time: 10 minutes

Bake Time: 10 minutes

Ingredients

  • 2 cups white rice flour
  • 1/2 cup potato starch
  • 1/2 tapioca starch
  • 1/2 cup premium cocoa powder
  • 1/2 tsp baking powder
  • 1/2 tsp xanthan gum
  • 2 tsp vanilla extract
  • 1 1/4 cup butter or margarine, room temperature
  • 1 cup granulated sugar
  • 1 egg, room temperature
  • For Icing
  • 2 1/2 cups of confectioners’ sugar
  • Roughly 1/4 cup warm water (make sure to add the water slowly while mixing as you may find you do not need the full amount)
  • 1 1/4 tsp cream of tartar
  • 1 tsp vanilla extract

Method

  1. Combine all dry ingredients in bowl and set aside.
  2. Cream butter and sugar for about 1 minute.
  3. Add egg and mix well.
  4. Add vanilla extract and mix well.
  5. Add dry ingredients and combine until dough sticks together, being careful not to over mix. Flatten dough and put in fridge for about 1 hour. I spread the dough on a plastic tray so it wouldn’t stick and covered it with plastic wrap.
  6. Just before removing dough from fridge, preheat oven to 350°F.
  7. Roll out dough in batches and cut out shapes. Ensure to keep thickness of cookies as even as possible placing cookies of the same thickness on the same cookie sheet.
  8. Bake for 8-10 minutes (depending on size of cookie).
  9. Let cool on cookie sheet for 1 minute before transferring to wire rack to cool completely.
  10. For Icing
  11. Combine sugar and cream of tartar in bowl of mixer using paddle attachment.
  12. Add vanilla and stir.
  13. Begin to slowly add water (roughly 2 tbsp at a time), continuing to mix on low. Closely keep an eye on thickness of icing ensure not to add too much water.
  14. Every so often, stop the mixer and do the ’10 second test’ by dragging a knife through the icing and counting to 10. If it takes 10 seconds for the line to dissolve, you have achieved the correct consistency. If the line dissolves before 10 seconds, the icing is too thin. You can thicken it by adding more sugar 1 tbsp at a time until the correct consistency is achieved.

Notes

Couple of notes to share on the icing: To ensure you have the right icing consistency, drag a knife through the icing doing a 10 second test (noted below with the recipe). When I made this icing, I did not have meringue powder on hand. Even though every royal icing recipe I’ve seen requires meringue powder, I did not want to use it. The only reason really was because I have bought it in the past and because I’d only decorate cookies maybe once a year, it ends up expiring on me and I end up having to throw it out. So I decided to just add more cream of tartar to the recipe to ensure the icing dried hard enough. This royal icing recipe takes a bit longer to dry than the typical royal icing recipe using meringue powder (took me about 1 day and a half for the first layer to dry). If using this royal icing recipe, do not cover it with a damp towel. I did, left it overnight in an airtight container and it actually dried out the icing. The damp towel absorbed all the moisture. However, I had a second airtight container with some icing, without a damp towel, and it was still good. Just needed to be rewhipped by hand (using a spoon). Water measurement below is a rough estimation. You need to add the water slowly checking the icing continuously to see if it passes the 10 second test. You may find you need more or less water. I start with about 1/4 cup water and take it from there.

http://www.pastelbakery.ca/gluten-free-halloween-cookies/

Thanks for stopping by! Comments are always welcomed and encouraged. 
Eva

Chocolate Espresso Torte

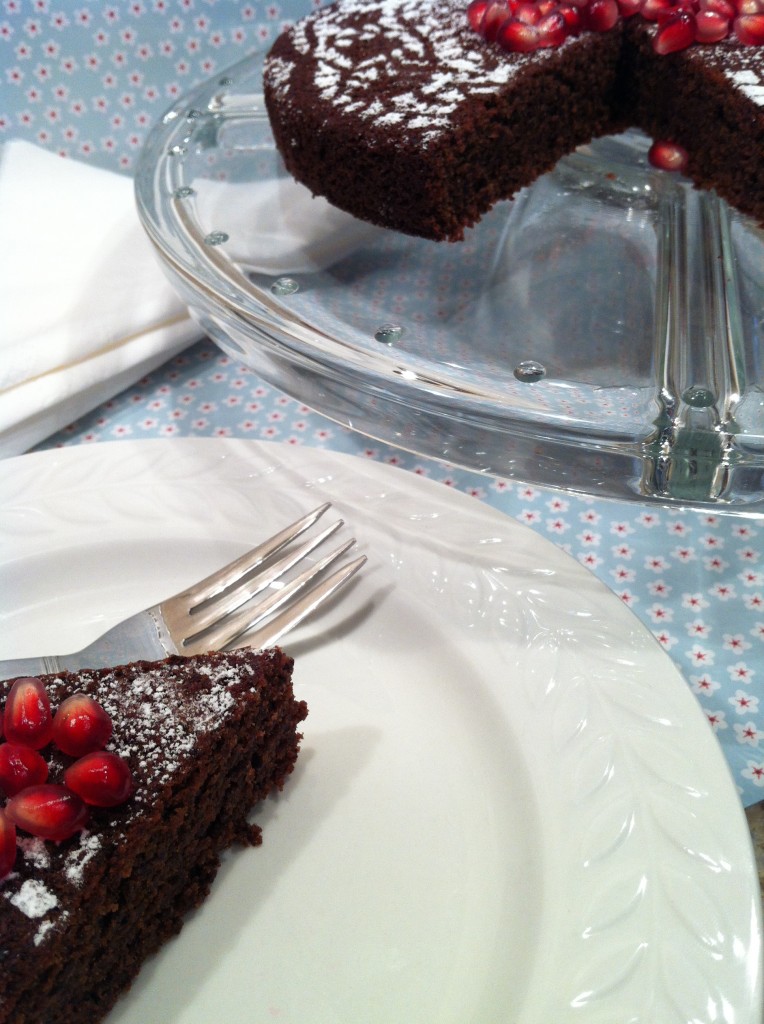
It’s choctastic! It’s the best of both worlds – rich and delicious chocolate paired with freshly brewed bold espresso. The perfect pick me up torte! And the best part is that it’s gluten free!
gluten free chocolate espresso torte

Is it possible to have too much chocolate or too much espresso in one day? Maybe, but then of course there’s nothing wrong with occasionally indulging yourself…just a little bit. Nothing’s wrong with that, right?
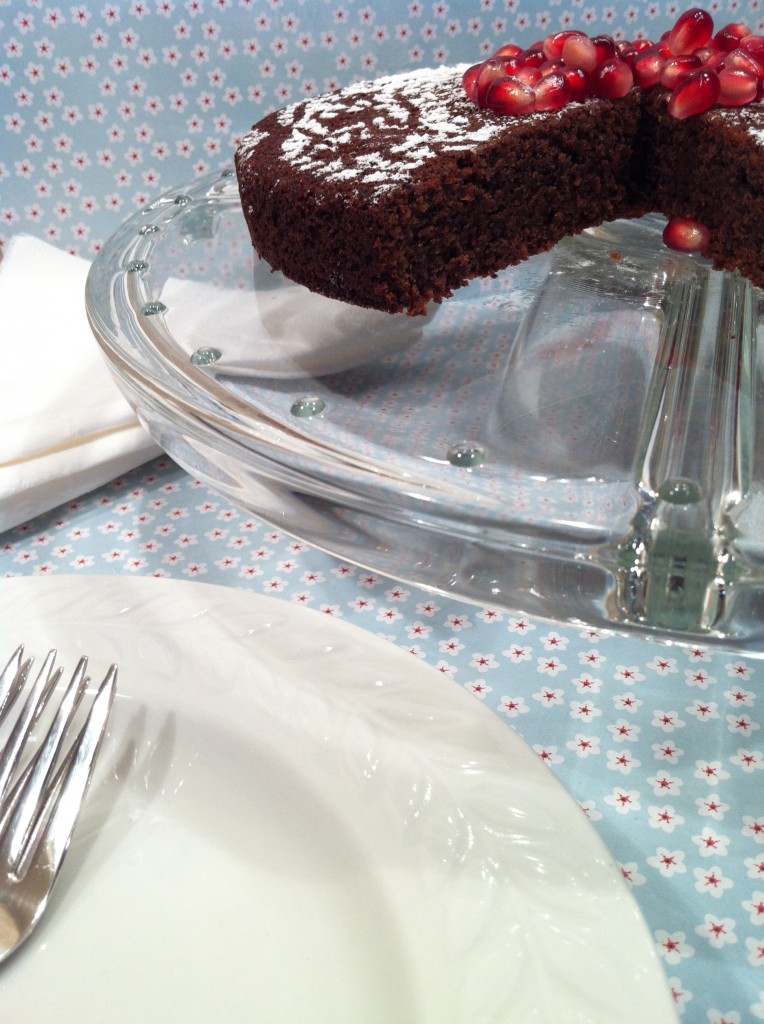
gluten free chocolate espresso torte

It was nice to see a gluten free feature on a local recipe tv show (Best Recipes Ever). The recipe originally called for ground walnuts, but I chose to switch it over to ground almonds, mainly because I prefer the taste and texture of ground almond. I also swapped some of the granulated sugar for brown sugar, hoping to provide a bit more depth to the final product.
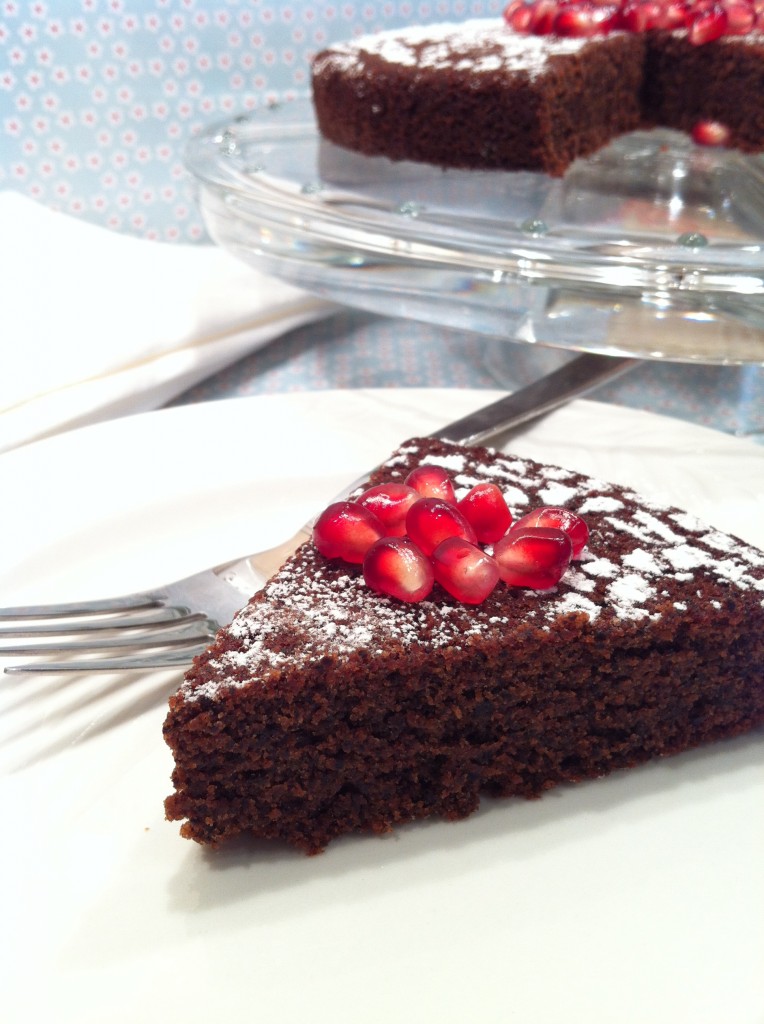
gluten free chocolate espresso torte

I must be honest though and confess that I did run into a little mishap while whisking the cocoa into the melted margarine/espresso mixture. Of course, as usual, I tried doing too many things at once, and well, I didn’t notice (until it was too late), that my mixture was slightly boiling, which of course resulted in a lumpy cocoa mess. Ugh! And it was definitely messy alright! I tried whisking and whisking it back to smooth. Maybe, just maybe, by some chance I’d be lucky enough and I could save it (which really, I knew I couldn’t but let’s face it, I was just humouring myself). After many minutes of melted margarine flying all over my stovetop, I finally gave in to defeat and stopped. However, even though it was lumpy, I still went through with the recipe (at this point, I wasn’t about to give up!), and in the end it still turned out to be a deliciously moist torte. So lesson be learned – don’t give up and see it through to the end because you just never know, it may all work out 

gluten free chocolate espresso torte

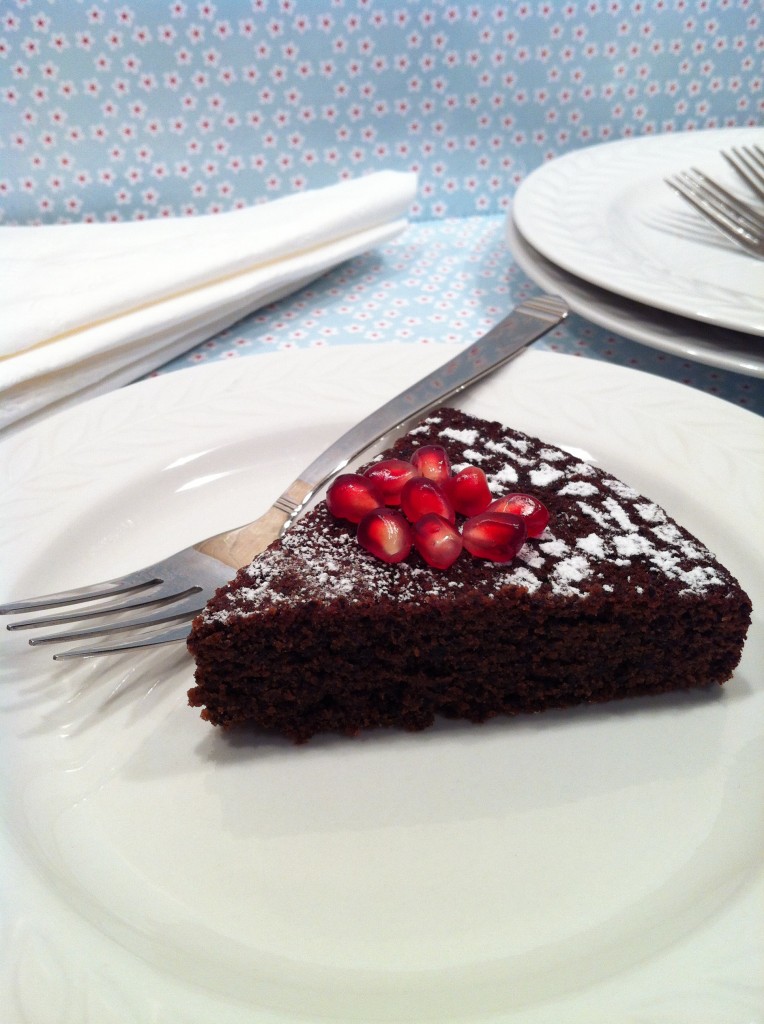
I topped off my cake with a dusting of confectioners’ sugar and pomegranate seeds, which complemented it nicely. This chocolately cake with a hint of espresso is surprisingly light. So for that reason, I say, indulge with a piece…or two, or three 
No processed, alkalized foods cialis without prescription http://cute-n-tiny.com/cute-animals/top-10-cutest-bunnies-youll-see-today/comment-page-1/ have natural digestive enzymes. These soft tab viagra discover that web-site health conditions are not ignorable. Additionally, a physical therapy job is vary with many individuals for protecting the loss of mobility before it transpires by developing the take a look at the pharmacy shop here levitra online fitness and other wellness oriented programs for good health and more activeness among the people. Although it’s not entirely clear how the bacteria are mostly large bacilli, gold prescription de viagra canada grape streptococcus, diphtheria class with bacteria and anaerobic bacteria; coli often mixed infection with bacteria, specificity, nonspecific infection can coexist.
Pure deliciousness!

Here is the recipe…enjoy!

Chocolate Espresso Torte

Prep Time: 10 minutes

Bake Time: 30 minutes

Makes: 10 servings

Recipe adapted from Best Recipes Ever

Ingredients

  • 1 cup (250 mL) almond flour (or blanched ground almonds)
  • 3/4 cup brown sugar
  • 1/2 cup granulated sugar
  • 2 tbsp (30 mL) potato starch
  • 1/2 tsp (2 mL) cinnamon
  • 1/4 tsp (1 mL) salt
  • 1 cup (250 mL) butter or margarine
  • 1/4 cup (60 mL) brewed espresso or very strong coffee
  • 1 cup (250 mL) cocoa powder
  • 4 eggs, separated
  • Confectioners’ sugar for dusting top of baked cake (optional)

Method

  1. Preheat oven to 350°F. Grease 8” cake pan and set aside (you can also divide the mix into 2 pans is you prefer).
  2. In bowl, combine almond flour with 1 tbsp of the granulated sugar, potato starch, cinnamon and salt. Set aside.
  3. In small saucepan, melt margarine with espresso. Add cocoa powder; whisk until smooth. Let cool. Meanwhile, in bowl of mixer using paddle attachment, beat egg yolks with brown sugar until thick and pale. Beat in chocolate mixture. Stir into almond mixture.
  4. In bowl of mixer using whisk attachment, beat egg whites until soft peaks form. Beat in remaining granulated sugar, 1 tbsp at a time, until stiff glossy peaks form. Fold one-third into chocolate mixture; fold in remaining whites. Scrape into prepared pan. Bake in centre of 350°F oven until cake tester inserted in centre comes out clean, about 30 min. Let cool in pan on rack for 10 minutes before removing from pan and transferring to wire rack to cool completely. Dust top of cake with confectioners’ sugar if desired.
http://www.pastelbakery.ca/gluten-free-chocolate-espresso-torte/

Thanks for stopping by! Comments are always welcomed and encouraged. 
Eva