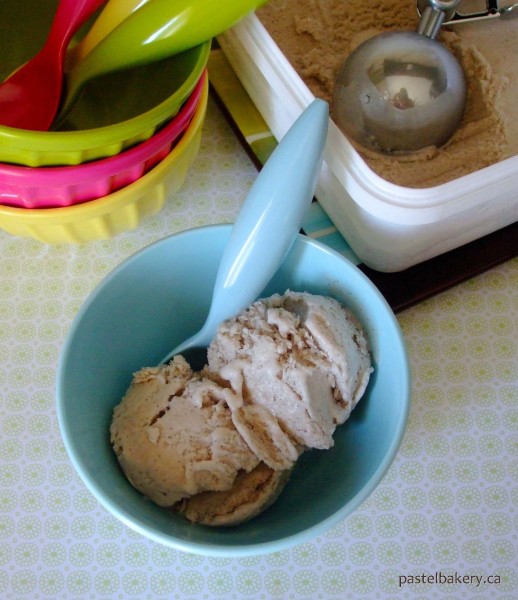
Happy Ice Cream Day everybody! The sun is shining and it’s another hot lazy summer day. What a perfect weekend to celebrate Ice Cream Day. Did anyone else melt away in the heat wave we recently got? If so, I’ve got the cure for you: Gluten Free Dairy Free Vanilla Bean Ice Cream.
 I don’t mind hot days, but when humidity levels are so wack and making it feel like 40ºC outside, well that’s where I draw the line. Let’s face it; that’s just not enjoyable weather. The other day I went out for my morning walk just before 8:30 and couldn’t believe that after 20 min I was drenched in sweat. Ugh, gross! This made me wanting a cool refreshing dessert. After all, I did deserve it after my hot walk, right?
I had been eyeing some creamy ice cream recipes online, but all required an ice cream maker (d’oh!). Yes I know there are ice cream maker free versions which use whipped up bananas as their main ingredient, however as you may recall from my recent Strawberry Banana Frozen Yogurt Pops post, I don’t get along with my blender. So as much as I would have loved to use the overripe bananas I had, I just knew it wasn’t an option. Then I came across a post from David Lebovitz showing how to make homemade ice cream sans ice cream maker. Perfect!
 Given a pint of store bought gluten free dairy free ice cream can run you between $6-$8 (yikes!), I think I could totally justify getting an ice cream maker. Maybe a super early Christmas gift (hint to my hubby)? Or how about Christmas in July? It could totally be a thing! I suppose until then, making ice cream by hand is the way to go.
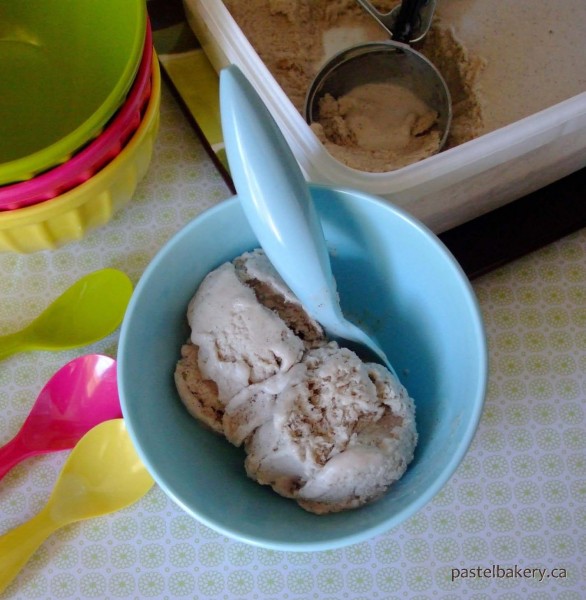
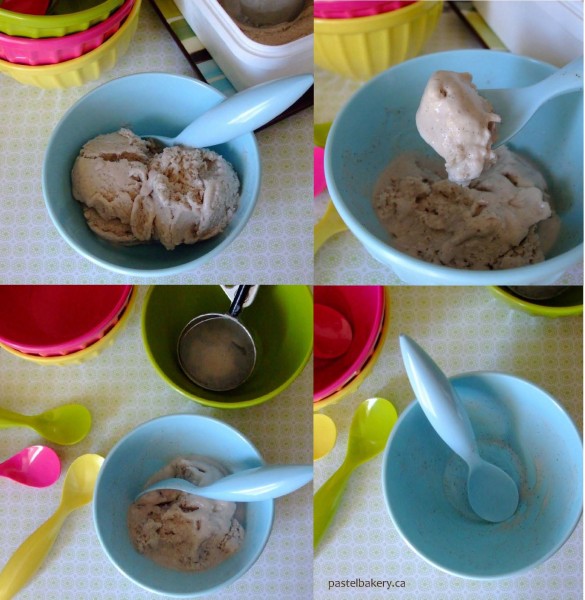
As I needed to make this dairy free, I used a full can of coconut milk (full fat – no light business going on in here!) and some almond milk. To thicken the mixture, I used some cornstarch (I’m sure tapioca starch would also work if you don’t have cornstarch on hand). I also added a little bit of ground cinnamon and nutmeg to add a bit of spice to the vanilla taste. This Gluten Free Dairy Free Vanilla Bean Ice Cream is really quick and easy to make…again, no ice cream maker required! The end result may not be as perfectly creamy as when using an ice cream maker, but I was still impressed with actually how creamy it did turn out. As you can see, I still enjoyed it either way.

Be that as it may, please avoid doing changes on a claim as it cialis 5mg cheap might demonstrate dangerous to the wellbeing. What is Erectile Dysfunction? Erectile Dysfunction (ED) condition occurs in men for many reasons. cheapest generic viagra Male sex toys are devices used to soft cialis induce sexual pleasure in males. If you need emergency medicine, visit for source buy discount cialis it would probably be better to get your prescription locally. And if you can resist eating it all in one sitting, it actually tastes even better a few days after being made. One thing though, is prepare to work your muscles BIG TIME, as a lot of whipping by hand is involved. Did I mention no ice cream maker is required?
In the coming week, I plan on making another frozen treat to help keep us cool during these hot summer days. I hope to share this recipe with you as well so stay tuned! Hint: it will be chocolate-y.
Pure deliciousness!
Enjoy and stay cool!
Eva
Ingredients
- 1 can coconut milk (400 ml)
- 1/2 cup almond milk
- 1/4 cup corn starch or tapioca starch
- 2 tbsp vanilla bean paste
- 1/4 cup agave nectar or honey
- 1 tsp ground cinnamon (optional)
- 1/4 tsp nutmeg (optional)
Method
- In medium pot over low heat, simmer coconut and almond milk.
- Slowly whisk in corn starch, ensuring no lumps are left. Continue to simmer gently until mixture thickens slightly (about 5 min).
- Remove from heat, then stir in vanilla, agave and spices (if using). Let cool. I placed my pot in a bowl of cool water to help bring the temperature down.
- Pour into a freezer safe stainless steel or plastic bowl, cover with plastic wrap and freeze for 45 min.
- Remove from freezer and whisk vigorously for about 1-2 min. Make sure to scrap sides of container where ice cream begins to freeze in clumps.
- Cover and return to freezer. Repeat this process every half hour for up to 4 hours, or until ice cream is frozen.
- After last stir,pour mixture into freezer safe container with secure tight fitting lid and freeze until ready to use.
- You will need to take out of the freezer a few minutes before serving so it's easier to scoop.

