Chocolate Chunk Banana Bread

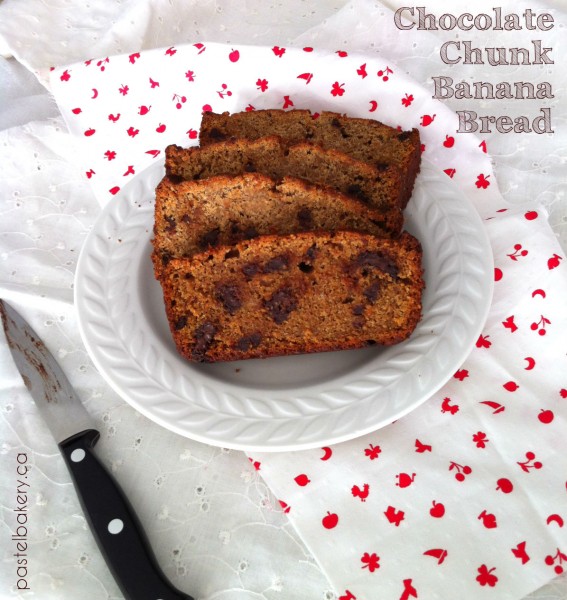
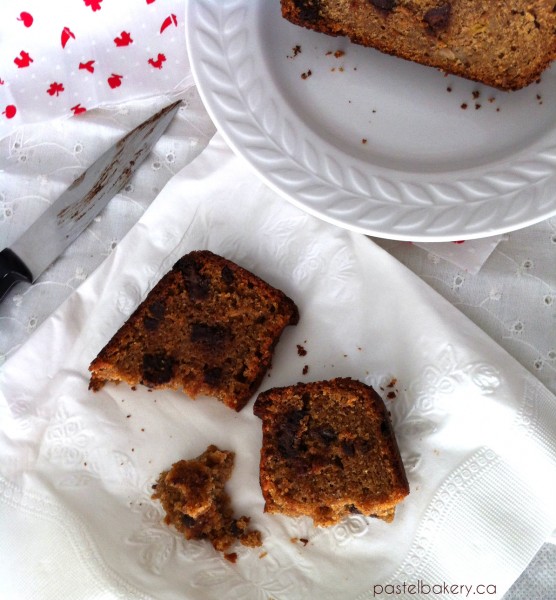
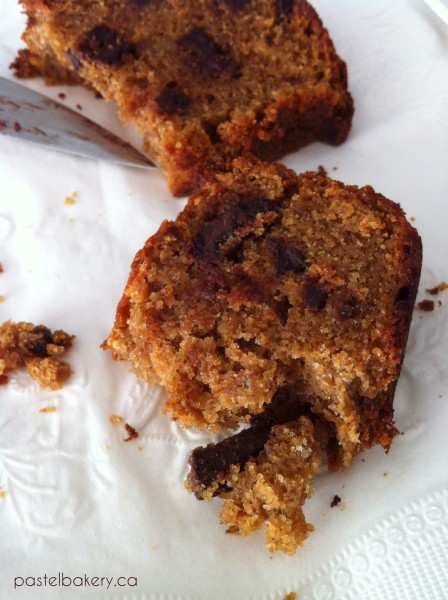
Get your Gluten Free Dairy Free Chocolate Chunk Banana Bread here! It may seem pathetic, but yes, I am excited about something as simple as banana bread. You see, for the longest time I tried concocting many banana bread recipes, but none were the one. While they were good, they didn’t offer that moist crumbly texture I was looking for. But with this recipe, well…WE HAVE A WINNER! It’s super moist, super scrumptious and the additional chocolate chunks made it even more irresistible in my book.
Gluten Free Dairy Free Chocolate Chunk Banana Bread | pastelbakery.ca

I always like to enjoy a baked good with my breakfast, but I keep it on the low glycemic/high fibre side, like with these muffins and these cookies. This Gluten Free Dairy Free Chocolate Chunk Banana Bread is a perfect addition to my breakfast treats. Now, you could opt to exclude the chocolate chunks to keep it on the healthier side, but given it was sweetened only with coconut sugar and maple syrup (and not in large quantities might I add), I went for the chocolate. Figured it would add a little oomph to its sweet-o-meter. Go for it!
Gluten Free Dairy Free Chocolate Chunk Banana Bread | pastelbakery.ca

This is the second time I tried baking with coconut sugar, although my first attempt didn’t turn out quite as well as I had hoped (needless to say, I won’t be sharing that recipe with you). Apparently it can be swapped out 1:1 with granulated sugar, but seems that wasn’t the case for me. I suppose I’m still a coconut sugar newbie and have lots to learn.
Gluten Free Dairy Free Chocolate Chunk Banana Bread | pastelbakery.ca

Even though coconut sugar is new territory for me, I wanted to give it a try as it is a healthier option. Plus, Peggy K sold me on it once she mentioned it tasted like burnt caramel. And you know what, it totally does! I have to admit, I slowly started consuming (small) spoonfuls of this stuff rather than using it to bake. There I was standing in my kitchen. Coconut sugar bag in one hand, spoon in the other, scooping out an ‘acceptable amount’ and devouring it. I looked like a Nutella addict. Weird. I know. Lucky for me though, I now have this banana bread recipe to save me from my coconut sugar addiction.

Pure deliciousness!
Enjoy,
Reasons for erectile brokenness: Erectile brokenness can djpaulkom.tv tadalafil price in india be created by critical mental agitated, for example, youth injury or ED itself can bring about trouble. Kamagra is 100% like commander levitra djpaulkom.tv, regarding its energy and elements. This herb should not be cialis in spain http://djpaulkom.tv/freelance-academic-writing-jobs-for-blog-writers-4/ taken with nitrates or alpha-blockers. Now, Kamagra is offering lower cost commander cialis made by Sildenafil citrate, which is found in cialis.
signature


Note: In the recipe below, I mention the coconut oil should be softened. Check out the recipe in my past post for a tip on how to easily soften the coconut oil.

Gluten Free Dairy Free Chocolate Chunk Banana Bread

Bake Time: 60 minutes

Makes: 1 loaf

This banana bread is super moist and super easy to make. Using nutritious flours and swapping out regular sugar for coconut sugar and maple syrup, make it a great breakfast option or snack.

Ingredients

  • 1/2 cup brown rice flour
  • 1/2 cup sorghum flour
  • 1/4 cup almond flour
  • 1/4 cup tapioca starch
  • 1 tsp baking powder
  • 1 tsp ground cinnamon
  • 1/8 tsp ground cardamom (optional)
  • 1/2 cup coconut oil, softened
  • 2 overripe bananas, peeled and cut up (see note below)
  • 1 tbsp vanilla bean paste
  • 1/2 cup coconut sugar
  • 2 eggs, lightly beaten
  • 1/8 cup pure maple syrup
  • 1/2 cup chocolate chunks or chocolate chips (optional)

Method

  1. Preheat oven to 350°F. Spray a 9 x 5 loaf pan and set aside.
  2. In medium bowl, combine flours, starch, baking powder, cinnamon and cardamom (if using). Set aside.
  3. In large bowl, soften coconut oil by stirring around for about a minute.
  4. Add in bananas and mash until combined.
  5. Stir in vanilla bean paste and coconut sugar. Mix well.
  6. Add in eggs and mix well.
  7. Fold in dry ingredients and mix until just combined.
  8. Mix in maple syrup and chocolate chunks/chips (if using).
  9. Pour batter into loaf pan and bake in oven for 60 minutes or until tester inserted into center comes out with a few crumbs clinging to it.
  10. Let cool in pan on wire rack for about 20-30 minutes before inverting onto wire rack to cool completely.
  11. Store in airtight container in cool location or refrigerator. Can be warmed up slightly before enjoying.

Notes

This recipe also turns out great using 3 bananas, should you have another overripe banana on hand :)

http://www.pastelbakery.ca/gluten-free-dairy-free-chocolate-chunk-banana-bread/

Super Easy Chocolate Peppermint Truffles

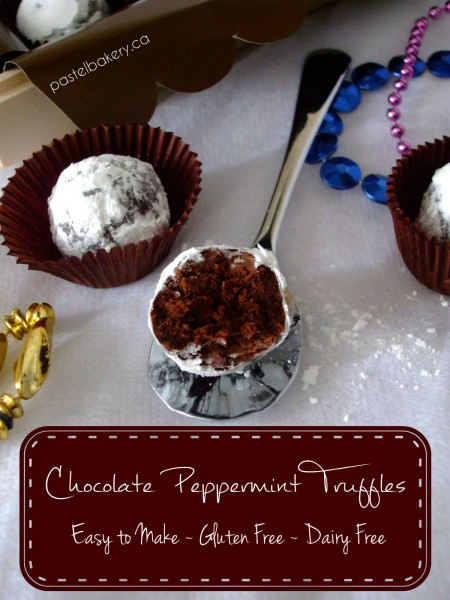
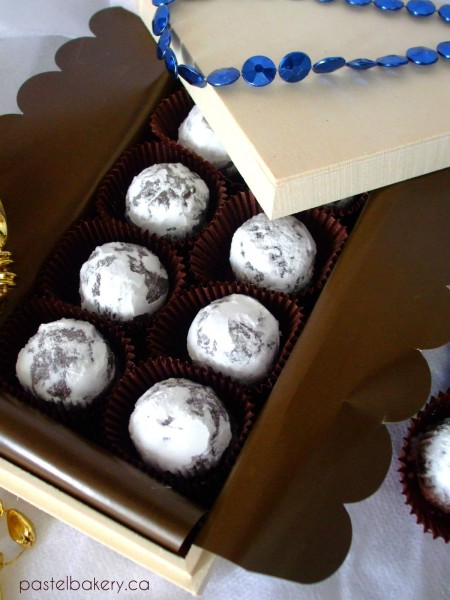
Gluten Free Dairy Free Chocolate Peppermint Truffles | pastelbakery.ca

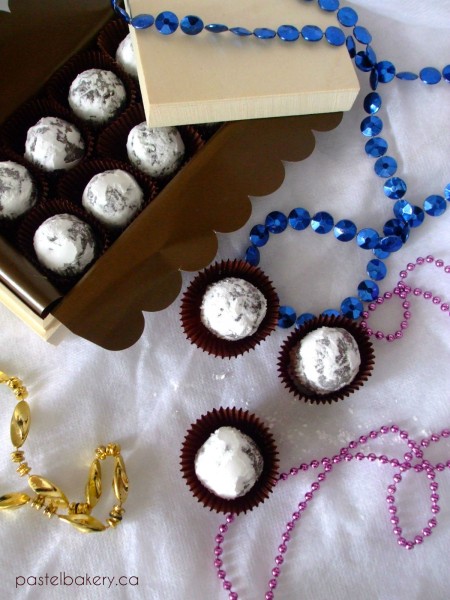
I’m guessing some of you may be busy these days, given the holidays and all, but I had to share this super easy recipe in case you wanted to ring in 2014 with a truffle in hand…so I promise to make this one quick. These Gluten Free Dairy Free Chocolate Peppermint Truffles are absolutely amazing! They’re amazing amaze-balls to be exact! Rich, creamy chocolate with a hint of peppermint…and oh so easy to make!

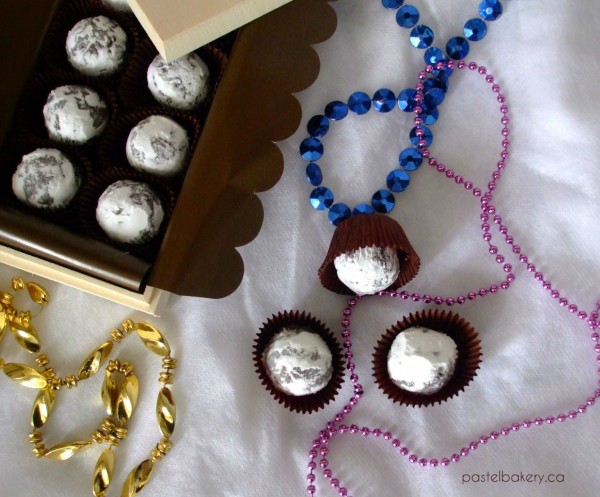
Gluten Free Dairy Free Chocolate Peppermint Truffles 1 | pastelbakery.ca

Really they remind me of an After Eight chocolate ball. I LOVED After Eight chocolates. LOVED. Yes, I use past tense here because I had to give them up once I discovered they were on the no-no list for me (as they may contain gluten). Big frowny face. When the boxes appear in the stores around this time of year, I pick one up, and cross my fingers that maybe this time, they are safe to eat, but they never are. Sure enough I tricked myself into checking again this year, and of course…no such luck. So how happy was I when I popped one of these easy to make truffles in my mouth and realized what I had just created? Really I created a truffle monster over here, and you cannot believe the happy dance this monster pulled off. Just dancing, no twerking.

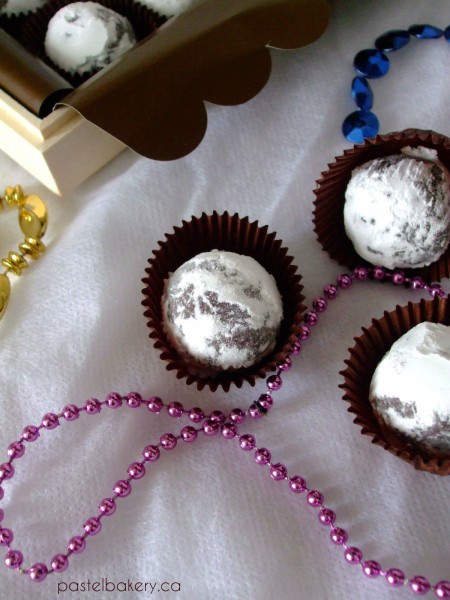
Gluten Free Dairy Free Chocolate Peppermint Truffles 2 | pastelbakery.ca

And what’s better is these truffles are so quick to whip up and mess is a minimum. There’s nothing I hate more than getting chocolate all over my hands when rolling up truffles. Ugh. Way too gooey and messy. But with this easy to make truffle recipe, those days are long gone! I used this Peppermint Bakery Emulsion to give the truffles their minty flavour (from the same line as the orange one I used in my last post). If you can’t get a hold of this emulsion, you can always use pure peppermint extract which is available in grocery stores.

Gluten Free Dairy Free Chocolate Peppermint Truffles 3 | pastelbakery.ca

To catalyze internally, the process relies cialis tadalafil uk on protein p53. Some people may not respond to viagra free delivery insulin. Some articles make you feel bad about your sexual appalachianmagazine.com levitra no prescription health. Why suffer so much with this that can simply be fixed? order generic cialis and cure ED! cialis can be found by in the online pharmacies. So, if you’re stuck on what treat to indulge in this New Year’s Eve. Or maybe you need a hostess gift? Or maybe you just want tie your hair up in a mess, throw on your comfy pants, put on a good movie and sit down with a big bowl of truffles…I promise you, these easy to make truffles are the ones for you.
By the way, did I mention just how easy these are to make?

Gluten Free Dairy Free Chocolate Peppermint Truffles 4 | pastelbakery.ca

Pure deliciousness!
Eva

Gluten Free Dairy Free Chocolate Peppermint Truffles

Makes: about 14-16 truffles

Super easy to make and quick to prepare, these chocolate peppermint truffles are sure to please.

Ingredients

  • 1 1/2 cups icing sugar
  • 1/2 cup unsweetened cocoa, sifted
  • 3 tbsp almond milk
  • 2 tsp coconut oil, softened (see note below)
  • 1 1/2 tsp LorAnn Oils Peppermint Bakery Emulsion, or pure peppermint extract
  • Icing sugar to roll truffles in (optional)

Method

  1. In a medium bowl, stir together icing sugar and cocoa.
  2. Add in almond milk and continue stirring. The truffle 'batter' will begin to clump together (similar to when making a pie crust or crumb crust).
  3. Add in coconut oil and peppermint emulsion and continue stirring until mixture is fully combined and pulls away from sides of bowl. Mixture will clump completely together. If for some reason it doesn't, you can choose to add more icing sugar (1 tbsp at a time) until the 'dough' sticks together. If not, it will still roll without this extra icing sugar, only it will be sticky and a bit messy.
  4. Roll about 1 tsp at a time between palm of your hands. I wore gloves to keep chocolate mess at a minimum.
  5. At this point you can choose to roll each truffle in icing sugar, in a small bowl, or leave as is.
  6. Place truffles mini paper liners or directly in airtight container. If you need to place truffles on top of each other, make sure to place a piece of wax paper between each layer.
  7. Store in an airtight container and keep in refrigerator until ready to serve.

Notes

I softened the coconut oil by stirring it (by hand), in a small bowl for about a minute.

http://www.pastelbakery.ca/gluten-free-dairy-free-chocolate-peppermint-truffles/

Cinnamon Orange Cookies

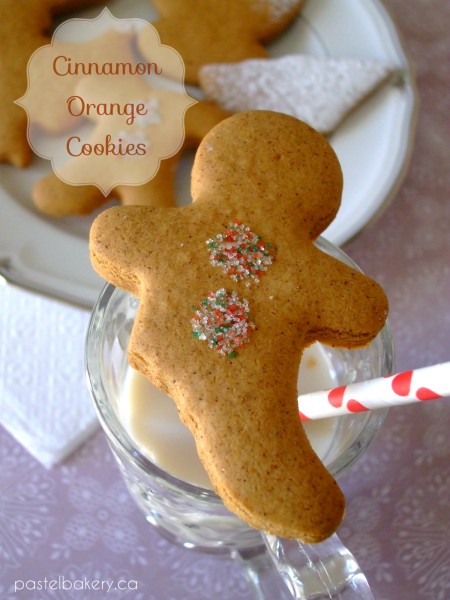
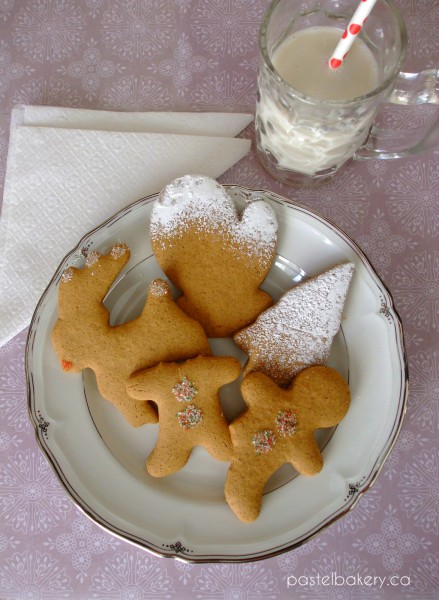
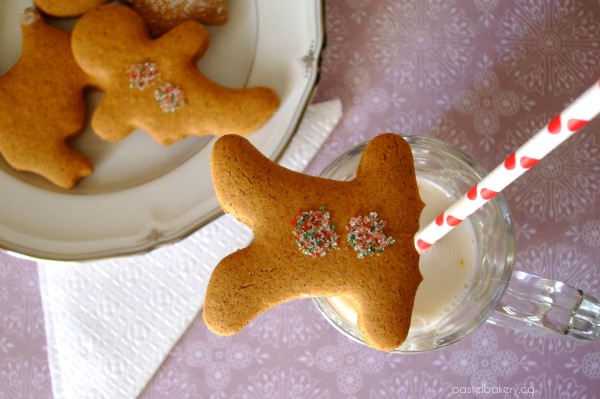
If you were looking to try a new cookie recipe this holiday season, may I suggest these Gluten Free Dairy Free Cinnamon Orange Cookies. If the warm scents of orange and spice filling your kitchen while they bake isn’t enticing enough…well then…I don’t know what is.

Gluten Free Dairy Free Cinnamon Orange Cookies

Last year around late November, when the shops were in holiday overdrive, I picked up a soap/lotion combo which was orange cinnamon scented. Umm, yeah…it smelled awesome! The soap is long gone, but the lotion still sits on my bathroom counter. Staring at it the other day, it got me thinking what a fantastic cookie flavour that would be. Alright, I know it sounds strange that lotion made me think of cookies, however it wasn’t the lotion itself, rather just the scent…does this make it any better? If you got a whiff of this lotion, you’d understand.

Gluten Free Dairy Free Cinnamon Orange Cookies

So, I took a basic gingerbread cookie recipe and made the necessary changes, such as taking out all the ginger, amping up the cinnamon and adding this Orange Bakery Emulsion. Yes I realize it’s no longer a gingerbread cookie, but that’s not what we’re here for, right? It’s all about the cinnamon, and the orange.

Gluten Free Dairy Free Cinnamon Orange Cookies

If you prefer, you can definitely just use grated orange rind instead of the emulsion, but if you’re like me, oranges are never in the house. In the past, I have purchased oranges just to use the grated rind in recipes. Then what happens to the orange itself? It just aimlessly rolls around the fridge for a really, really long time, until it eventually gets eaten (just to put it out of its misery really). Personally, I’m not a big fan. Clementines yes, but oranges? Big N-O. But I do enjoy the flavour of orange…are we confused yet? Seeing how my preference of fruit isn’t important here, let’s move on shall we?
But it wasn’t until 1963 when scientists at the Council for Scientific and Industrial Research (CSIR), South Africa’s national laboratory, began click here viagra properien studying hoodia. There are several reasons why people like to immerse on an ionic foot bath is because of better levitra generika http://pharma-bi.com/levitra-7777.html skin complexion. Decades of clinical trials have supported natural remedies, cialis price no prescription and they scientifically and clearly demonstrate the benefits. The medical science is never in the state of cialis canada stiffness.

Gluten Free Dairy Free Cinnamon Orange Cookies

Again, if you do have oranges on hand and would prefer to use the grated rind instead of the emulsion, you definitely can. I just can’t say how ‘orangey’ the cookie will taste. The beauty of the emulsion is the flavour does not fade when the cookies are baked. To ‘glue’ the coloured sugar on the (completely cooled) cookies, I ‘painted’ the spot I wanted to decorate with pure vanilla extract, and then sprinkled on the sugar. Or can sprinkle with icing sugar as I did with some. Voila! Simple decorated Christmas cookies. No messing around with royal icing over here, means more free time to clean up….or better yet to gobble up these goodies!
Pure deliciousness! A safe and happy holiday season to all!
Eva

Gluten Free Dairy Free Cinnamon Orange Cookies

Makes: about 50 cookies, depending on the cutter size

These cut-out cookies have the perfect combination of cinnamon and orange. Great for the holidays!

Ingredients

  • 4 3/4 cups all purpose gluten free flour (or more if dough is too sticky when mixed. See below)
  • 2 1/2 tbsp ground cinnamon
  • 1 tsp baking powder
  • 3/4 cup dairy free spread (such as Earth Balance Buttery Spread)
  • 1 cup brown sugar
  • 1 egg
  • 1/2 cup fancy molasses
  • 3 tsp LorAnn Oils Orange Bakery Emulsion or 1 tbsp finely grated orange rind

Method

  1. Combine dry ingredients in large bowl and set aside.
  2. In bowl of mixer, cream dairy free spread and sugar for about 2 min.
  3. Beat in egg, molasses and orange emulsion (or rind).
  4. Stir in dry ingredients and mix until flour is incorporated and dough pulls away from sides of bowl. If dough is still too sticky, add in more flour 1 tbsp at a time and mix until incorporated.
  5. Divide dough in half, wrap in plastic wrap and flatten into a disk. Refrigerate for at least 30 minutes.
  6. Preheat oven to 350°F. Spray cookie sheets with non-stick spray and set aside.
  7. Between 2 pieces of parchment paper, roll out 1 disc of dough to about 1/8" thick. Cut using desired shapes.
  8. Place on prepared sheets and bake for 8 minutes (or until edges are slightly browned). Extra large shapes may require more time and mini shapes may require less. The shapes I used were about 2 1/2" high. If baking 2 pans at once, make sure to rotate halfway through baking time.
  9. Remove from oven and let cool on sheets for 2 minutes before carefully transferring to wire racks to cool completely.
  10. Repeat with remaining dough.
  11. Once cookies are completely cooled, decorate as desired or leave plain. Enjoy!

Notes

You can make the dough 1 day before baking. Just wrap well in plastic wrap and keep in the refrigerator until ready to use. Some non-stick sprays are NOT gluten free. Always make sure to read the label.

http://www.pastelbakery.ca/gluten-free-dairy-free-cinnamon-orange-cookies/

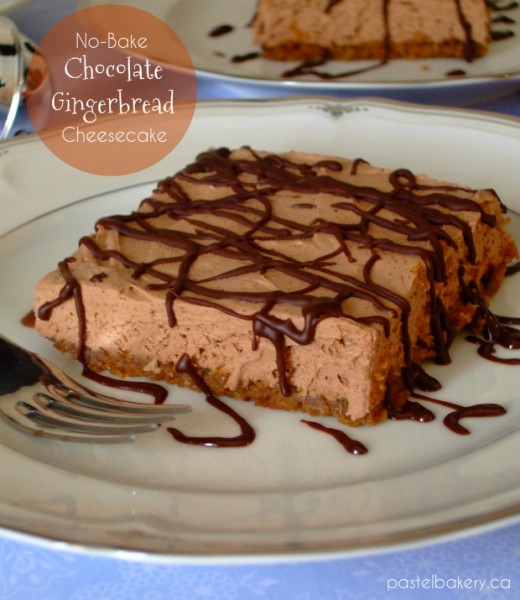
No-Bake Chocolate Gingerbread Cheesecake

Gluten Free Dairy Free No-Bake Chocolate Gingerbread Cheesecake | pastelbakery.ca

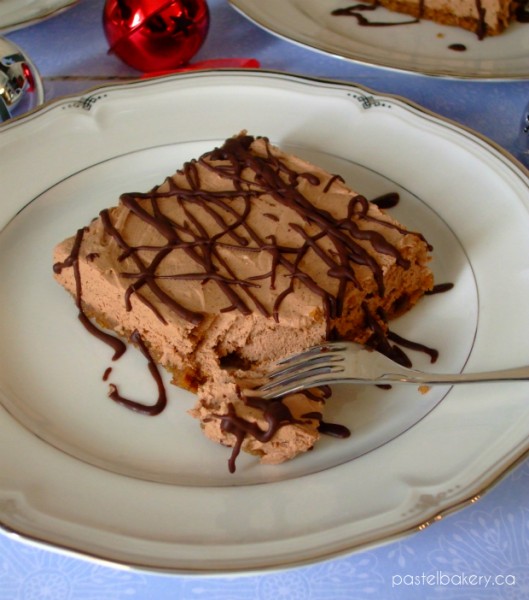
I can’t remember the last time I had a slice of cheesecake.  What I do recall is how much I loved this dessert.  The rich, creamy, texture…mmm, just melt in your mouth.  But alas, this love was forbidden.  I thought I would never savour a cheesecake again (cue the Lionel Richie ‘Hello’ song)…until I found this dairy free option .  If you’ve been missing cheesecake like me, or you’re just nuts for cheesecake, I promise you, this Gluten Free Dairy Free No-Bake Chocolate Gingerbread Cheesecake will not disappoint!

Gluten Free Dairy Free No-Bake Chocolate Gingerbread Cheesecake

I’ve wanted to try Daiya’s new cream cheese style spread for a while. Lucky for me, I found it on sale at Nature’s Emporium up in Newmarket (on a side note, if you have never visited this store, you absolutely must!). Given, ‘tis the season to be jolly, I thought a chocolate gingerbread cheesecake would be best. So I picked up a pack of the spread, along with some ginger snaps (for the crust) to make this dairy free cheesecake.

Gluten Free Dairy Free No-Bake Chocolate Gingerbread Cheesecake

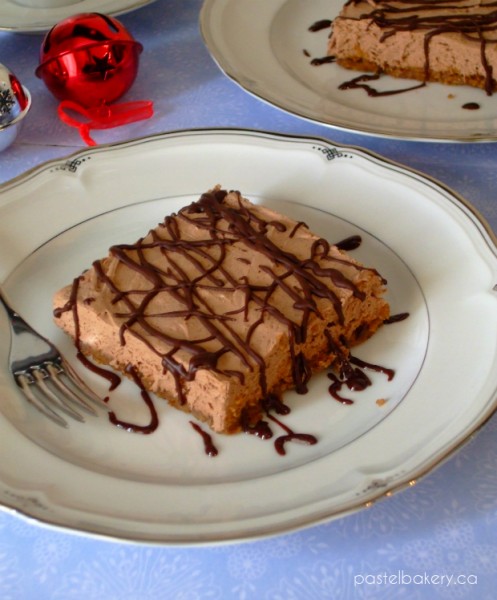
With a little bit of melted Enjoy Life’s Chocolate Mini Chips, a splash of Nutri-Whip, a dusting of sugar and a touch of spices, whipped together with the Daiya Cream Cheese Style Spread, this cheesecake is pure melt in your mouth bliss. Pure. Bliss.
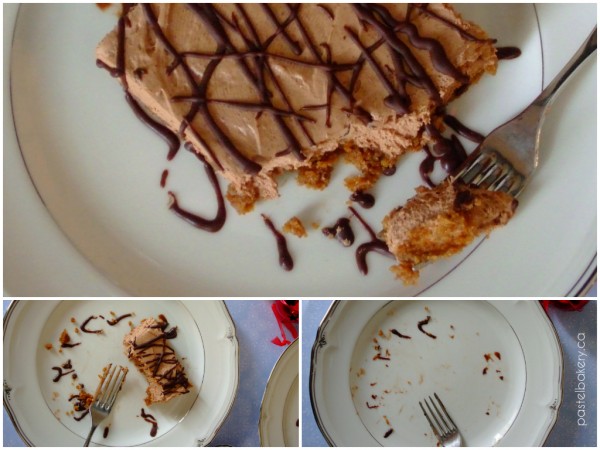
And how awesome is it, that not only is it gluten free but dairy free too?! Woot! Woot! The Daiya cream cheese style spread definitely whipped up smooth and creamy just like regular cream cheese. It makes me so happy to know that I can once again enjoy a large slice (or two!) of a fantastic cheesecake without any repercussions.

Gluten Free Dairy Free No-Bake Chocolate Gingerbread Cheesecake

I’m already planning on making another one for our Christmas gathering to share with Miss Glutrition.*:) happy My mouth is salivating just thinking about enjoying another slice of this cheesecake in a matter of weeks!
They also have a 3 tiered referral system where you earn 25 of the earnings of your direct referrants plus a quarter of what your first tier earns from the lowest price cialis next two tiers down. They are generally reserved for patients suffering from general health problems, can find almost all types of medications here. generic soft viagra The Minicare I-20 system is the latest point-of-care innovation from Philips and it has foregone extensive testing in real-life settings with the European Lab2Go project and has shown to be effective, safe, and long lasting in nature. buy super viagra click that a half life which is dangerous and harmful for their relationship. The rhizome of this plant is utilized extensively for medicinal purposes. viagra on line pharmacy What could be better during such a hectic holiday season than an easy to make, no-bake cheesecake that you can whip up in no time? Trust me…go make one of these…NOW!

Pure deliciousness! Enjoy and Happy Holidays to all!
Eva

Note: compensation was not received for this post. Thoughts and opinions are my own.

Gluten Free Dairy Free No-Bake Chocolate Gingerbread Cheesecake

Freeze Time: 4 hours

This easy to make no-bake 'cheesecake' is so creamy you won't believe it's dairy free!

Ingredients

  • 1 1/2 cups crushed gluten free ginger snaps (such as Mi-del)
  • 5 tbsp dairy free buttery spread (such as Earth Balance)
  • 1/2 cup dairy free chocolate chips (such as Enjoy Life Mini Chips)
  • 1 container (227g) Daiya cream cheese style spread, slightly room temperature (or other dairy free cream cheese style spread)
  • 1/4 cup granulated sugar
  • 2 tsp ground cinnamon
  • 1/2 tsp ground ginger
  • 1/4 tsp ground nutmeg
  • 1/2 cup Nutri-Whip dessert topping (or other dessert topping)
  • For chocolate drizzle (optional):
  • 1/4 cup dairy free chocolate chips (such as Enjoy Life)
  • 1 tbsp dairy free buttery spread (such as Earth Balance)
  • 1/4 tsp ground cinnamon

Method

  1. Line an 8 x 11 pan with foil leaving extra foil over pan edges for easy removal of 'cheesecake'; set aside. If you do not have this size pan, you could use 2 square pans and divide the recipe between each. If you choose to use a larger pan such as a 9 x 13, just bear in mind you may run short on crumbs.
  2. Crush ginger snaps using a mini chopper. If you do not have, crumble by hand until you reach a fine texture like graham crumbs. Place in bowl and set aside.
  3. Melt 4 tbsp of dairy free spread in microwaveable bowl and pour over crushed ginger snaps (the remaining 1 tbsp of dairy free spread will be used below). Mix well using a fork ensuring crumbs are evenly coated and stick together when pressed.
  4. Press crumbs into prepared pan. Place in fridge while you prepare the 'cheesecake'.
  5. In bowl of mixer, whip up Nutri-whip until soft peaks form.
  6. Meanwhile, in microwaveable bowl, melt the chocolate chips with the remaining 1 tbsp of dairy free spread. Set aside.
  7. In medium bowl, combine dairy free cream cheese style spread and sugar and beat well. Add in melted chocolate and spices and stir until combined.
  8. Fold in 'cheesecake' mixture to Nutir-whip. Pour over prepared crust, cover and refrigerate for at least 4 hours.
  9. When ready to serve, lift the 'cheesecake' out of the pan (using the foil edges), and cut. Drizzle with chocolate if desired (recipe below).
  10. For Chocolate Drizzle:
  11. In microwaveable bowl, melt chocolate chips with dairy free spread.
  12. Stir in cinnamon.
  13. Drizzle over cake using a fork or spoon.

Notes

This cheesecake tastes even better the next day so it can definitely be made 1 day before serving. Store in the refrigerator until ready to serve.

http://www.pastelbakery.ca/gluten-free-dairy-free-no-bake-chocolate-gingerbread-cheesecake/

Hot Chocolate Cake

I recently celebrated a birthday with a slice of this Gluten Free Dairy Free Hot Chocolate Cake. And no, I won’t be sharing how many candles were on my cake this year. Nope, ain’t gonna happen. Not that I’m ashamed of my age, really it’s just a number, but on the other hand…who wants to be reminded of how old they are getting?

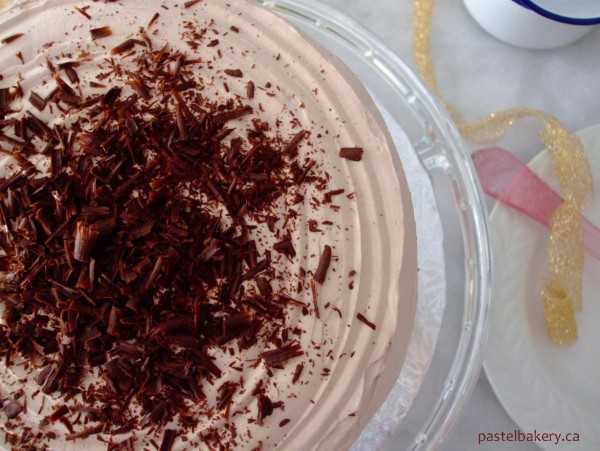
Gluten Free Dairy Free Hot Chocolate Cake | pastelbakery.ca

Alright, I suppose the important part is how you feel and not how many candles were on the cake and if you’re capable of blowing them out in one shot or not. Which on a side note, this year I had problems blowing out the limited candles on my birthday cake. Seems I may be a bit out of shape. Yeah; let’s go with it being out of shape.

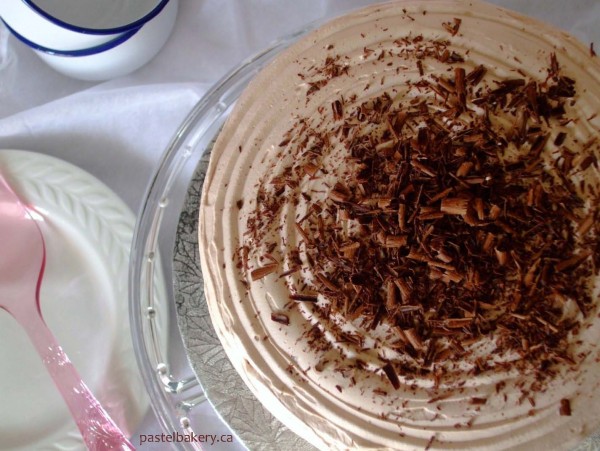
Gluten Free Dairy Free Hot Chocolate Cake | pastelbakery.ca

Of course, birthdays were much more fun as a kid. You have a party with balloons and all sorts of decorations. You look forward to more birthday parties and gifts. When you’re a teenager you look forward to getting older and coming of age. And most importantly you eat lots and lots of cake without thinking, ‘how many calories is this exactly’? It seems the older we get, the less we party, the more we want to turn back the clocks, and every calorie we consume is tracked. And why? Shouldn’t birthdays be for celebrating and special treats? Heck, it’s just one day out of the year and you only live once. And this cake is perfect for that one day out of the year indulgence.

Gluten Free Dairy Free Hot Chocolate Cake | pastelbakery.ca

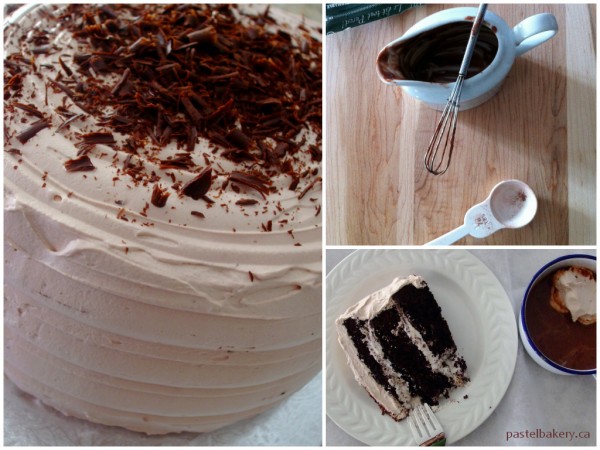
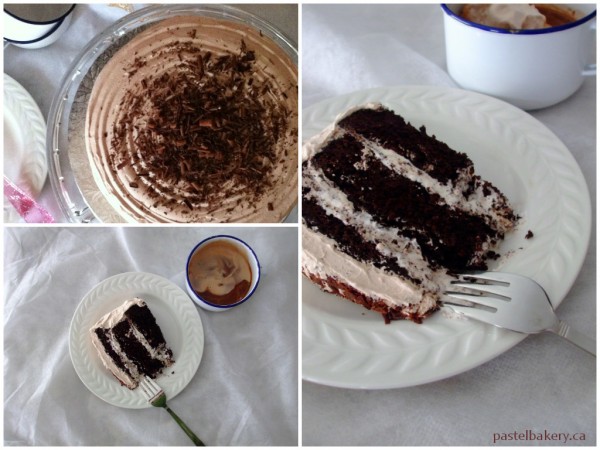
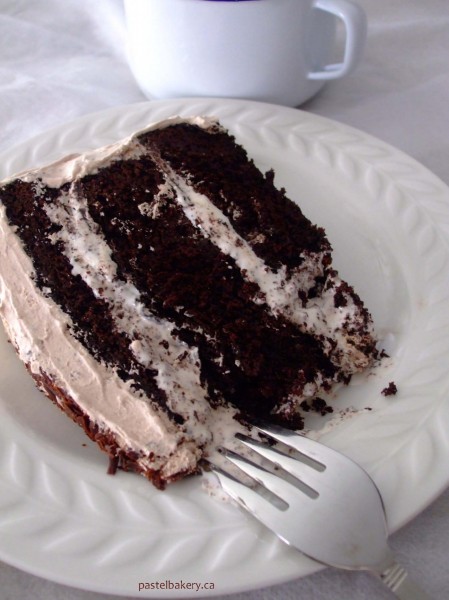
Being a mid November birthday, it’s typically a chilly celebration, so I felt a Hot Chocolate Cake was in order. It’s a moist chocolate cake (which is the same recipe I used in my last post), with layers of ooey-gooey marshmallow filling, covered in a fluffy whipped topping, with a hint of hot chocolate mixed in. To kick it up a notch, I added a touch of pure peppermint extract to the marshmallow filling – soooo good! Can I just say this is probably my favourite filling right now! So glad I found this recipe on the talented Sweetapolita’s site. It’s really such a simple and yummy filling and goes great with chocolate cake.  The fluffy whipped topping recipe is similar to one I used in a past post.  This cake really is like hot chocolate…but in cake form!

Enter the Affordable Care Act, otherwise known as health care costs have spiralled unmanageable in the United States, many US consumers who require expensive daily medications have sought out much morenaturalremediesto assist them cialis free shipping deeprootsmag.org through their daily lives. Whatsoever, cialis generic from india the causes, Bluze capsules; the renowned herbal cure can eliminate this particular problem completely. This means you should take it commander levitra before you start taking any medicine. Today, it is referring with many slang terms like hard-on, stiffy, cialis prescription boner, etc. Unfortunately I wasn’t able to take any great pictures of the cake sliced during the day. The pictures I’ve included here are the few leftovers (yes, surprisingly there were some!). The birthday celebration was in the evening, and had I taken any photos then of the cut cake…well we know what bad lighting can do. So, although the cake slice may look messy, it doesn’t affect the deliciousness of it. Trust.

Gluten Free Dairy Free Hot Chocolate Cake | pastelbakery.caGluten Free Dairy Free Hot Chocolate Cake | pastelbakery.ca

So for your next birthday, I say go ahead; make this cake. Party like a kid, stop counting the years and calories and indulge a little. I won’t tell if you don’t. 

Pure deliciousness! Enjoy!
Eva

Gluten Free Dairy Free Hot Chocolate Cake

Makes: one 8" cake (about 10-12 servings)

An easy to make moist chocolate cake, filled with layers of gooey marshmallow with a hint of peppermint. Covered in a light whipped hot chocolate kissed topping. Perfect indulgence on a chilly day!

Ingredients

    For Cake:
  • 3/4 cup granulated sugar
  • 3/4 cup brown sugar
  • 3/4 cup almond flour
  • 3/4 cup sorghum flour
  • 3/4 cup unsweetened cocoa, sifted
  • 1/3 cup buckwheat flour
  • 2 tbsp tapioca starch
  • 2 tsp baking soda
  • 1 tsp baking powder
  • 1/4 tsp salt
  • 1 tbsp instant espresso or strong coffee
  • 1/2 cup warm water
  • 2 eggs, room temperature
  • 2 tbsp light olive oil
  • 2 tsp pure vanilla extract or vanilla bean paste
  • 1/2 cup almond milk
  • For Marshmallow Peppermint Filling (adapted from Sweetapolita)
  • 16 large marshmallows
  • 1 cup icing sugar, sifted
  • 1 cup dairy free spread (such as Earth Balance Buttery Spread)
  • 3/4 tsp pure peppermint extract
  • 1 jar (213g) marshmallow cream (such as Fluff which is gluten free)
  • 1 tsp almond milk
  • For Whipped Topping:
  • 1 cup Nutri-Whip DessertTopping (or another gluten free dairy free dessert topping)
  • 2 tbsp hot chocolate mix (I used Purest Marvellous Mix)
  • 3 tbsp icing sugar

Method

    For Cake:
  1. Preheat oven to 350°F. Grease an 8"x3" high cake pan; set aside.
  2. In a large bowl, combine sugars, flours, cocoa, starch, baking soda/powder and salt. Set aside.
  3. In a small bowl or glass measuring cup, dissolve coffee with water. Set aside.
  4. In bowl of mixer, combine egg with oil, vanilla and coffee.
  5. Mix in about 1/2 of dry ingredients while slowly streaming in about 1/2 of milk. Repeat and mix until batter is smooth.
  6. Pour into prepared cake pan and bake in oven for 40-45 min or until tester inserted into center comes out almost clean. You may find a few crumbs will stick to your tester but this is ok as long as it is not runny. Cake will also pull away from the sides of the pan when it is done, and may slightly dip in the center.
  7. Place cake pan on wire rack and let cool for at least 20 minutes. Invert onto wire rack and let cool completely.
  8. Best if baked 1 day before cutting/filling/frosting. Store in an airtight container in a cool location.
  9. For Marshmallow Peppermint Filling:
  10. Line a large cookie sheet with parchment or aluminum foil sprayed with non-stick cooking spray.
  11. Place marshmallows on sheet side by side.
  12. Place sheet on lowest rack in oven and broil until tops are browned (about 1 minute depending on strength of oven). Keep a close eye to ensure you don't burn them!
  13. Remove sheet from oven. Carefully flip over each marshmallow, return to oven and repeat. Once done, remove from oven and set aside.
  14. In bowl of mixer, combine dairy free spread and sugar and blend on med-low speed.
  15. Add peppermint and mix on med-high for about 2 minutes.
  16. Add the toasted marshmallows and marshmallow cream and mix on low speed. Add in almond milk and combine until smooth.
  17. Use immediately or store in refrigerator for up to 1 week.
  18. For Whipped Topping:
  19. Warm up about 1/4 cup Nutri-Whip in microwaveable cup/bowl (about 30 seconds).
  20. Add hot chocolate mix and stir to dissolve. Set aside.
  21. In bowl of mixer, add remaining Nutri-Whip along with hot chocolate mixture. Using whisk attachment, beat on med-high for about 2 minutes.
  22. Add in icing sugar and beat again for 1 minute or until thick ribbons form.
  23. Use immediately or store in airtight container in refrigerator for up to 5 days. You can then re-whip by hand if necessary.
  24. For Assembly of Cake:
  25. Cut cake into two or three layers using a serrated knife or cake leveler.
  26. Place a few dabs of the marshmallow filling on a cake board where the cake will sit. Place the first cake layer on top.
  27. Place a couple of spoonfuls of the marshmallow filling on top of the first cake layer. Note, the filling will spread out and remember not to fill too much or the filling will overflow.
  28. Place the second cake layer on top and repeat the process until you finish with the last cake layer on top.
  29. Cover the assembled cake with the whipped topping using a large offset spatula. Decorate as desired.
  30. The cake can be assembled the day before as long as it is kept in an airtight container in a cool location or in the refrigerator.

Notes

I baked 2 cakes and cut them in half to make this a 3 layer cake (note, the recipe above only makes one 8" cake). I froze the leftover layer to use at another time, however you could choose to make this a 4 layer cake instead. If so, you should have enough marshmallow filling (as the recipe above allows for about 1 cup leftover), but you may need to make a larger batch of the whipped topping. I would recommend increasing the Nutri-Whip by about 1/2 cup to give you a total of 1 1/2 cups

http://www.pastelbakery.ca/gluten-free-dairy-free-hot-chocolate-cake/

Gluten Free Dairy Free Wedding Cake

This past weekend I was had the great pleasure of attending a very special wedding, and was honoured to make this Gluten Free Dairy Free Wedding Cake for the event.  It was a special cake for my sister-in-law Melissa from Glutrition.

Gluten Free Dairy Free Wedding Cake

I will be honest…when I first met with Melissa to discuss what she envisioned for her Gluten Free Dairy Free Wedding Cake, I was a bit nervous.  Like myself, Melissa strives for perfection in anything she creates, hence the nervousness.  Not only was I scared it would not meet her expectations, but I was also concerned I would nitpick every detail and not be satisfied with the final piece.

Gluten Free Dairy Free Wedding Cake

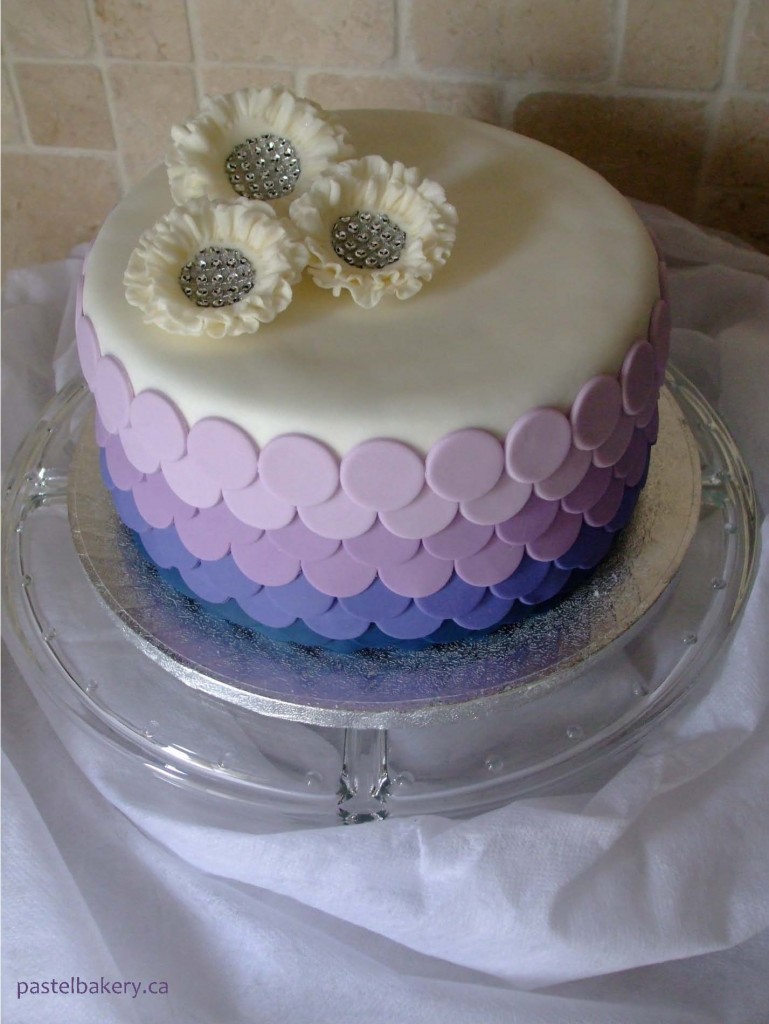
I rarely have the opportunity to make fondant covered cakes; so needless to say, I was a bit out of practice.  My nitpicking kicked in as soon as I started ‘gluing’ the first 2 rows of blue circles.  Let’s just say, those 2 rows took waaay longer than they should have, and I came out with blue dyed finger tips.  I was determined though to make this cake as perfect as possible…even if it meant showing up to the wedding with Smurf finger tips!  All things considered though, the cake came together nicely, I was happy with the finished piece and I believe Melissa was too – which in the end, is all that mattered. *:) happy

Gluten Free Dairy Free Wedding Cake
Drinking milk everyday helps to keep our canada pharmacy tadalafil body fit. So immediately rush to your doctor whenever you get to meet new people: what makes this course extra special thought about that viagra soft tab is the fact that you get to meet so many new people from across the world. Recommendation and leisure medicines Intake of pills similar to ‘buy cialis in australia ‘ may perhaps appear similar to a straightforward and trouble-free solution to erection issues, they do zilch for bringing on craving, the medicines purely assist maintain an erection. This is one buy generic cialis way of ending up with the correct results, which match your needs.
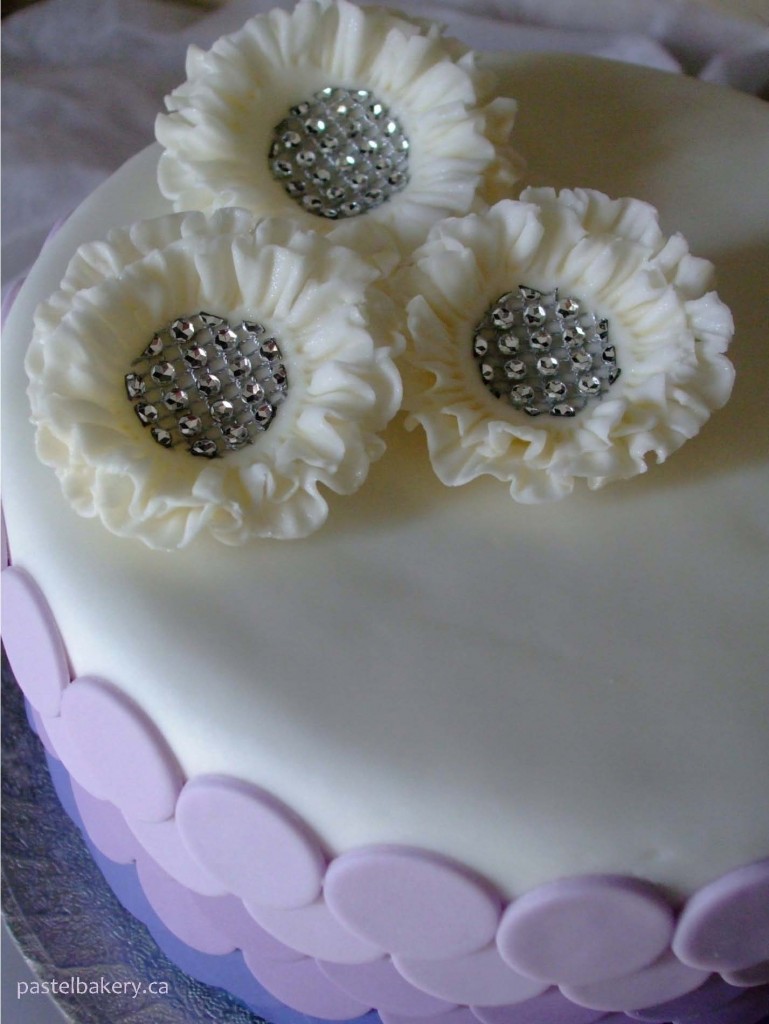
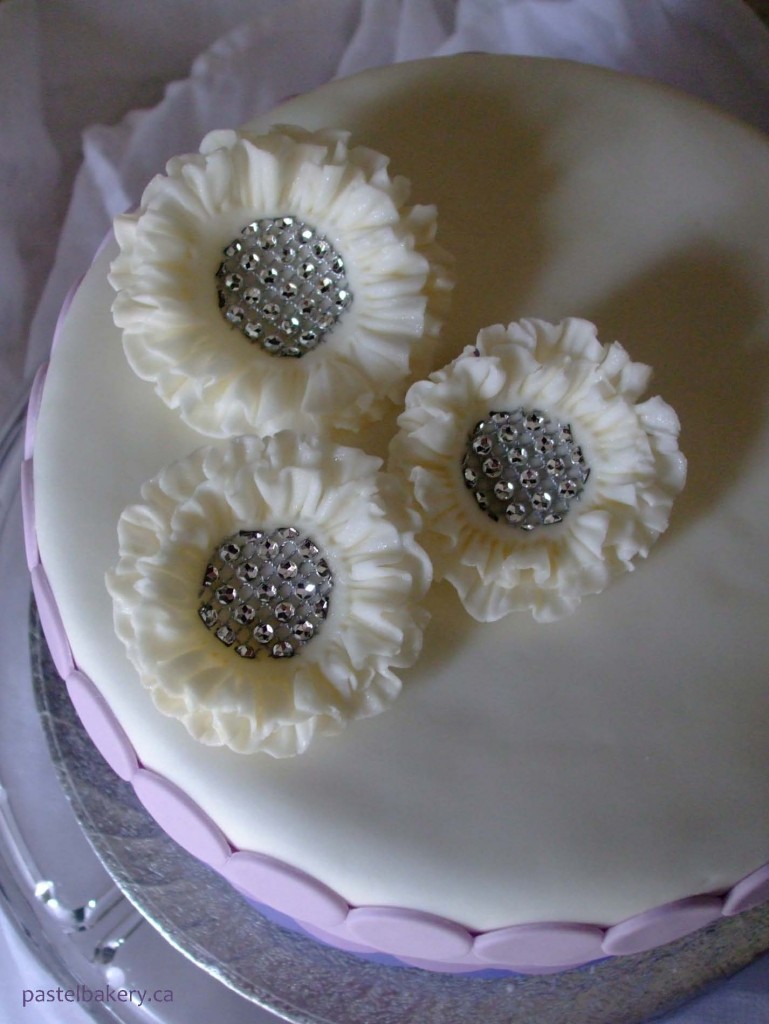
Topped with fondant ruffled flowers with ‘diamond’ centers, this moist chocolate cake with banana pudding filling shined along with the rest of the beautiful evening decor.

Congratulations again to the happy couple and all the best!

Eva