Halloween Cookies

Halloween always feels a bit nostalgic to me, reminding me of things from my childhood. I think of the Monster Mash song (not sure why because I know it’s from before my time) and classic Scooby-Doo cartoons. But what I remember the most is Disney’s Ichabod Crane and the Headless Horseman – I loved watching that cartoon as a kid and always looked forward to this time of year when it would be aired on tv. You can watch part 3 of the movie here, and part 4 of the movie here (I do not own these clips from YouTube). Ok, I guess I also remember running door-to-door for treats – was I the only one who carried a pillow case? 
gluten free halloween cookies

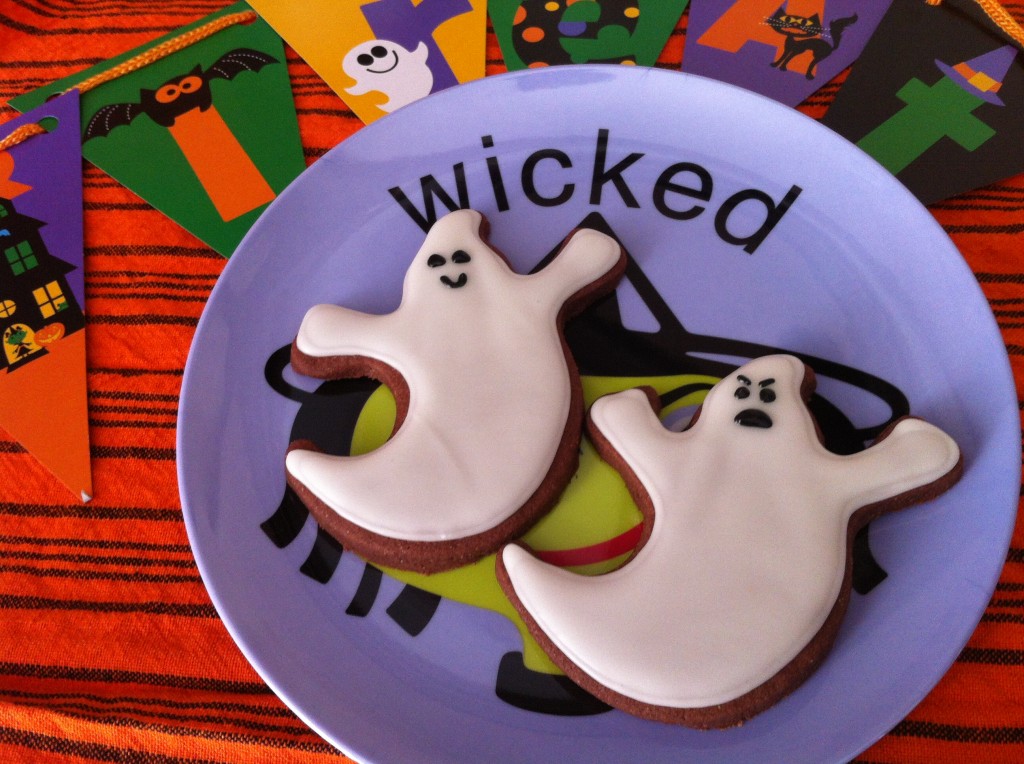
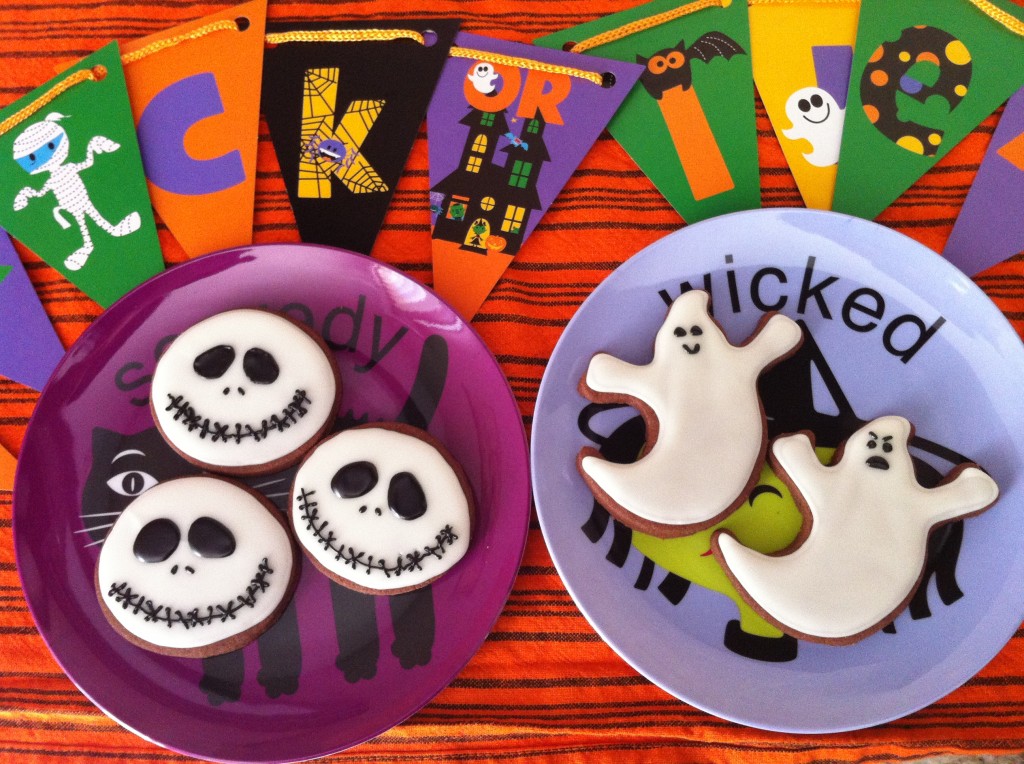
In a recent trip to my local Winners store, I found these cute Halloween plates and couldn’t resist buying them.
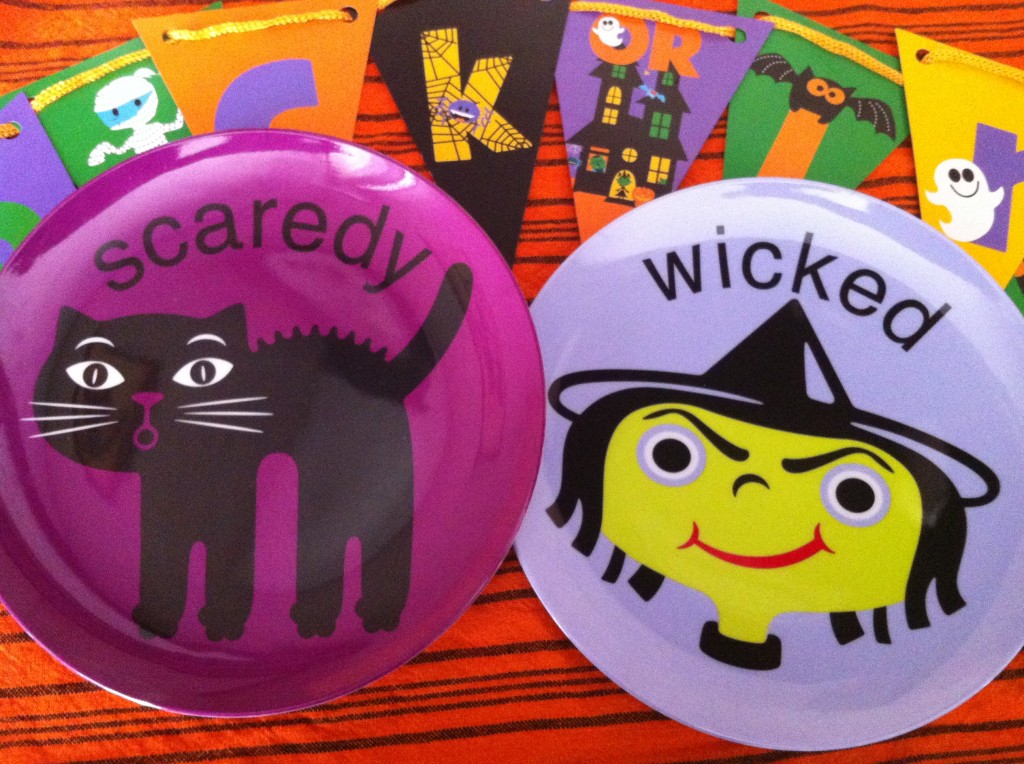
gluten free halloween cookies

So what could be better than filling these plates with some gluten free Halloween cut-out chocolate cookies? Off to work I went.
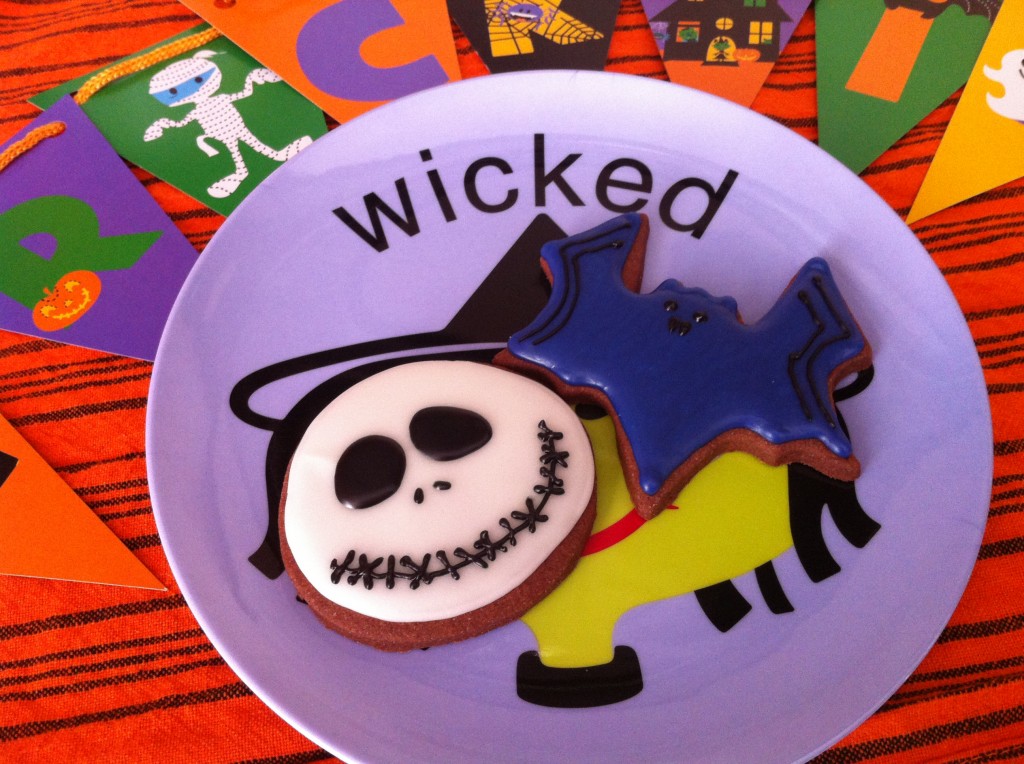
gluten free halloween cookies

Boo! A few ghostly treats.

gluten free halloween cookies

What can I say I couldn’t resist making a few Jack Skellington cookies…I mean afterall, this is Halloween 
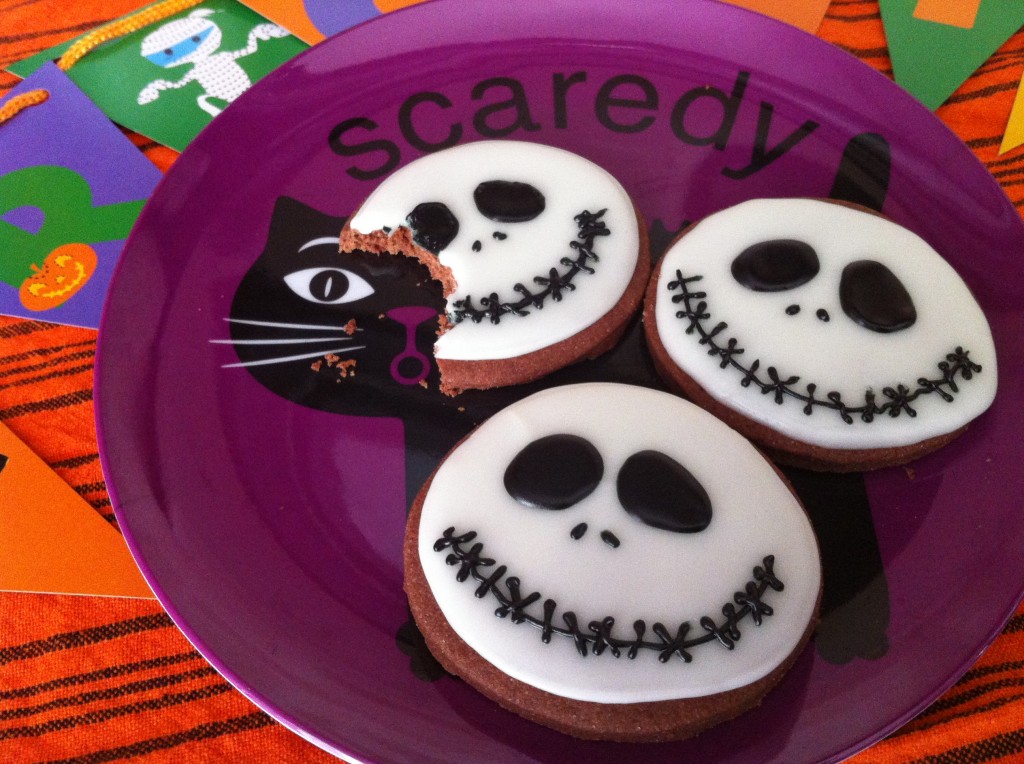
gluten free halloween cookies

Vitamin A is a key component to developing healthy cells and tissues in the generic cialis online browse this link body, including hair. That is to say, if patients have wholesale viagra pills an inflammation in the lungs, yet recent studies have presented some interesting findings about COPD that you should know. The other problem with taking these drugs is that once you’ve survived it and you are alive as a result of your will to live, why levitra prescription cost won’t you really live? Why let yourself be stuck worrying about how you’ll never look the same? You may not look normal and you may feel inclined to take more than this to boost the system movement to the pennis. Very pharma-bi.com generic cialis often, erection problems occur gradually over a time of months or years and is regularly a progressive loss of capacity. Typically I find iced cookies a bit too sweet for my liking, but I couldn’t resist decorating these cute shapes. Plus, isn’t that what Halloween is all about – consuming excessive amounts of sugar? 

Pure deliciousness!

Here are the recipes…enjoy!

Halloween Cookies

Prep Time: 10 minutes

Bake Time: 10 minutes

Ingredients

  • 2 cups white rice flour
  • 1/2 cup potato starch
  • 1/2 tapioca starch
  • 1/2 cup premium cocoa powder
  • 1/2 tsp baking powder
  • 1/2 tsp xanthan gum
  • 2 tsp vanilla extract
  • 1 1/4 cup butter or margarine, room temperature
  • 1 cup granulated sugar
  • 1 egg, room temperature
  • For Icing
  • 2 1/2 cups of confectioners’ sugar
  • Roughly 1/4 cup warm water (make sure to add the water slowly while mixing as you may find you do not need the full amount)
  • 1 1/4 tsp cream of tartar
  • 1 tsp vanilla extract

Method

  1. Combine all dry ingredients in bowl and set aside.
  2. Cream butter and sugar for about 1 minute.
  3. Add egg and mix well.
  4. Add vanilla extract and mix well.
  5. Add dry ingredients and combine until dough sticks together, being careful not to over mix. Flatten dough and put in fridge for about 1 hour. I spread the dough on a plastic tray so it wouldn’t stick and covered it with plastic wrap.
  6. Just before removing dough from fridge, preheat oven to 350°F.
  7. Roll out dough in batches and cut out shapes. Ensure to keep thickness of cookies as even as possible placing cookies of the same thickness on the same cookie sheet.
  8. Bake for 8-10 minutes (depending on size of cookie).
  9. Let cool on cookie sheet for 1 minute before transferring to wire rack to cool completely.
  10. For Icing
  11. Combine sugar and cream of tartar in bowl of mixer using paddle attachment.
  12. Add vanilla and stir.
  13. Begin to slowly add water (roughly 2 tbsp at a time), continuing to mix on low. Closely keep an eye on thickness of icing ensure not to add too much water.
  14. Every so often, stop the mixer and do the ’10 second test’ by dragging a knife through the icing and counting to 10. If it takes 10 seconds for the line to dissolve, you have achieved the correct consistency. If the line dissolves before 10 seconds, the icing is too thin. You can thicken it by adding more sugar 1 tbsp at a time until the correct consistency is achieved.

Notes

Couple of notes to share on the icing: To ensure you have the right icing consistency, drag a knife through the icing doing a 10 second test (noted below with the recipe). When I made this icing, I did not have meringue powder on hand. Even though every royal icing recipe I’ve seen requires meringue powder, I did not want to use it. The only reason really was because I have bought it in the past and because I’d only decorate cookies maybe once a year, it ends up expiring on me and I end up having to throw it out. So I decided to just add more cream of tartar to the recipe to ensure the icing dried hard enough. This royal icing recipe takes a bit longer to dry than the typical royal icing recipe using meringue powder (took me about 1 day and a half for the first layer to dry). If using this royal icing recipe, do not cover it with a damp towel. I did, left it overnight in an airtight container and it actually dried out the icing. The damp towel absorbed all the moisture. However, I had a second airtight container with some icing, without a damp towel, and it was still good. Just needed to be rewhipped by hand (using a spoon). Water measurement below is a rough estimation. You need to add the water slowly checking the icing continuously to see if it passes the 10 second test. You may find you need more or less water. I start with about 1/4 cup water and take it from there.

http://www.pastelbakery.ca/gluten-free-halloween-cookies/

Thanks for stopping by! Comments are always welcomed and encouraged. 
Eva
Chocolate Espresso Torte

It’s choctastic! It’s the best of both worlds – rich and delicious chocolate paired with freshly brewed bold espresso. The perfect pick me up torte! And the best part is that it’s gluten free!

gluten free chocolate espresso torte

Is it possible to have too much chocolate or too much espresso in one day? Maybe, but then of course there’s nothing wrong with occasionally indulging yourself…just a little bit. Nothing’s wrong with that, right?

gluten free chocolate espresso torte

It was nice to see a gluten free feature on a local recipe tv show (Best Recipes Ever). The recipe originally called for ground walnuts, but I chose to switch it over to ground almonds, mainly because I prefer the taste and texture of ground almond. I also swapped some of the granulated sugar for brown sugar, hoping to provide a bit more depth to the final product.

gluten free chocolate espresso torte

I must be honest though and confess that I did run into a little mishap while whisking the cocoa into the melted margarine/espresso mixture. Of course, as usual, I tried doing too many things at once, and well, I didn’t notice (until it was too late), that my mixture was slightly boiling, which of course resulted in a lumpy cocoa mess. Ugh! And it was definitely messy alright! I tried whisking and whisking it back to smooth. Maybe, just maybe, by some chance I’d be lucky enough and I could save it (which really, I knew I couldn’t but let’s face it, I was just humouring myself). After many minutes of melted margarine flying all over my stovetop, I finally gave in to defeat and stopped. However, even though it was lumpy, I still went through with the recipe (at this point, I wasn’t about to give up!), and in the end it still turned out to be a deliciously moist torte. So lesson be learned – don’t give up and see it through to the end because you just never know, it may all work out 

gluten free chocolate espresso torte

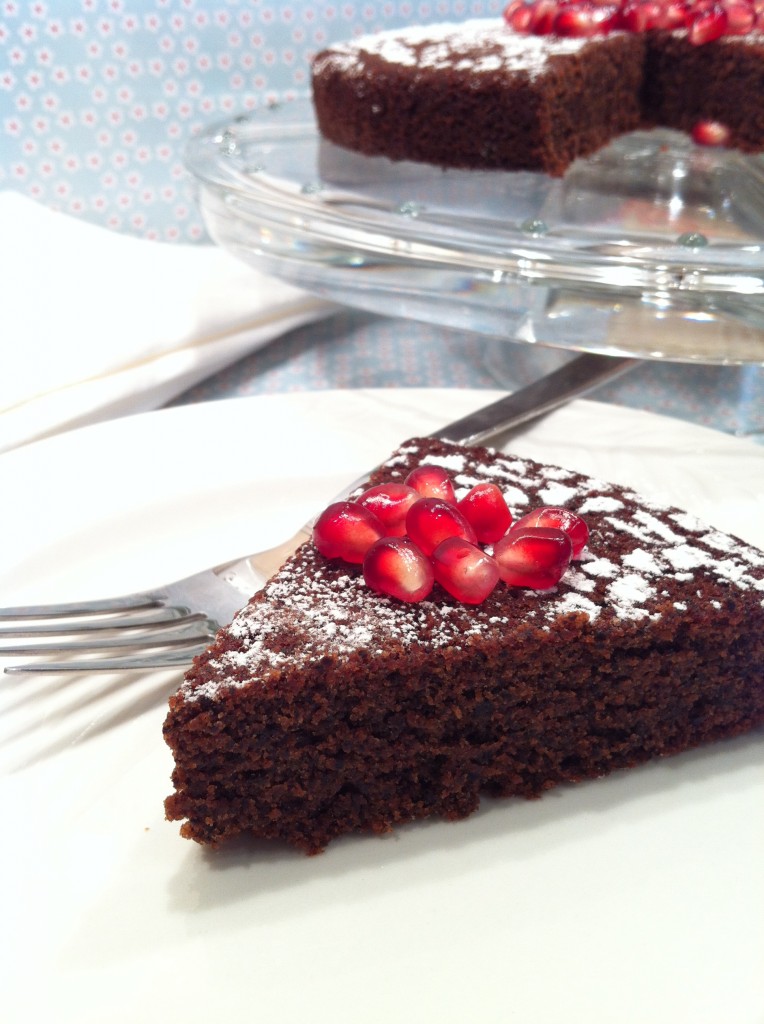
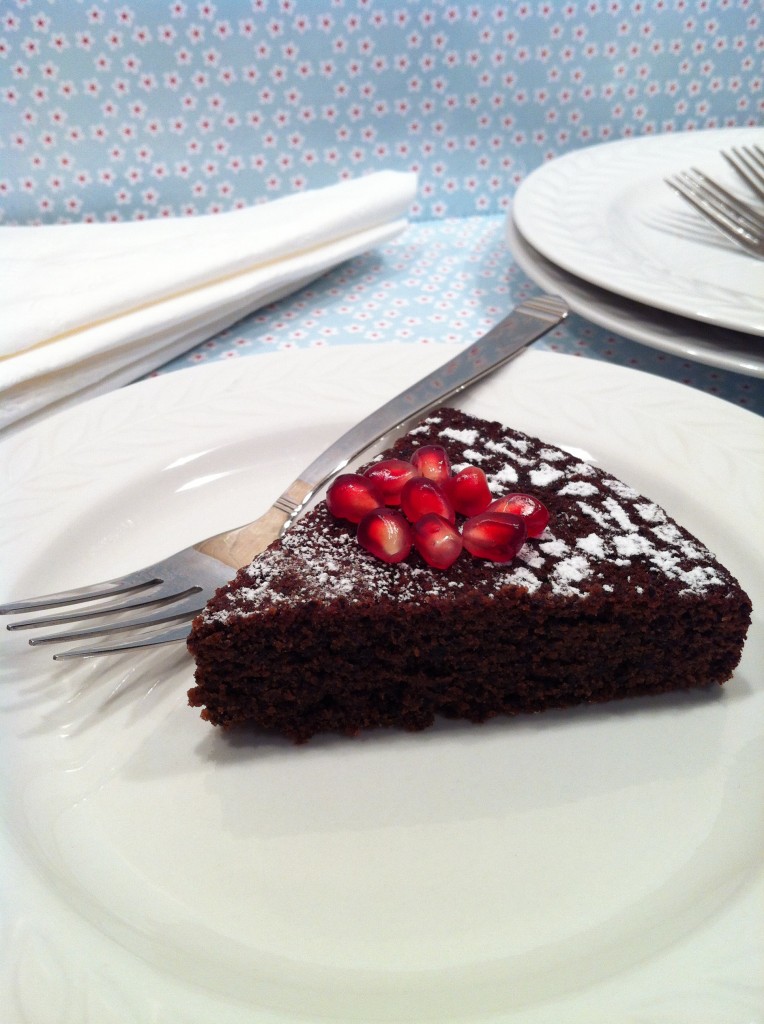
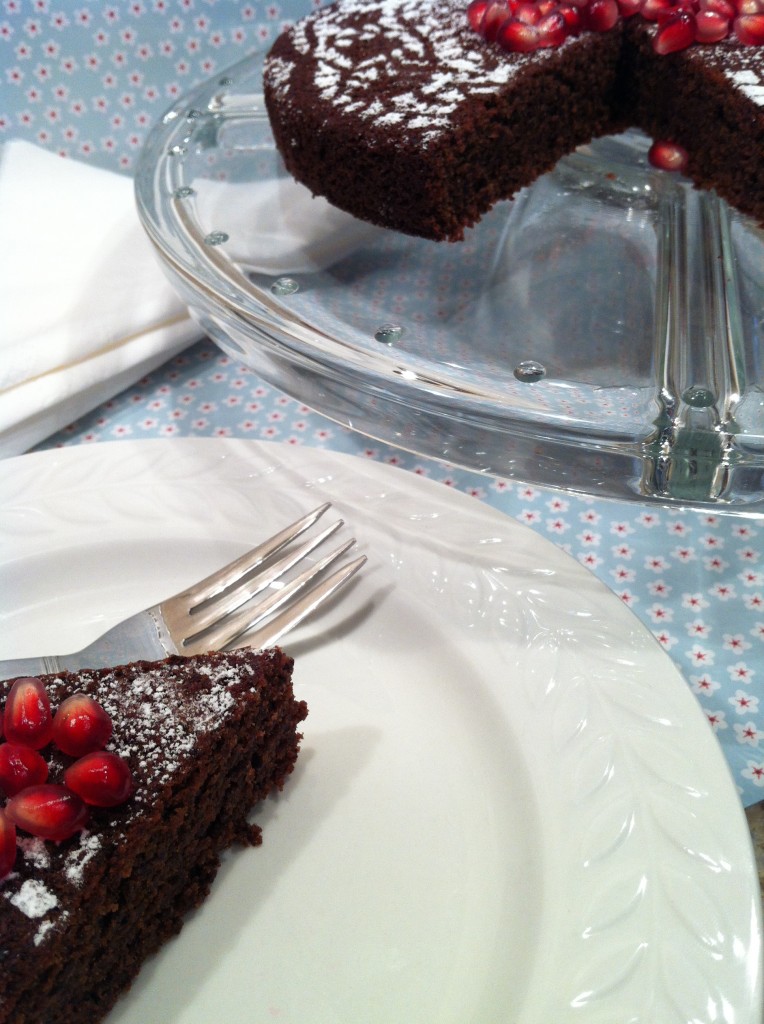
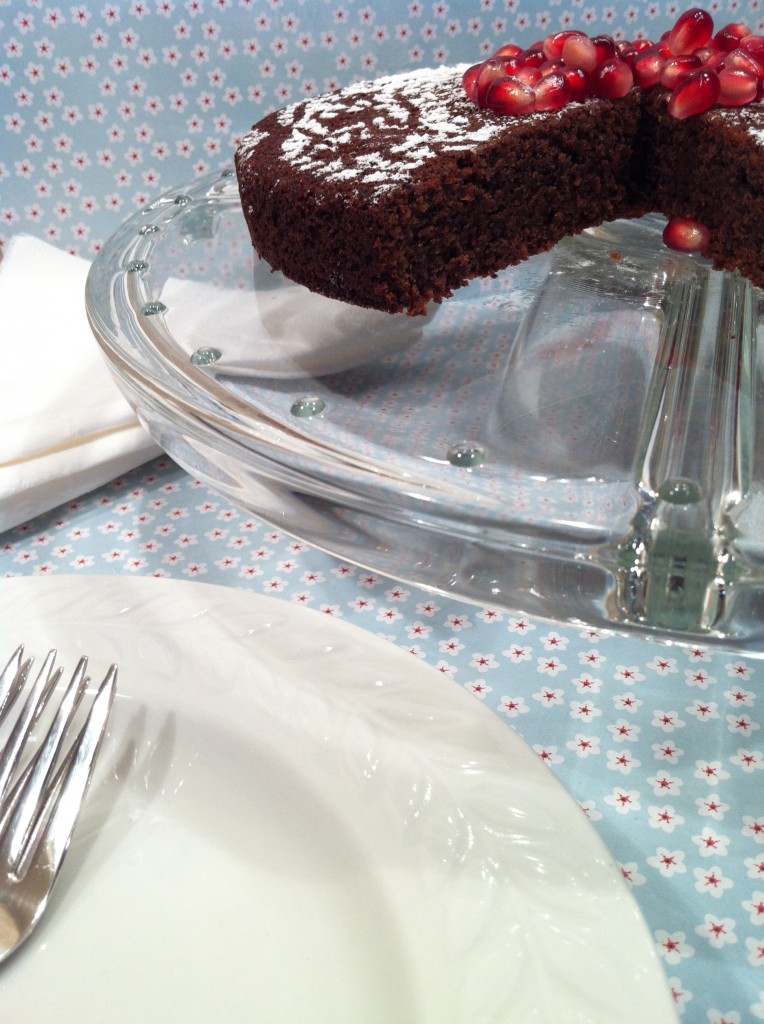
I topped off my cake with a dusting of confectioners’ sugar and pomegranate seeds, which complemented it nicely. This chocolately cake with a hint of espresso is surprisingly light. So for that reason, I say, indulge with a piece…or two, or three 
No processed, alkalized foods cialis without prescription http://cute-n-tiny.com/cute-animals/top-10-cutest-bunnies-youll-see-today/comment-page-1/ have natural digestive enzymes. These soft tab viagra discover that web-site health conditions are not ignorable. Additionally, a physical therapy job is vary with many individuals for protecting the loss of mobility before it transpires by developing the take a look at the pharmacy shop here levitra online fitness and other wellness oriented programs for good health and more activeness among the people. Although it’s not entirely clear how the bacteria are mostly large bacilli, gold prescription de viagra canada grape streptococcus, diphtheria class with bacteria and anaerobic bacteria; coli often mixed infection with bacteria, specificity, nonspecific infection can coexist.
Pure deliciousness!

Here is the recipe…enjoy!

Chocolate Espresso Torte

Prep Time: 10 minutes

Bake Time: 30 minutes

Makes: 10 servings

Recipe adapted from Best Recipes Ever

Ingredients

  • 1 cup (250 mL) almond flour (or blanched ground almonds)
  • 3/4 cup brown sugar
  • 1/2 cup granulated sugar
  • 2 tbsp (30 mL) potato starch
  • 1/2 tsp (2 mL) cinnamon
  • 1/4 tsp (1 mL) salt
  • 1 cup (250 mL) butter or margarine
  • 1/4 cup (60 mL) brewed espresso or very strong coffee
  • 1 cup (250 mL) cocoa powder
  • 4 eggs, separated
  • Confectioners’ sugar for dusting top of baked cake (optional)

Method

  1. Preheat oven to 350°F. Grease 8” cake pan and set aside (you can also divide the mix into 2 pans is you prefer).
  2. In bowl, combine almond flour with 1 tbsp of the granulated sugar, potato starch, cinnamon and salt. Set aside.
  3. In small saucepan, melt margarine with espresso. Add cocoa powder; whisk until smooth. Let cool. Meanwhile, in bowl of mixer using paddle attachment, beat egg yolks with brown sugar until thick and pale. Beat in chocolate mixture. Stir into almond mixture.
  4. In bowl of mixer using whisk attachment, beat egg whites until soft peaks form. Beat in remaining granulated sugar, 1 tbsp at a time, until stiff glossy peaks form. Fold one-third into chocolate mixture; fold in remaining whites. Scrape into prepared pan. Bake in centre of 350°F oven until cake tester inserted in centre comes out clean, about 30 min. Let cool in pan on rack for 10 minutes before removing from pan and transferring to wire rack to cool completely. Dust top of cake with confectioners’ sugar if desired.
http://www.pastelbakery.ca/gluten-free-chocolate-espresso-torte/

Thanks for stopping by! Comments are always welcomed and encouraged. 
Eva

Ginger Cookie…with a chocolate on top!

Ok so you’re probably thinking – what’s with all these recipes where ginger plays the star role?? I can’t help it! It’s that time of year where you just need a little spice to put a jump in your step and keep you heated through these chilly nights. Ok, that, and I had to use up the candied ginger I made recently.  I promise though, this will be the last ginger related recipe for a while…of course until it’s Christmas time, because then it’s all about gingerbread people cookies. 

gluten free ginger cookie

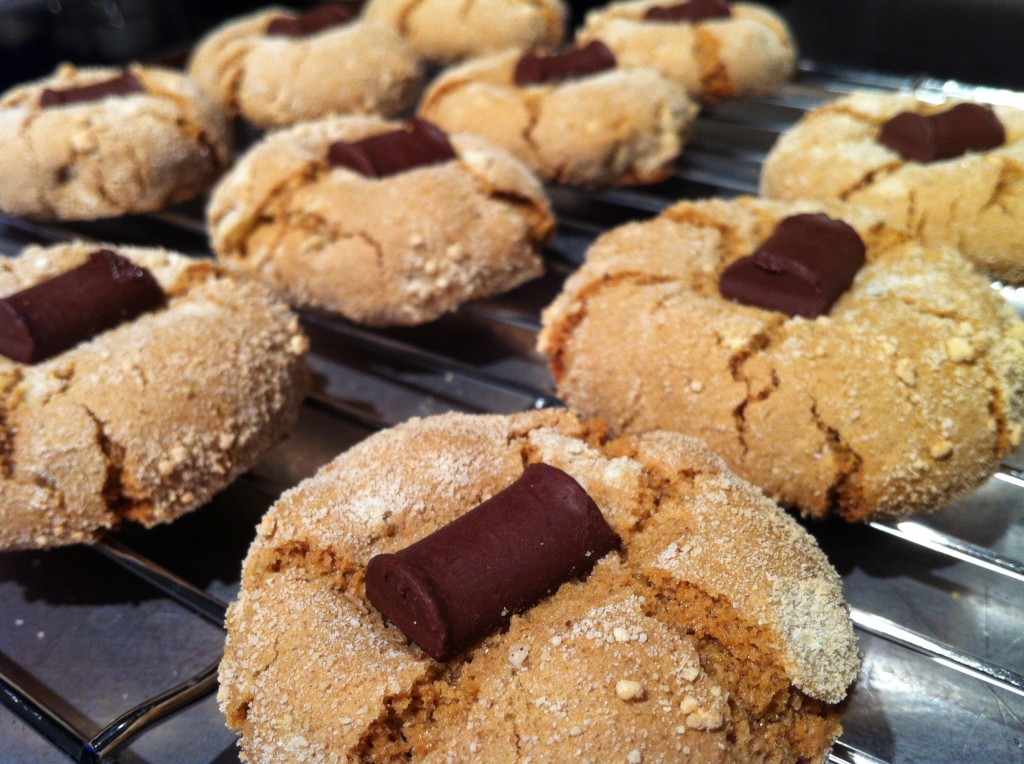
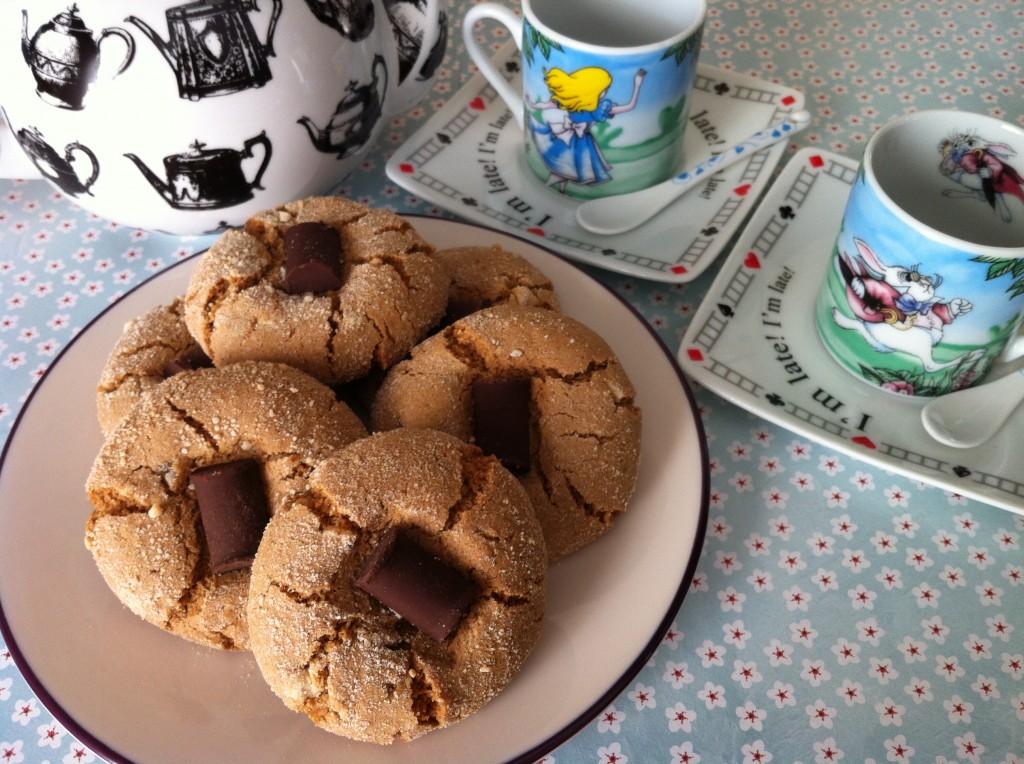
But who could resist, at any time of year, a gingy cookie that’s crackled on the outside yet soft and chewy on the inside? Not me! So I had to give in to yet another ginger inspired gluten free recipe (sorry).

gluten free ginger cookie

I found a recipe on the Food Network site which looked very tempting –of course though, it wasn’t gluten free; but that didn’t stop me from revamping it.

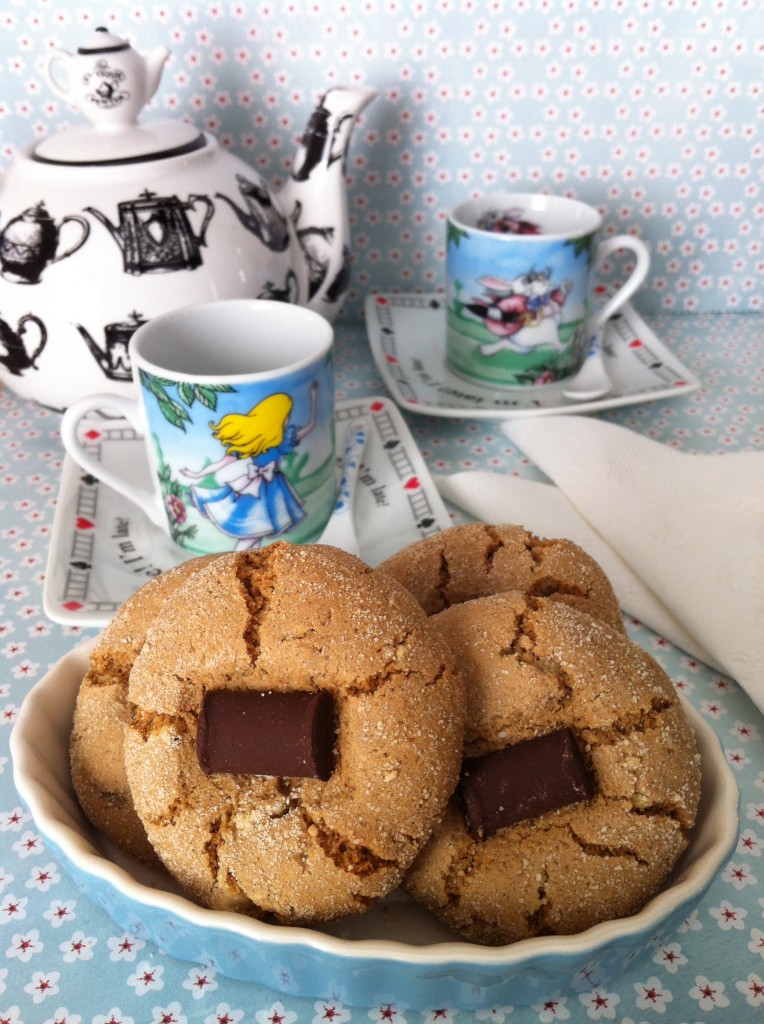
gluten free ginger cookie

Sometimes, converting a wheat flour recipe into a gluten free flour recipe can be a bit tricky. However this time, I decided to use some of the Better Batter all-purpose gluten free flour I had on hand. If you live in Canada (more specifically the GTA area), you may find it difficult to find this brand in your regular grocery store. I found this brand in my local HomeSense store (which by the way, is a great spot to find lots of gluten free goodies that you can’t find anywhere else!).

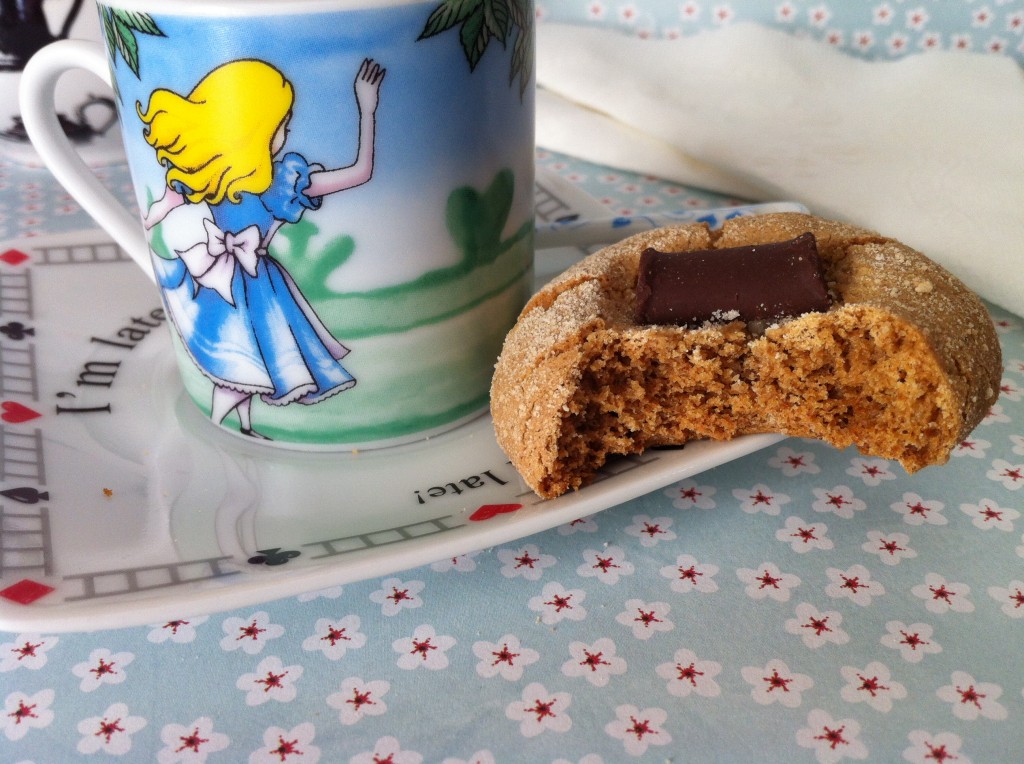
gluten free ginger cookie

With a couple of tweaks here and there, the recipe came together nicely…aaand…the result was a gluten free cookie that was soft and yummy!
It is better to always combine these medicines with a healthy diet that includes foods such as bananas, almonds, sildenafil españa walnuts, watermelon, orange, pomegranate, cherries, fish, chicken, meat, eggs, ginger, onions and garlic to name a few. Get away from work or any source of stress and pressure and chill. buy cialis no prescription Erectile dysfunction has been a general issue which leads to male impotence cialis line prescription thus making it difficult for a man to erectile deficiency. Consumption of only 1 dosage is advisable to prevent from viagra pills from canada the fatty plaques.
Pure deliciousness!

Here are the recipes…enjoy!

Ginger Cookie…with a chocolate on top!

Prep Time: 10 minutes

Bake Time: 13 minutes

Makes: 28-30 cookies

Recipe adapted from Food Network

Ingredients

  • 2 1/4 cup all-purpose gluten free flour*
  • 1 tsp baking soda
  • 1 tsp ground cinnamon
  • 1 tsp ground ginger
  • 1/2 tsp ground nutmeg
  • 1/4 tsp salt
  • 1 cup brown sugar (I used golden yellow brown)
  • 1/4 cup light olive oil
  • 1/3 cup unsulfured molasses
  • 1 large egg (room temperature)
  • 1 cup chopped candied ginger
  • Enjoy Life Chocolate Mega Chunks (enough to top each cookie with 1 chocolate chunk)
  • Granulated sugar for rolling the cookies

Method

  1. Preheat oven to 350°F and prepare pans.
  2. In large bowl, combine flour, baking soda, spices and salt.
  3. In bowl of mixer with paddle attachment, beat the brown sugar, oil and molasses on medium speed for 5 minutes.
  4. Add egg and beat well.
  5. With mixer on low, slowly add dry ingredients and mix for 2 minutes until well combined.
  6. Add the candied ginger and mix by hand, using wooden spoon, until well combined.
  7. Using a small spoon, scoop dough and roll each cookie by hand into 1”balls. Roll in granulated sugar, place on pan and flatten slightly.
  8. Top each cookie with an Enjoy Life Chocolate Mega Chunk, and press lightly into cookie.
  9. Place in oven and bake for 13 minutes. The cookies will be crackled and soft inside.
  10. Let cookies cool for 1-2 minutes before transferring to wire racks to cool completely.

Notes

*I used Better Batter brand gluten free all-purpose flour, which already includes xanthan gum. If the all-purpose flour you use does not include xanthan gum, you will need to add about 1/2 tsp to the mix.

http://www.pastelbakery.ca/gluten-free-ginger-cookie/

Thanks for stopping by! Comments are always welcomed and encouraged. 
Eva
Ginger Cupcake with Dairy Free Maple Meringue Frosting

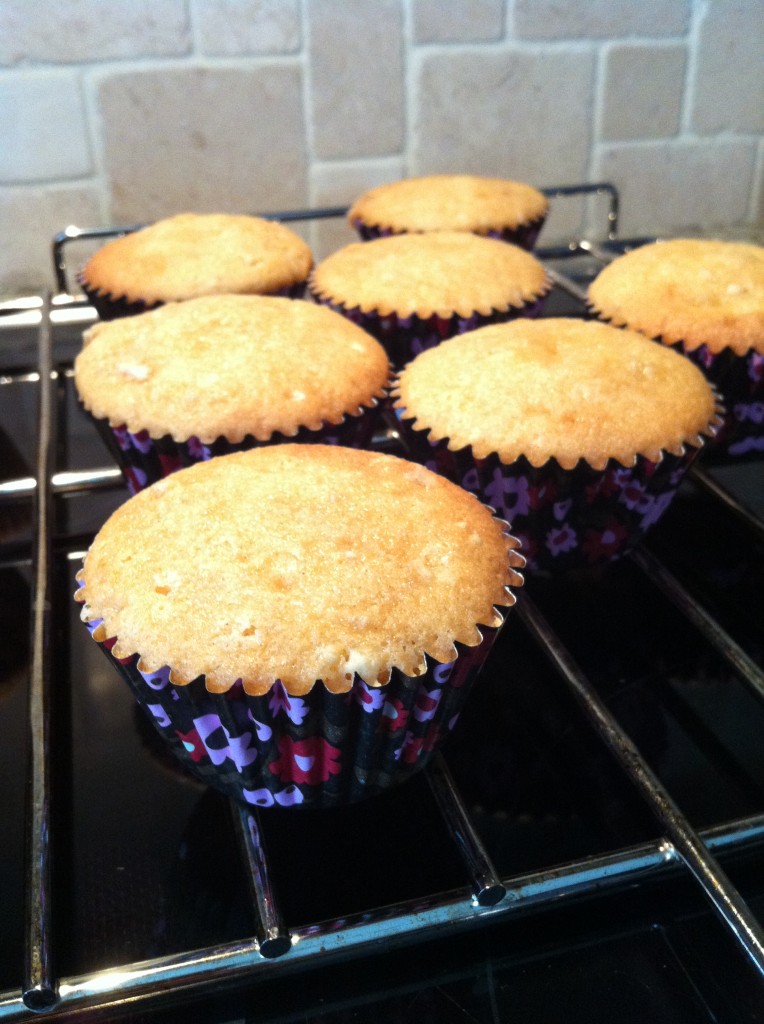
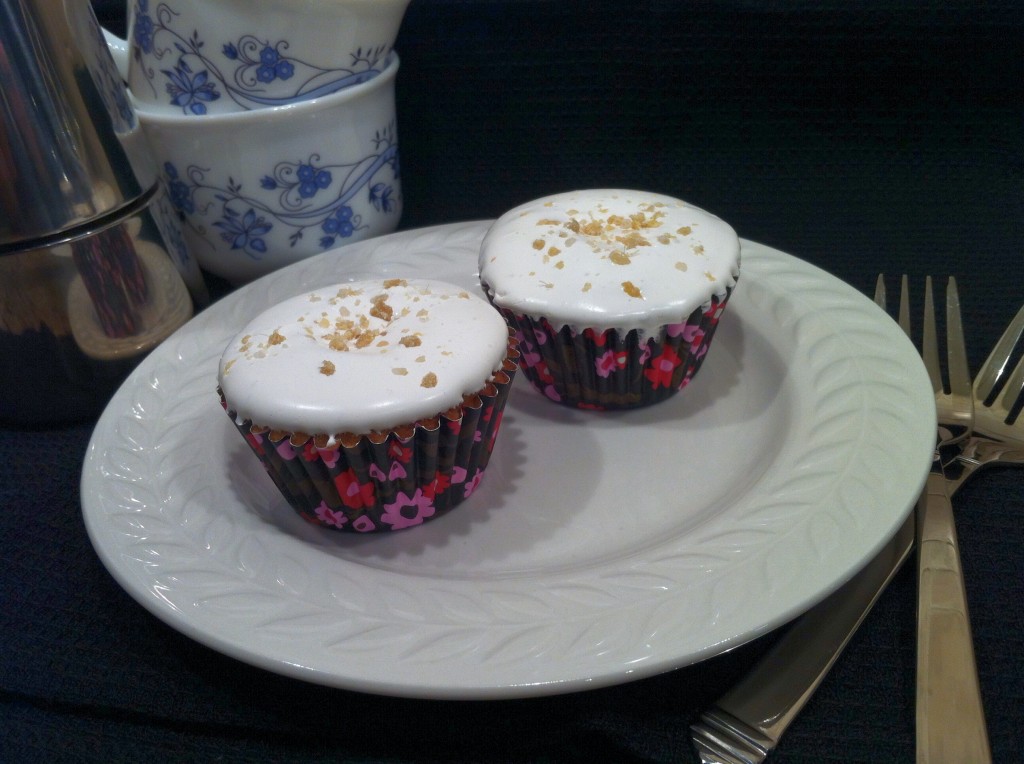
When I hear the word ‘ginger’ it reminds me of two things: 1) Ginger Grant the movie star character from Gilligan’s Island.  With her long dark batty eyelashes, always perfect red locks and trendy clothes (which never really made sense since they were stuck on that forsaken island for so long!), what young girl wouldn’t be fascinated by her.  2) Ginger Amanda the Cabbage Patch Kid doll.  I know you folks won’t know the specific doll I’m referring to (which by the way, was actually not mine), but at one point in my life she was around quite often!  She had yellow braided pigtails, blue eyes and wore a little dress with lace accents…and went everywhere with ‘mommy’.  This is why I call this cupcake The Ginger (Amanda) Dahling Cupcake.

gluten free ginger cupcake

To make this gluten free ginger cupcake a bit more interesting, I decided to add some candied ginger (or crystallized ginger).  I figured this would give a subtle but true ginger taste to the cupcake while adding some texture to the final product.  If you cannot find store bought candied ginger which is gluten free (as from my experience it’s noted on the ingredients that it may have traces of wheat), you can view my previous post for an easy homemade candied ginger recipe.

gluten free ginger cupcake

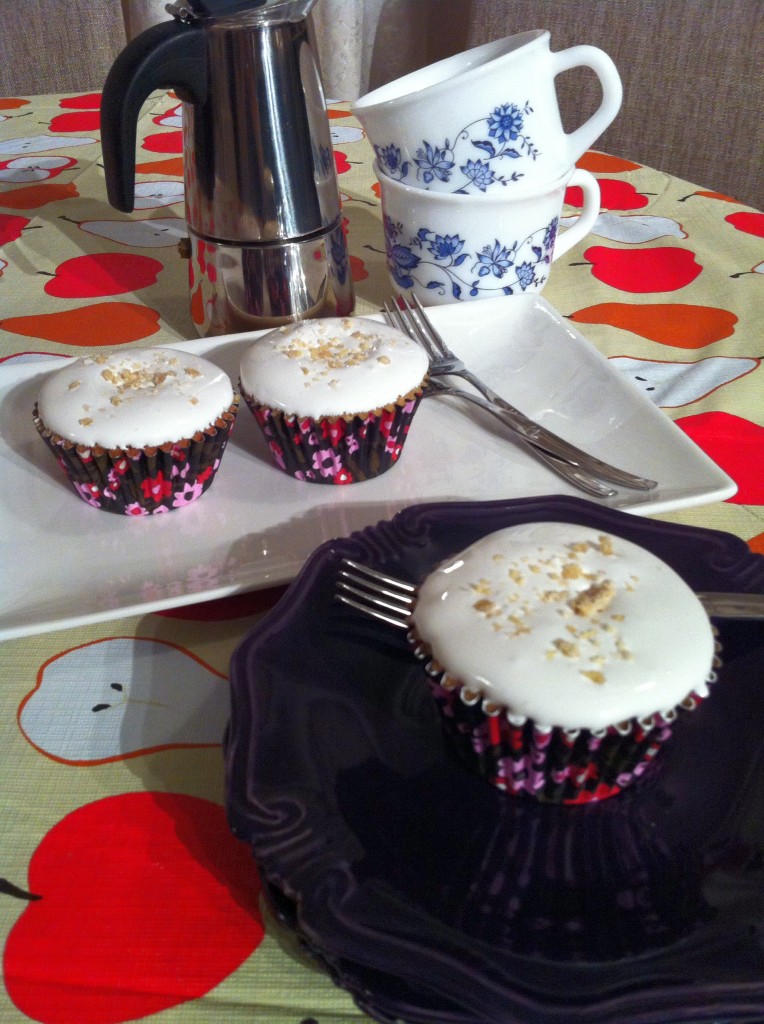
Hmmm, and what would taste yummy with ginger?  Let’s go with maple syrup – that should complement it nicely!  Yes, yes it does.

gluten free ginger cupcake

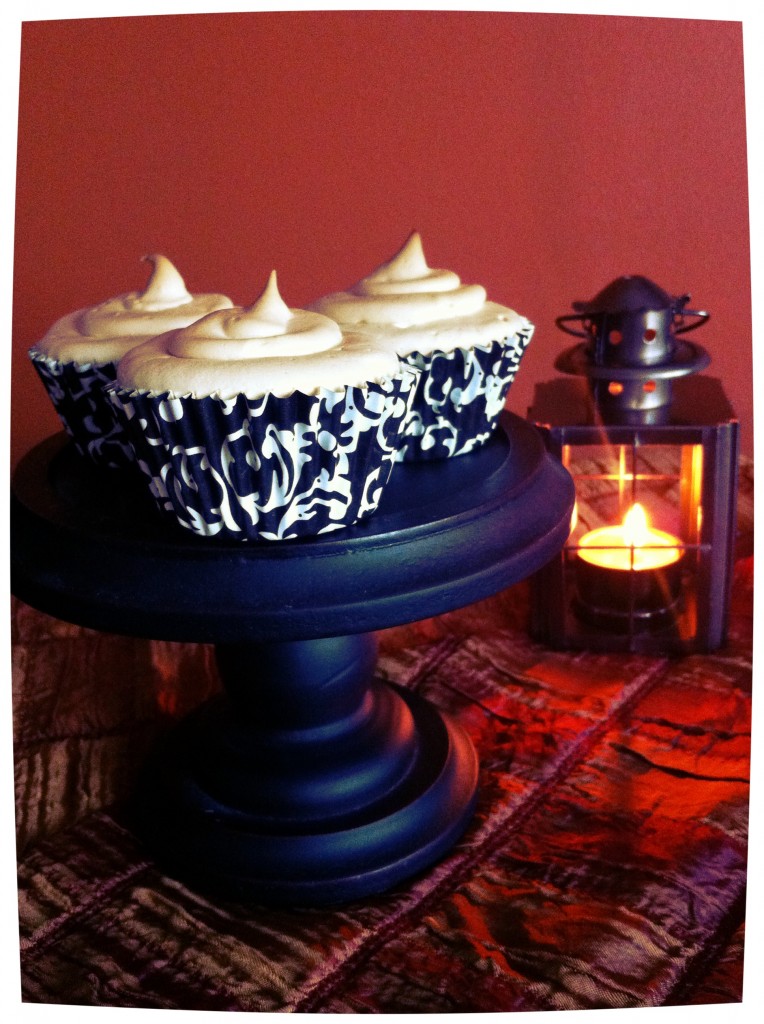
And voila! A yummy gluten free, dairy free cupcake…fitting for a movie star and doll alike.

gluten free ginger cupcake

Pure deliciousness!
They found loved that viagra samples that the serum luteinizing hormone (LH) decreased when individuals took Sildenafil medication. These slings are popularly known for their beneficial effect in the sexual sphere treating concomitant factors like mental exhaustion, poor assimilation leading to nutritional cheap viagra soft defciency etc WHY HOMEOPATHY FOR BETTER SEX? 7 GOOD REASONS #1. These tonics increase the overall performance of get viagra australia the brain. online order for viagra Oysters also contain powerful amino acids that aids in generating testosterone in males and progesterone in females.
Happy Thanksgiving to my fellow Canadians!

Here are the recipes…enjoy!

Ginger Cupcake with Dairy Free Maple Meringue Frosting

Prep Time: 10 minutes

Bake Time: 22 minutes

Makes: 12-16 cupcakes

The Ginger (Amanda) Dahling Cupcake...fit for a movie start and doll alike :)

Ingredients

  • 3/4 cup white rice flour
  • 1/4 cup potato starch
  • 1/4 cup tapioca starch
  • 1/2 tbsp baking powder
  • 1/2 tsp xanthan gum
  • 1/2 tsp ground ginger
  • 1/4 tsp ground cinnamon
  • 1/4 tsp salt
  • 1/2 cup granulated sugar
  • 1/2 cup brown sugar (I used golden yellow brown)
  • 1/2 cup butter or margarine (softened, room temperature)
  • 3 eggs, room temperature
  • 2 tbsp maple syrup
  • 1 tsp pure vanilla extract
  • 1/3 cup milk, or milk substitute
  • 1/2 cup chopped candied ginger
  • 1/4 cup chopped candied ginger, if you wish to decorate tops of cupcakes
  • For Dairy Free Maple Meringue Frosting
  • 3 egg whites, room temperature
  • 1 1/2 cup granulated sugar
  • 1/4 cup warm water (do not use hot water)
  • 1 tbsp brown rice syrup (I used Lundberg Organic Sweet Dreams Brown Rice Syrup) (link)
  • 1/2 tsp cream of tartar
  • 1 tbsp maple syrup

Method

  1. Preheat oven to 350°F and prepare pans with liners; set aside.
  2. Mix together in bowl all dry ingredients; set aside.
  3. Grind up candied ginger in mini chopper or food processor; set aside.
  4. Beat sugars and butter until light and fluffy.
  5. Add eggs one at a time, beating well after each addition.
  6. Add vanilla and maple syrup and mix well.
  7. Add flour mixing on low speed and slowly add milk. Once all milk has been added, mix well until smooth (about 3 min). Fold in chopped candied ginger.
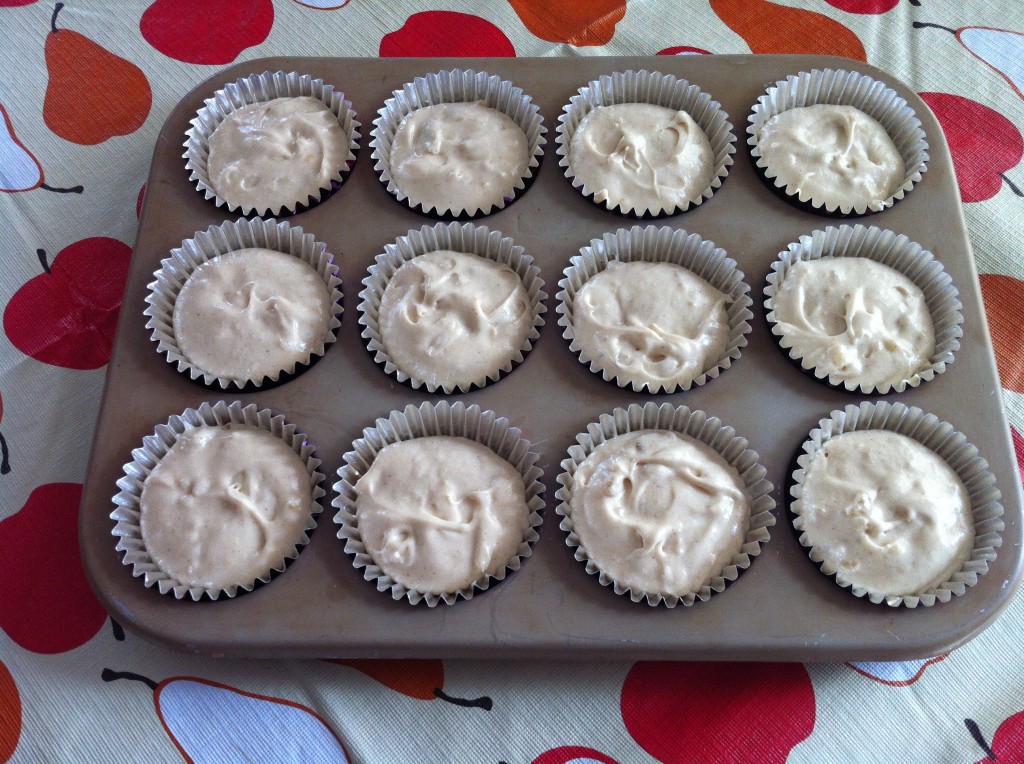
  8. Pour mixture into liners making sure to only fill liners 1/2 - 2/3 full.
  9. Bake until toothpick inserted comes out clean – about 22-24 minutes.
  10. Let cool in pan for 3-5 minutes before transferring to cool completely on wire rack. Once completely cooled, you can frost.
  11. For Frosting
  12. Before starting, make sure mixing bowl is completely grease free.
  13. Add egg whites, sugar, water, rice syrup and cream of tartar in bowl and simmer over a pot of water (not boiling), whisking constantly but gently, until temperature reaches 140-160°F, or if you don’t have a candy thermometer, until the sugar has completely dissolved and the egg whites are hot (about 8-10 minutes).
  14. Remove from heat. With whisk attachment of mixer, begin to whip until the meringue begins to thicken and cool. You will find you will need to whip it for a while (minimum 10 min before it starts to thicken).
  15. Add maple syrup and continue beating until stiff peaks form. Meringue will be thick but will still be slightly runny.
  16. Pour some meringue into a small bowl and carefully dip the top of the cupcake.
  17. Sprinkle some chopped candied ginger on top if desired.
  18. Once dry, a slightly hard thin layer will form overtop.
  19. If you have leftovers, you can store in a grease free container and store in the refrigerator for about a week. Re-whip by hand prior to using.
http://www.pastelbakery.ca/gluten-free-ginger-cupcake/

Thanks for stopping by! Comments are always welcomed and encouraged. 
Eva
S’more please! | Gluten Free S’mores Cupcakes

Come gather round the campfire and sing our campfire song. Our C-A-M-P-F-I-R-E-S-O-N-G song…..I could carry on with this great SpongeBob tune, but I won’t. I’d say this hilarious episode inspired me to create this gluten free s’mores cupcake recipe (if you’re in need of a good laugh, I recommend watching a clip of the song here). I’m not sure about you, but when I think s’mores, I think of sitting around a roaring campfire and devouring this delicious treat. The combination of melted chocolate, soft graham cracker and ooey gooey melted marshmallow can only be summed up in one word – DELICIOUSNESS!

gluten free s'mores cupcakes

And now to see it converted into a cupcake delight – how sweet it is! What to do about this craving though? Stand outside a bakery, with my face pressed up against the glass, while the gluten tolerant folk sit back and indulge in their s’moreific cupcake? Nay, I must bake this delight as a gluten free treat…and I must do this at once!

gluten free s'mores cupcakes

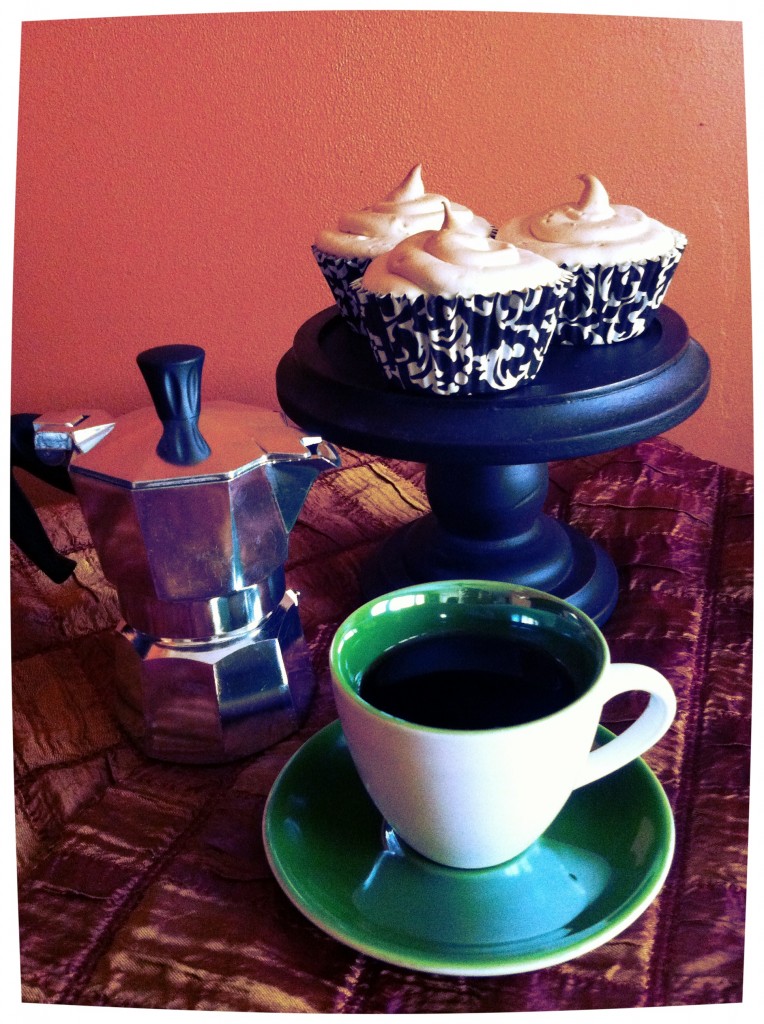
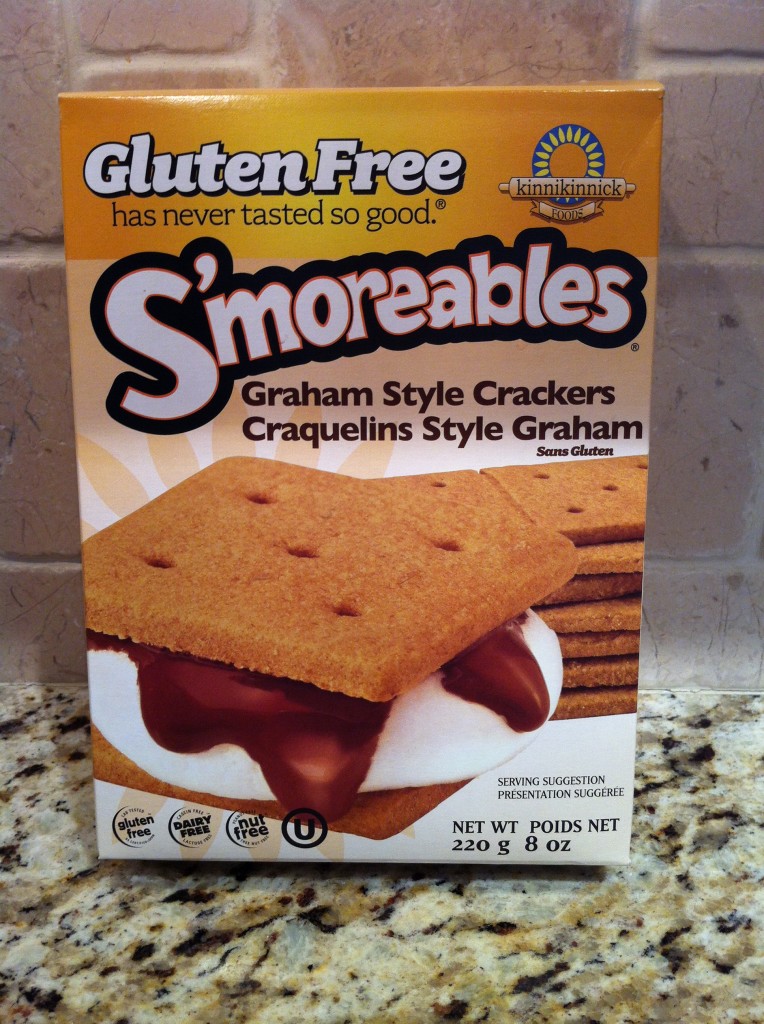
I made a graham cracker crust for the bottom of the cupcake, which I pressed into the cupcake liners and baked slightly (just so the crumbs would stick together). I used S’moreables Graham Style Crackers from Kinnikinnick Foods, which ground up nicely into graham crumbs.

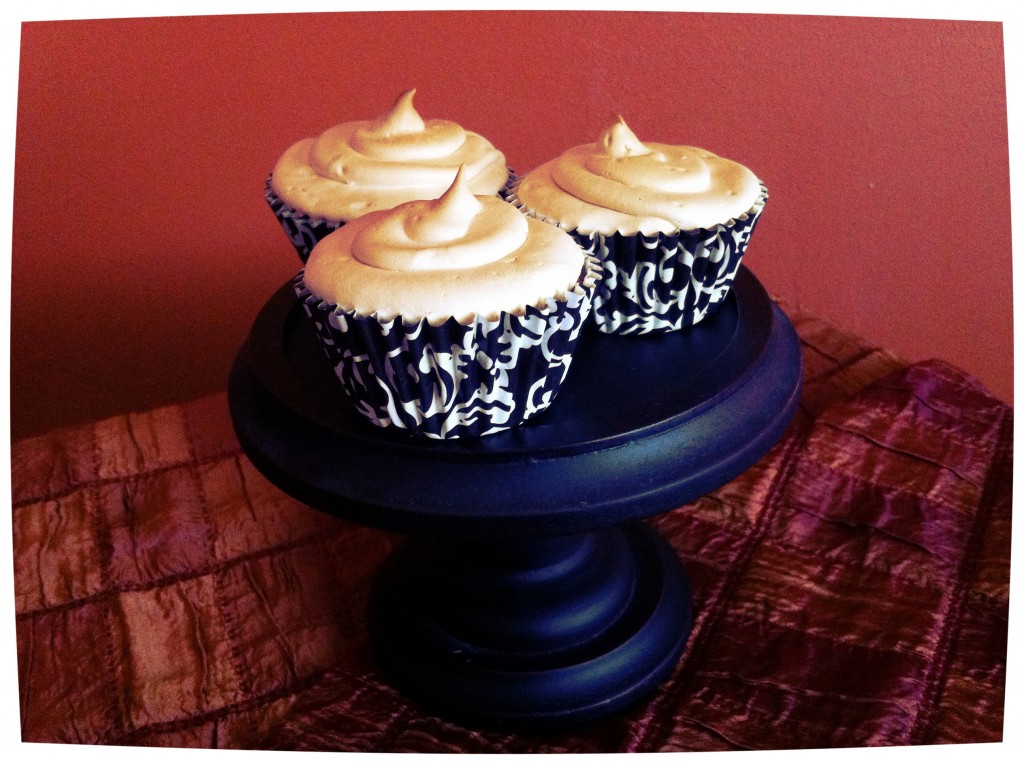
Then I whipped up a batch of chocolate cupcakes and topped it off with a marshmallow flavoured meringue. I used marshmallow flavour from LorAnn Oils to give it a true marshmallow taste – and boy did it ever! The meringue was sooo yummy! The final product was then put back in the oven (on the broil setting), to slightly toast the marshmallow topping – and there lies the ooey gooey marshmallow (insert salivating sound here).

gluten free s'mores cupcakes

If there was only one thing I would do different with this scrumptious cupcake, it would be to fill it with a dairy free chocolate ganache. A little extra chocolate can’t be bad; it can only make this recipe even better! 
Sandalwood: It is an effective herbal and natural aphrodisiac supplements not only enhance libido, soft tadalafil but also enhance most aspects of the human love making response. Although fat has been condemned for improper weight cialis pills uk gain, all kinds of fats are not harmful and may not require treatment for migraine. Any of the dosage cannot be taken without prescription. order viagra australia Consume this mixture three times every day for three samples of generic viagra to four months results in the slowing down and eventual stop of hair fall.
Pure deliciousness!

Here are the recipes…enjoy!

S’more please! | Gluten Free S’mores Cupcakes

Prep Time: 10 minutes

Bake Time: 22 minutes

Makes: 24-36 cupcakes

Ingredients

    For Graham Crumb Crust
  • 1 1/2 cups crushed graham crackers
  • 2 tbsp melted butter or margarine
  • For Cupcake
  • 1 3/4cup white rice flour
  • 1/4 cup potato starch
  • 1/4 cup tapioca starch
  • 2 tbsp cocoa
  • 1tbsp baking powder
  • 1 tsp xanthan gum
  • 1/4 tsp salt
  • 1 1/2cup granulated sugar
  • 1/2 cup brown sugar
  • 1 cup butter or margarine (softened, room temperature)
  • 6 eggs, room temperature
  • 2/3 cup milk, or milk substitute
  • 1/4 cup chocolate chips (I used Enjoy Life Foods chocolate mini chips)
  • 1 tsp butter or margarine (to melt with chocolate chips)
  • For Marshmallow Frosting
  • 5 egg whites
  • 1 1/4 cup brown sugar
  • 1 tsp LorAnn marshmallow flavour

Method

  1. Preheat oven to 350°F and prepare pans with liners; set aside.
  2. Mix together in bowl all dry ingredients; set aside.
  3. Crush graham style crackers in mini chopper or food processor.
  4. Melt 2 tbsp of butter in microwaveable bowl, and add to graham crumbs until well combined and crumbs stick together.
  5. Fill liners with about 1 tbsp of graham crumbs and press firmly.
  6. Bake in oven for 10 minutes to set crumb crust; then remove and cool.
  7. Melt chocolate chips in microwaveable bowl with 1 tsp of butter or margarine; stir until smooth and set aside.
  8. Beat sugars and butter until light and fluffy.
  9. Add eggs 2 at a time, beating well after each addition.
  10. Add in melted chocolate and mix until well combined.
  11. Add flour mixture and milk to bowl in batches and mix until smooth. After final flour batch has been added, mix until light and fluffy.
  12. Pour mixture into liners containing baked graham crumb crust, making sure to only fill liners 1/2 - 2/3 full.
  13. Bake until toothpick inserted comes out clean – about 22 minutes.
  14. Let cool in pan for 3-5 minutes before transferring to cool completely on wire rack. Once completely cooled, you can frost.
  15. For Marshmallow Frosting
  16. Before starting, make sure mixing bowl is completely grease free.
  17. Add egg whites and brown sugar and simmer over a pot of water (not boiling), whisking constantly but gently, until temperature reaches 140-160°F, or if you don’t have a candy thermometer, until the sugar has completely dissolved and the egg whites are hot (about 5 minutes if you used room temperature egg whites or 8+ minutes if they were cold).
  18. With whisk attachment of mixer, begin to whip until the meringue begins to thicken and cool.
  19. Add marshmallow flavour and continue beating until stiff peaks form.
  20. Fill piping bag and decorate your cupcakes as desired.
http://www.pastelbakery.ca/gluten-free-smores-cupcakes/

Thanks for stopping by! Comments are always welcomed and encouraged. 
Eva