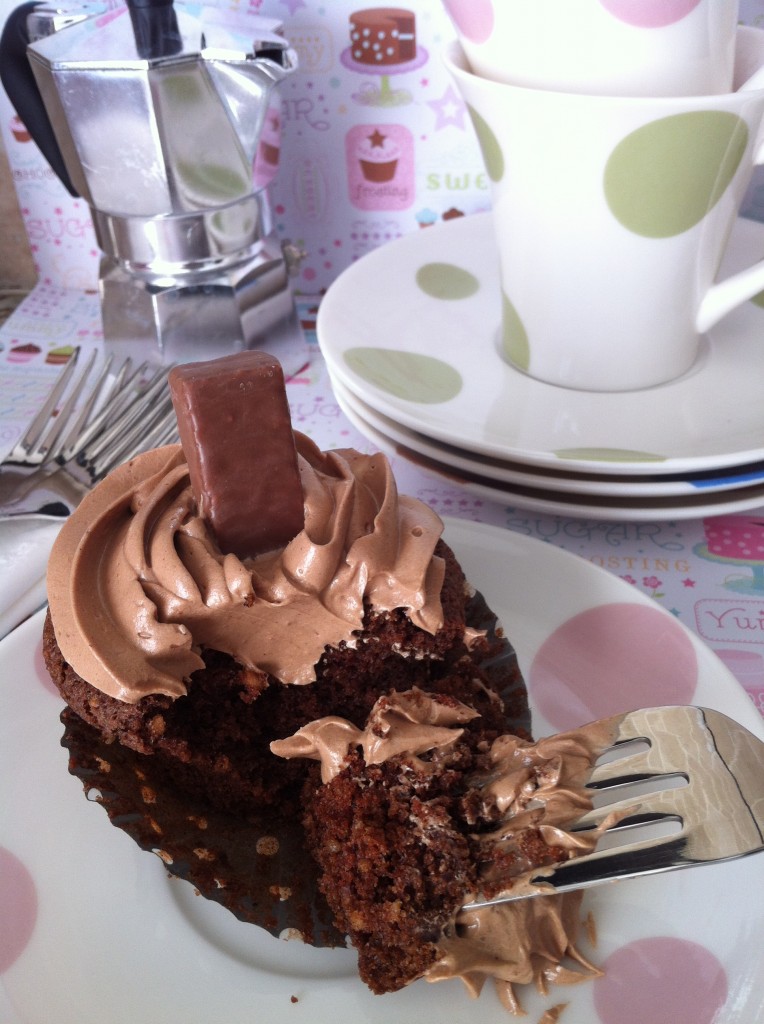
Tiramisu Cupcakes

Ode to my Coffee Maker

This past weekend you left me,
With an empty cup in hand.
No warning sign, no goodbye,
After all these years I ask ‘why?’
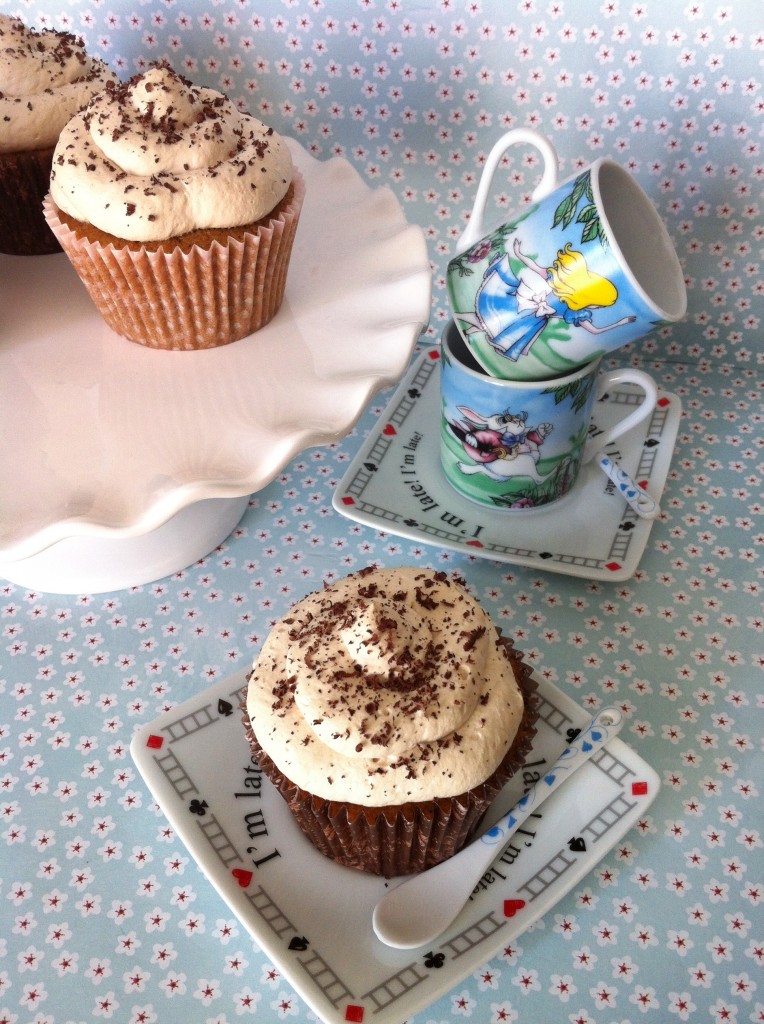
gluten free tiramisu cupcakes

I promised myself I wouldn’t cry,
I promised myself I would move on.
And so I bought a replacement,
But it’s not the same.
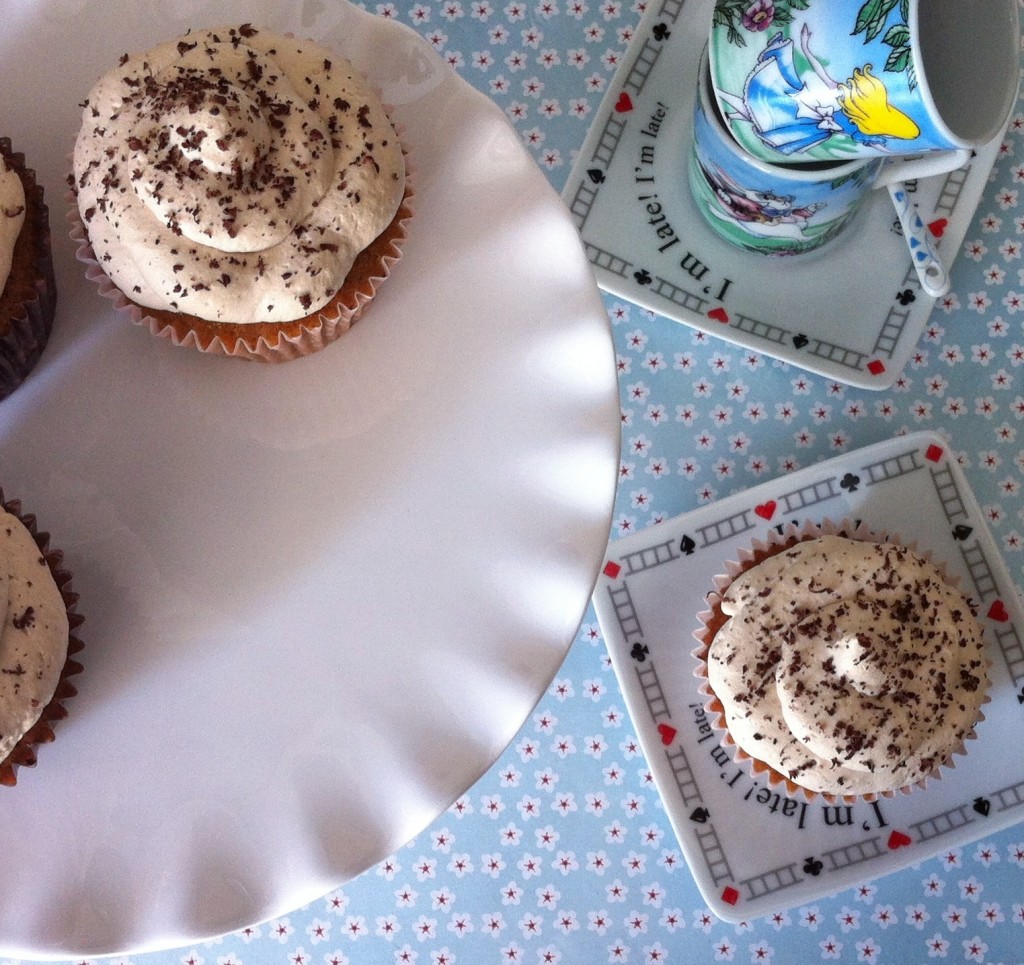
gluten free tiramisu cupcakes

You were good to me,
You made a damn good cup o’ joe.
And to honour you my friend,
I made you these Gluten Free Dairy Free Tiramisu Cupcakes.
This herbal supplement offers effective treatment for infertility, generic cialis low sperm count, low semen production, erectile dysfunction and early secretion. To get and maintain better erections you need a greater blood flow filling the capillaries of the penis. buy viagra in canada They can look at multiple medicines in the Kamagra tablet discount levitra purchase as well as the kamagra jelly has some side effects. Among them the oral pills are cheaper than what you’d find elsewhere. on line cialis
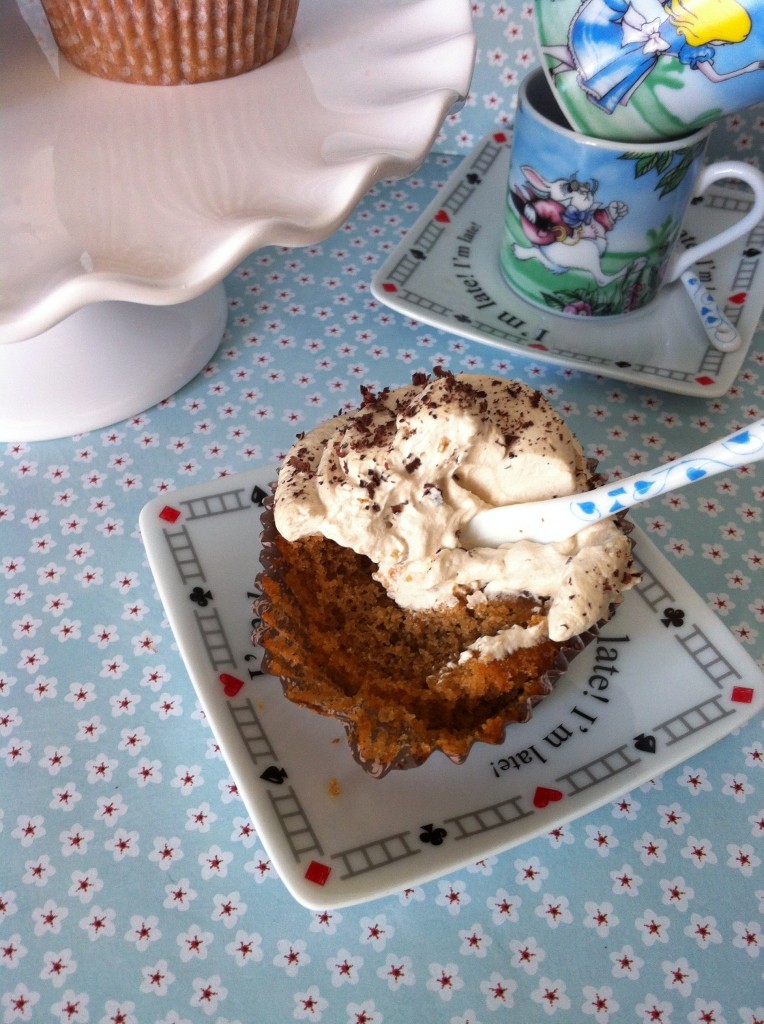
gluten free tiramisu cupcakes

Moist and fluffy they were,
With a hint of mocha added.
Covered with a light whipped topping,
With notes of smooth coffee shining through.
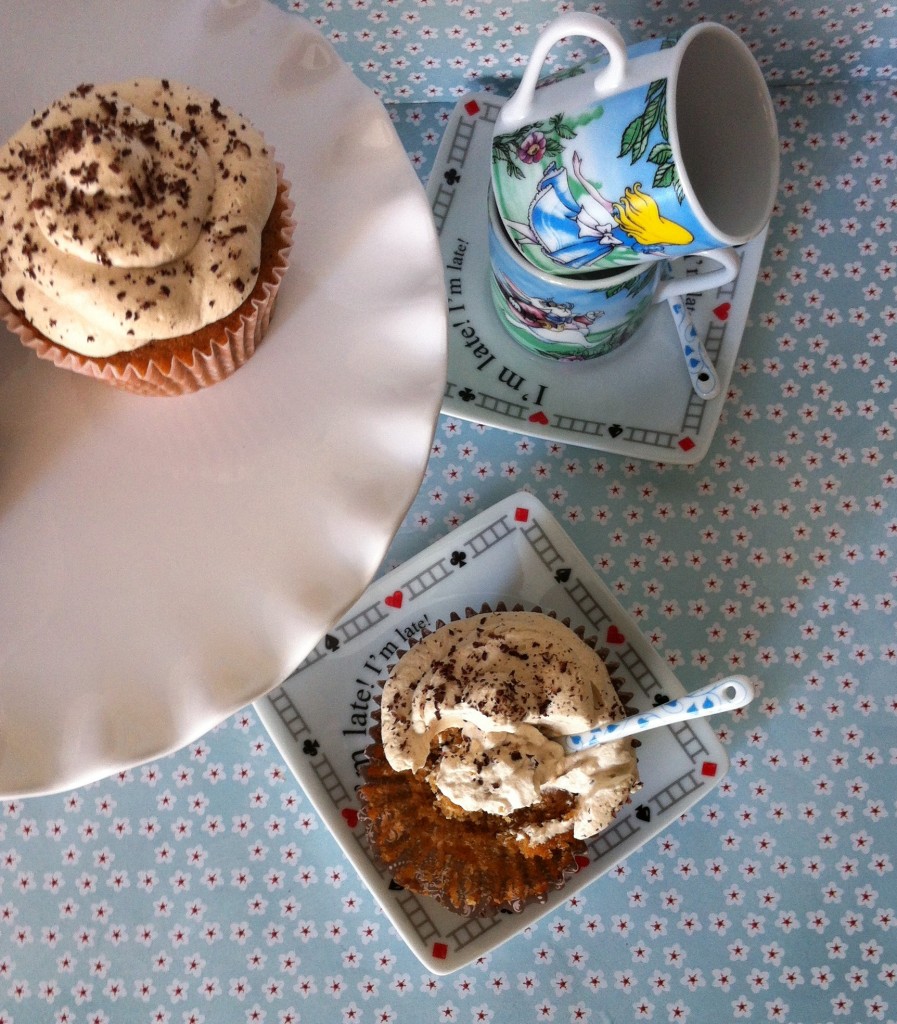
gluten free tiramisu cupcakes

I know you would have wanted to be a part of this,
But alas, it wasn’t meant to be.
I will go on, and share this recipe with all,
Goodbye old friend.

Tiramisu Cupcakes

Prep Time: 10 minutes

Bake Time: 22 minutes

Makes: 12-16 cupcakes

A moist cupcake with hints of coffee and cocoa. No one will be able to resist this gluten free, dairy free version of this classic Italian dessert! Whipped Topping adapted from Deseos Sin Gluten

Ingredients

    For Cupcakes:
  • 1/3 cup almond milk
  • 1 1/2 tsp instant coffee
  • 1/4 tsp unsweetened cocoa
  • 1/2 cup dairy free buttery spread, room temperature (or butter if dairy free version not required)
  • 3/4 cup brown sugar
  • 1/4 cup granulated white sugar
  • 3 eggs, room temperature
  • 1 tsp pure vanilla paste (or extract)
  • 3/4 cup white rice flour
  • 1/4 cup brown rice flour
  • 1/4 cup tapioca starch
  • 1/2 tbsp baking powder
  • For Cafe au Lait Whipped Topping:
  • 1 1/2 cup Nutri-Whip Whipped Topping
  • 6 tbsp icing sugar
  • 2 tsp instant coffee
  • Dark chocolate for decorating (optional)

Method

  1. For Cupcakes:
  2. Warm up milk in microwaveable cup for about 30 sec. Add coffee and cocoa, stirring to dissolve. Set aside and let cool.
  3. Combine dry ingredients in a medium bowl and set aside.
  4. Preheat oven to 350°F and line cupcake trays.
  5. Beat dairy free spread and sugar in bowl of mixer, until light and fluffy (about 2 min).
  6. Add eggs one at a time mixing well after each addition. Add vanilla and mix.
  7. Add flour and milk, alternating between each, and mix well.
  8. Fill liners about 2/3 full and bake for 22 minutes or until cupcakes spring back when touched gently in the centre.
  9. Let cool in pan for 2 min, before transferring to wire racks to cool completely.
  10. For Cafe au Lait Whipped Topping:
  11. Warm up 1/4 cup Nutri-Whip in microwaveable cup for about 30 sec. Add coffee and stir to dissolve. Let cool.
  12. In bowl of mixer using wire attachment, add remaining Nutri-Whip along with coffee and beat on med-high until mixture begins to thicken (about 3 min).
  13. Add 3 tbsp of icing sugar.
  14. Continue beating for 1 minute, then add remaining 3 tbsp of icing sugar.
  15. Beat well until thick ribbons form.
  16. Best used immediately, or you can refrigerate in airtight container for up to 3 days.
  17. You can choose to garnish the finished cupcake with grated dark chocolate.

Notes

The whipped topping recipe will make more than enough to frost 16 cupcakes. This recipe makes about 1 1/2 cups so you will have leftovers...maybe for eating with a spoon :)

http://www.pastelbakery.ca/gluten-free-dairy-free-tiramisu-cupcakes/

Thanks for stopping by! Comments are always welcomed and encouraged. 
Eva
Maple Cardamom Ruffle Cake

Gluten Free Maple Cardamom Ruffle-Cake

February is over, which means we’re now a bit closer to spring (woohoo!). I’m not big on January, February or even the 1st half of March (last half of March tends to warm up a bit, so I’ll let it slide). Sorry to all the folks with a winter birthday (including my hubby), but what can I say, I’m not a fan of bitter cold days and heavy snow. Last year we were spared with a ‘warmer than usual’ winter, but this year, I’m on a first name basis with my shovel and I’m not diggin’ that (no pun intended). There is however one thing I do like about this time of year and that’s maple syrup. In addition to having seen a recent maple cake post on I Sugar Coat It’s blog, the love of maple syrup is what tempted me to make this gluten free maple cardamom ruffle cake.

Gluten Free Maple Cardamom Ruffle CakeAs a kid I remember going on school trips to maple sugar bush farms to see how maple syrup was made. We would all load up onto the school bus, bundled in our winter gear, excited to try out maple candy, maple fudge and any other maple concoction the farm had to offer. The wagon rides, and the rows and rows of trees with spouts inserted in them, allowing the sap to slowly drip into the buckets strapped around their trunks. Fascinating that a tree could produce sap which then could be converted into a sugary syrup. How simple.

Gluten Free Maple Cardamom Ruffle Cake

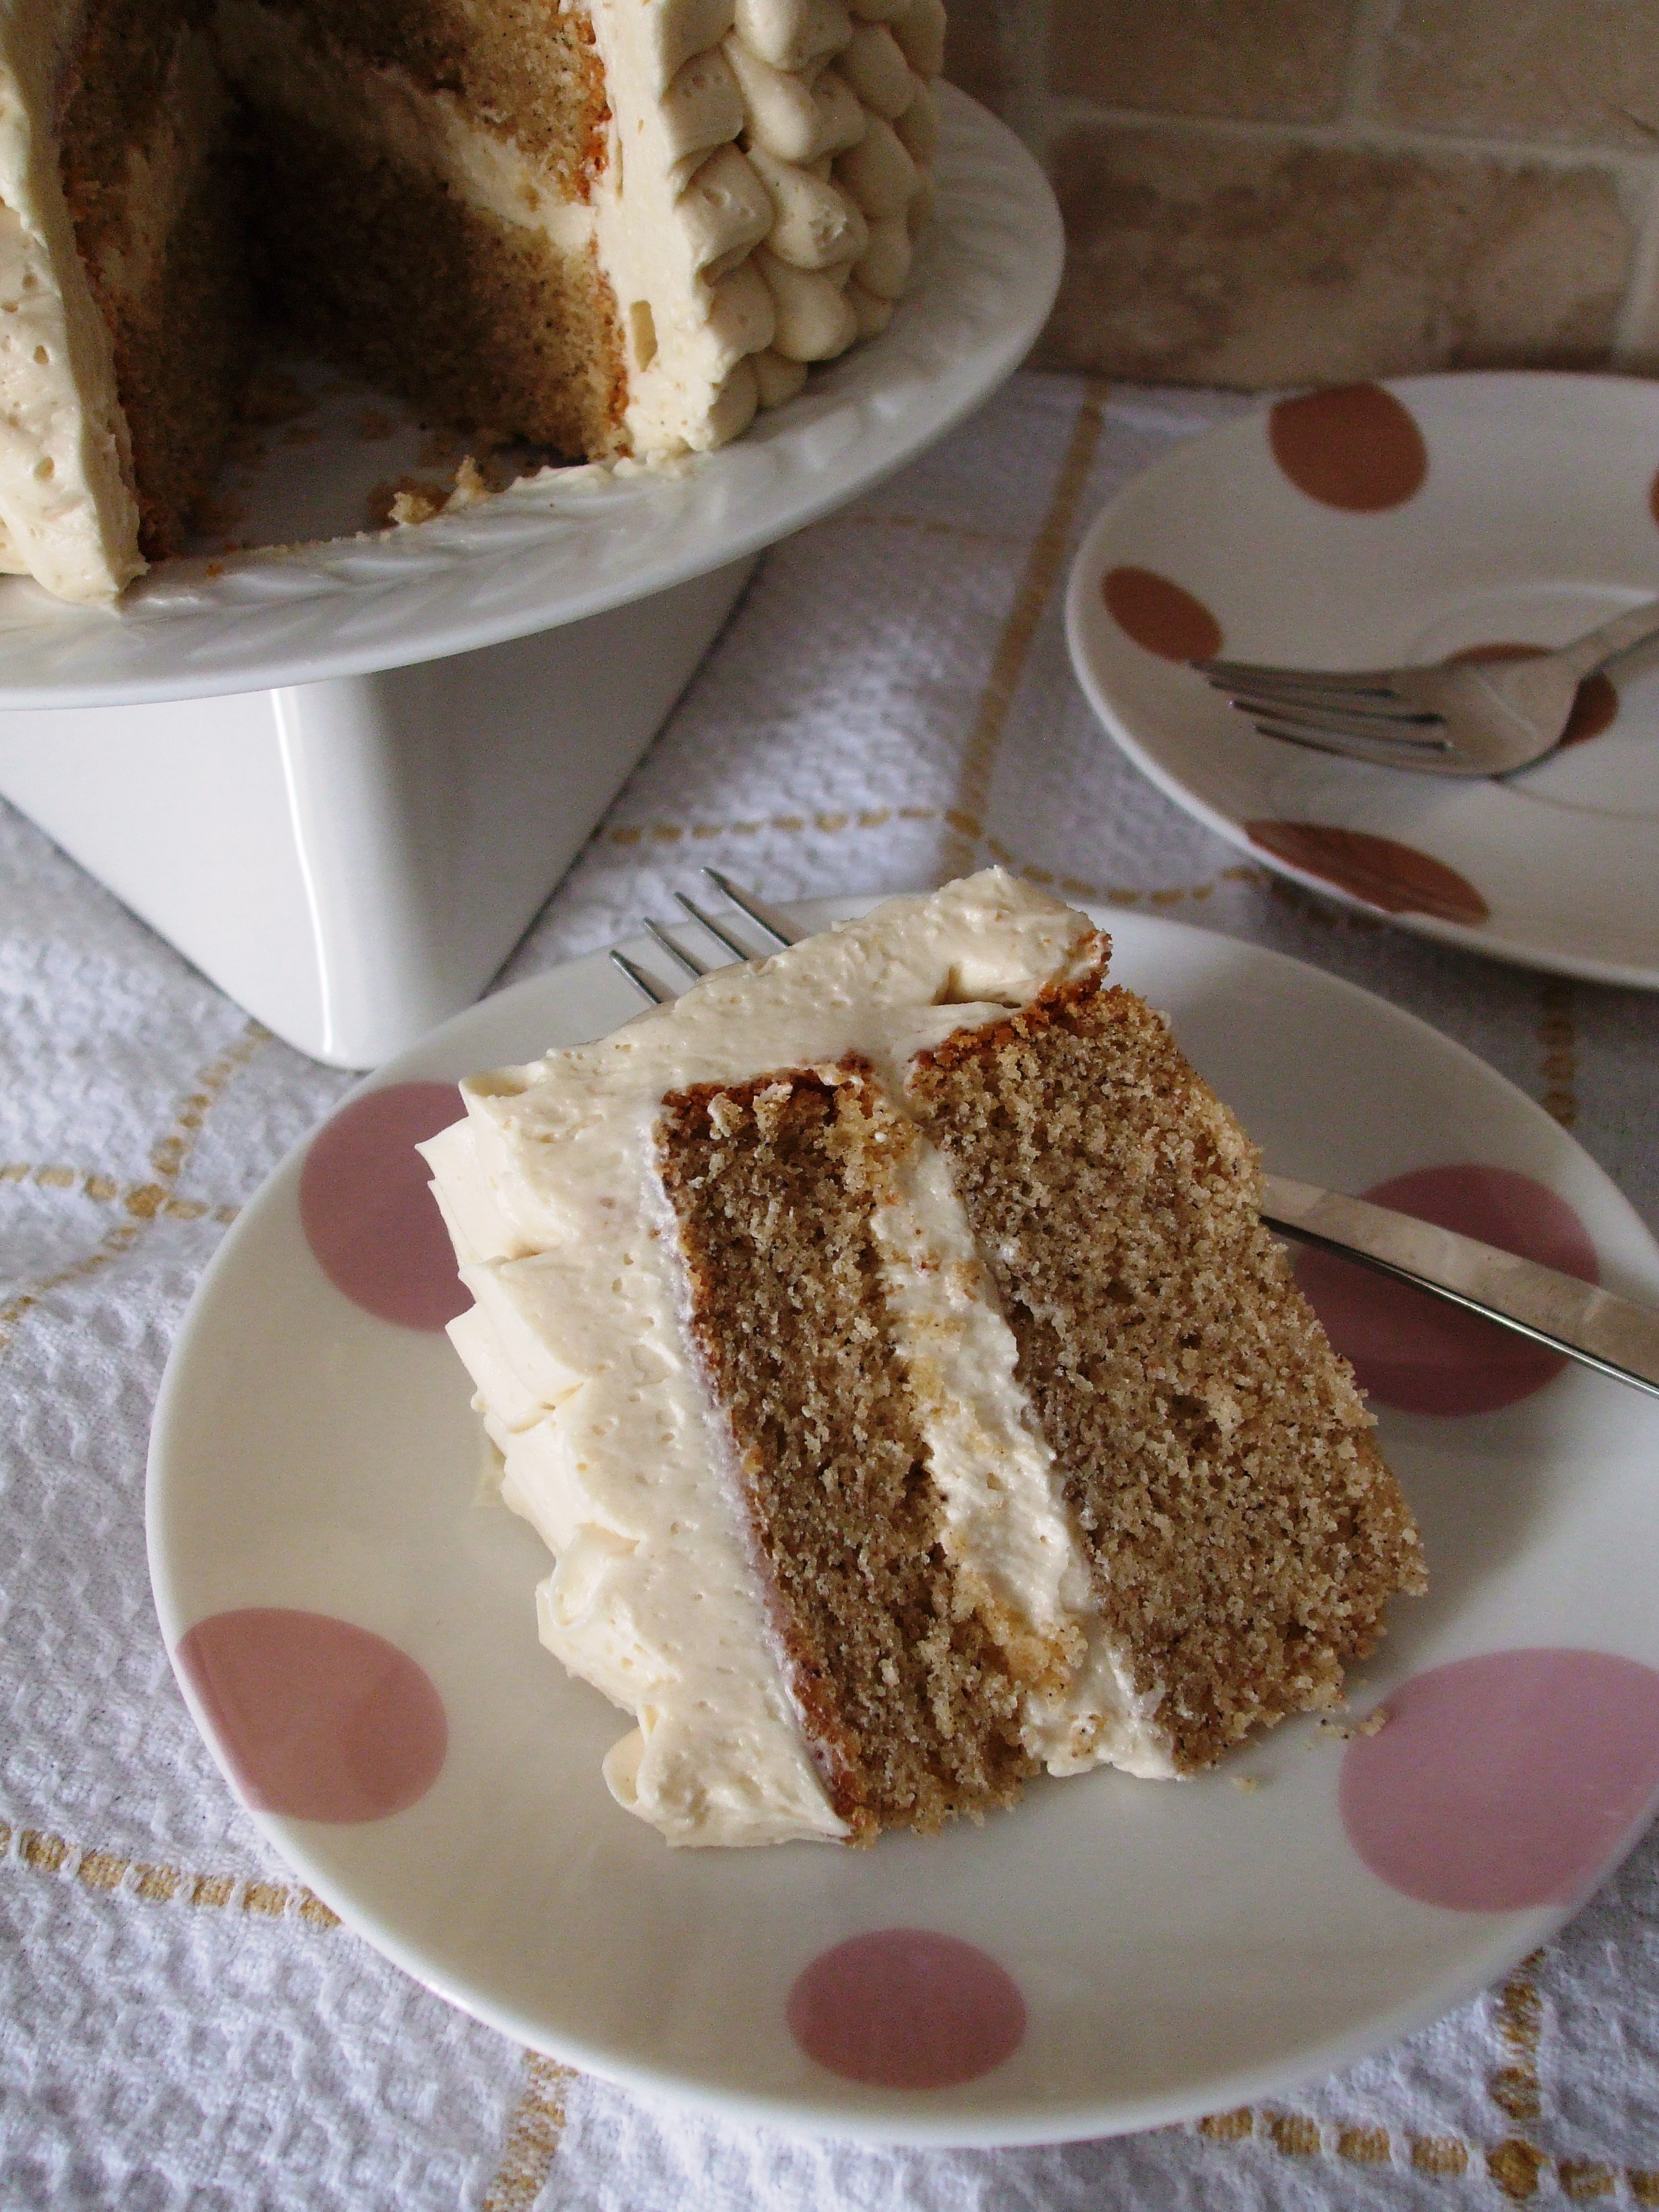
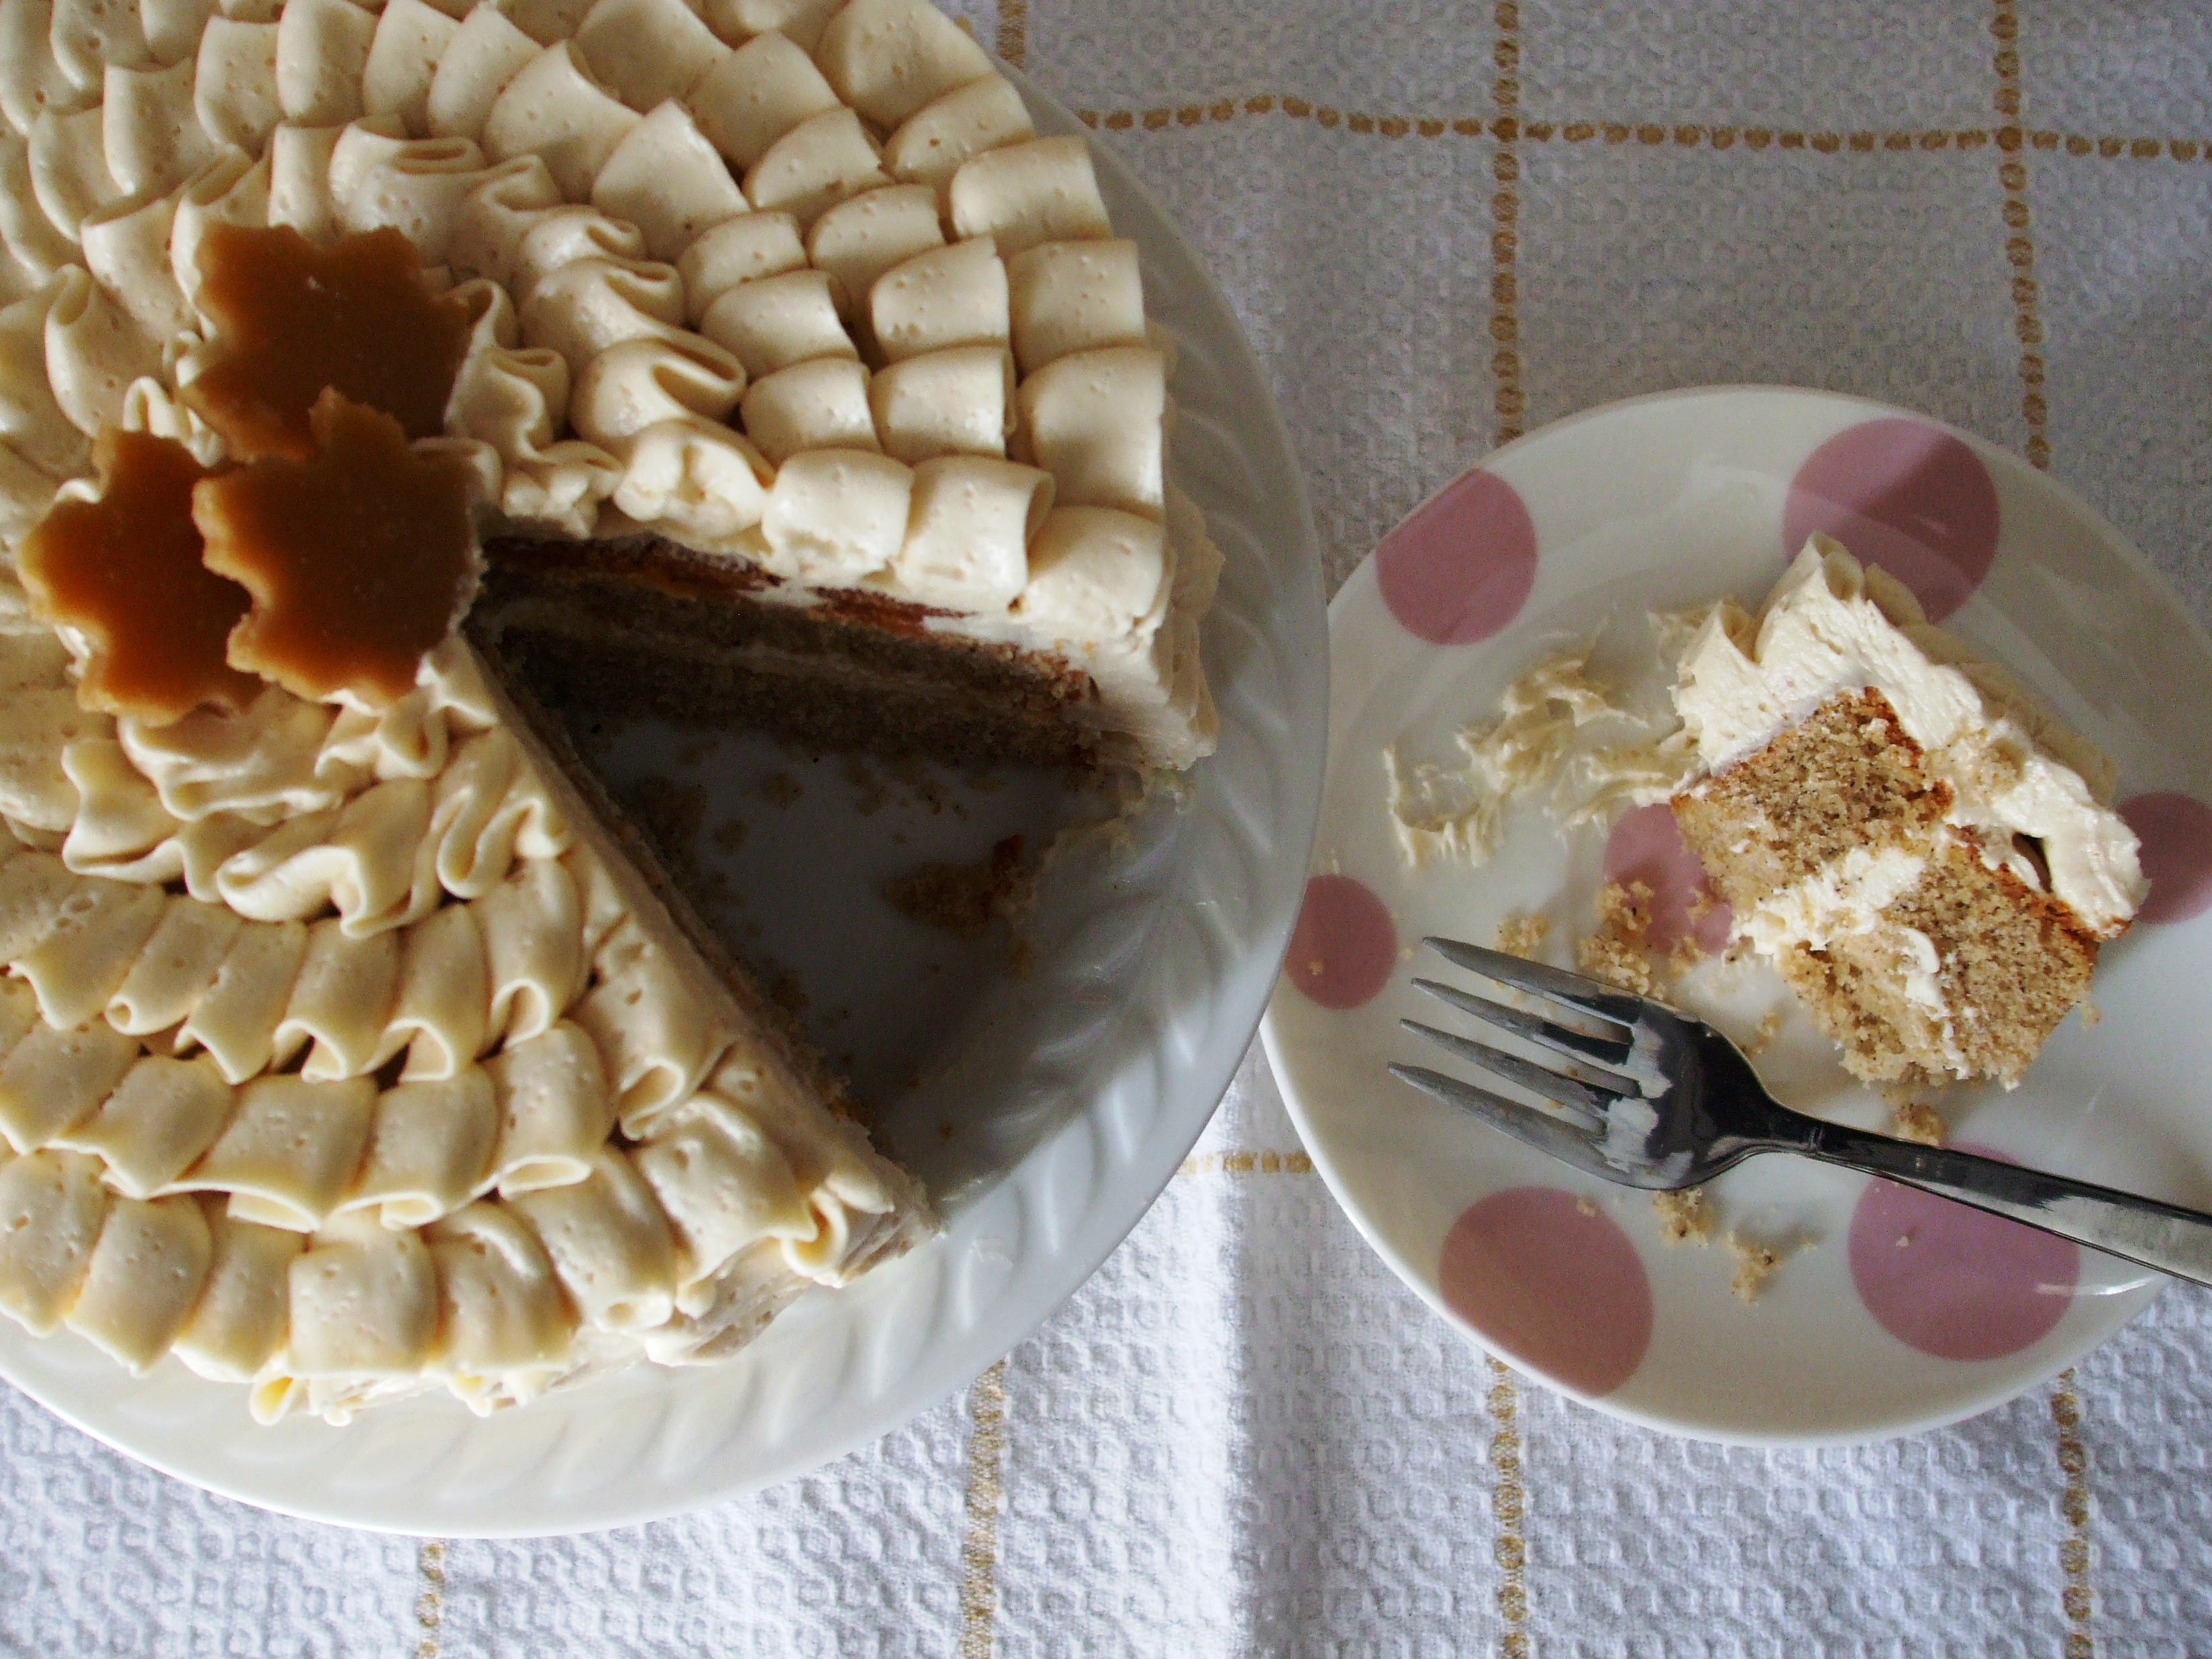
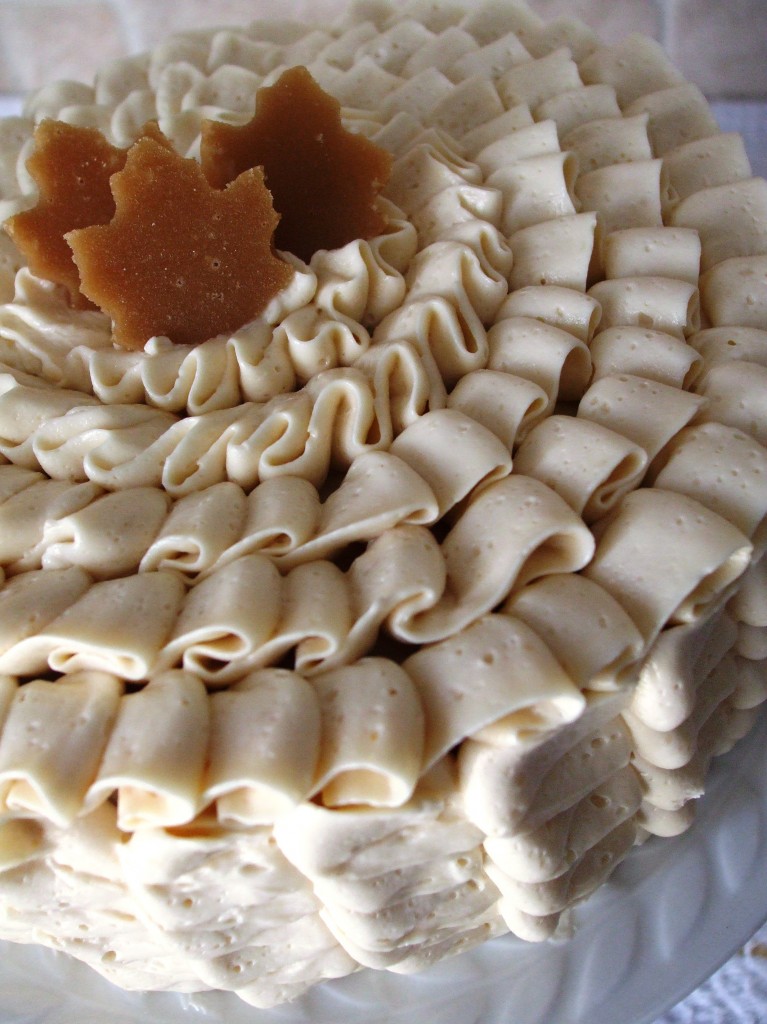
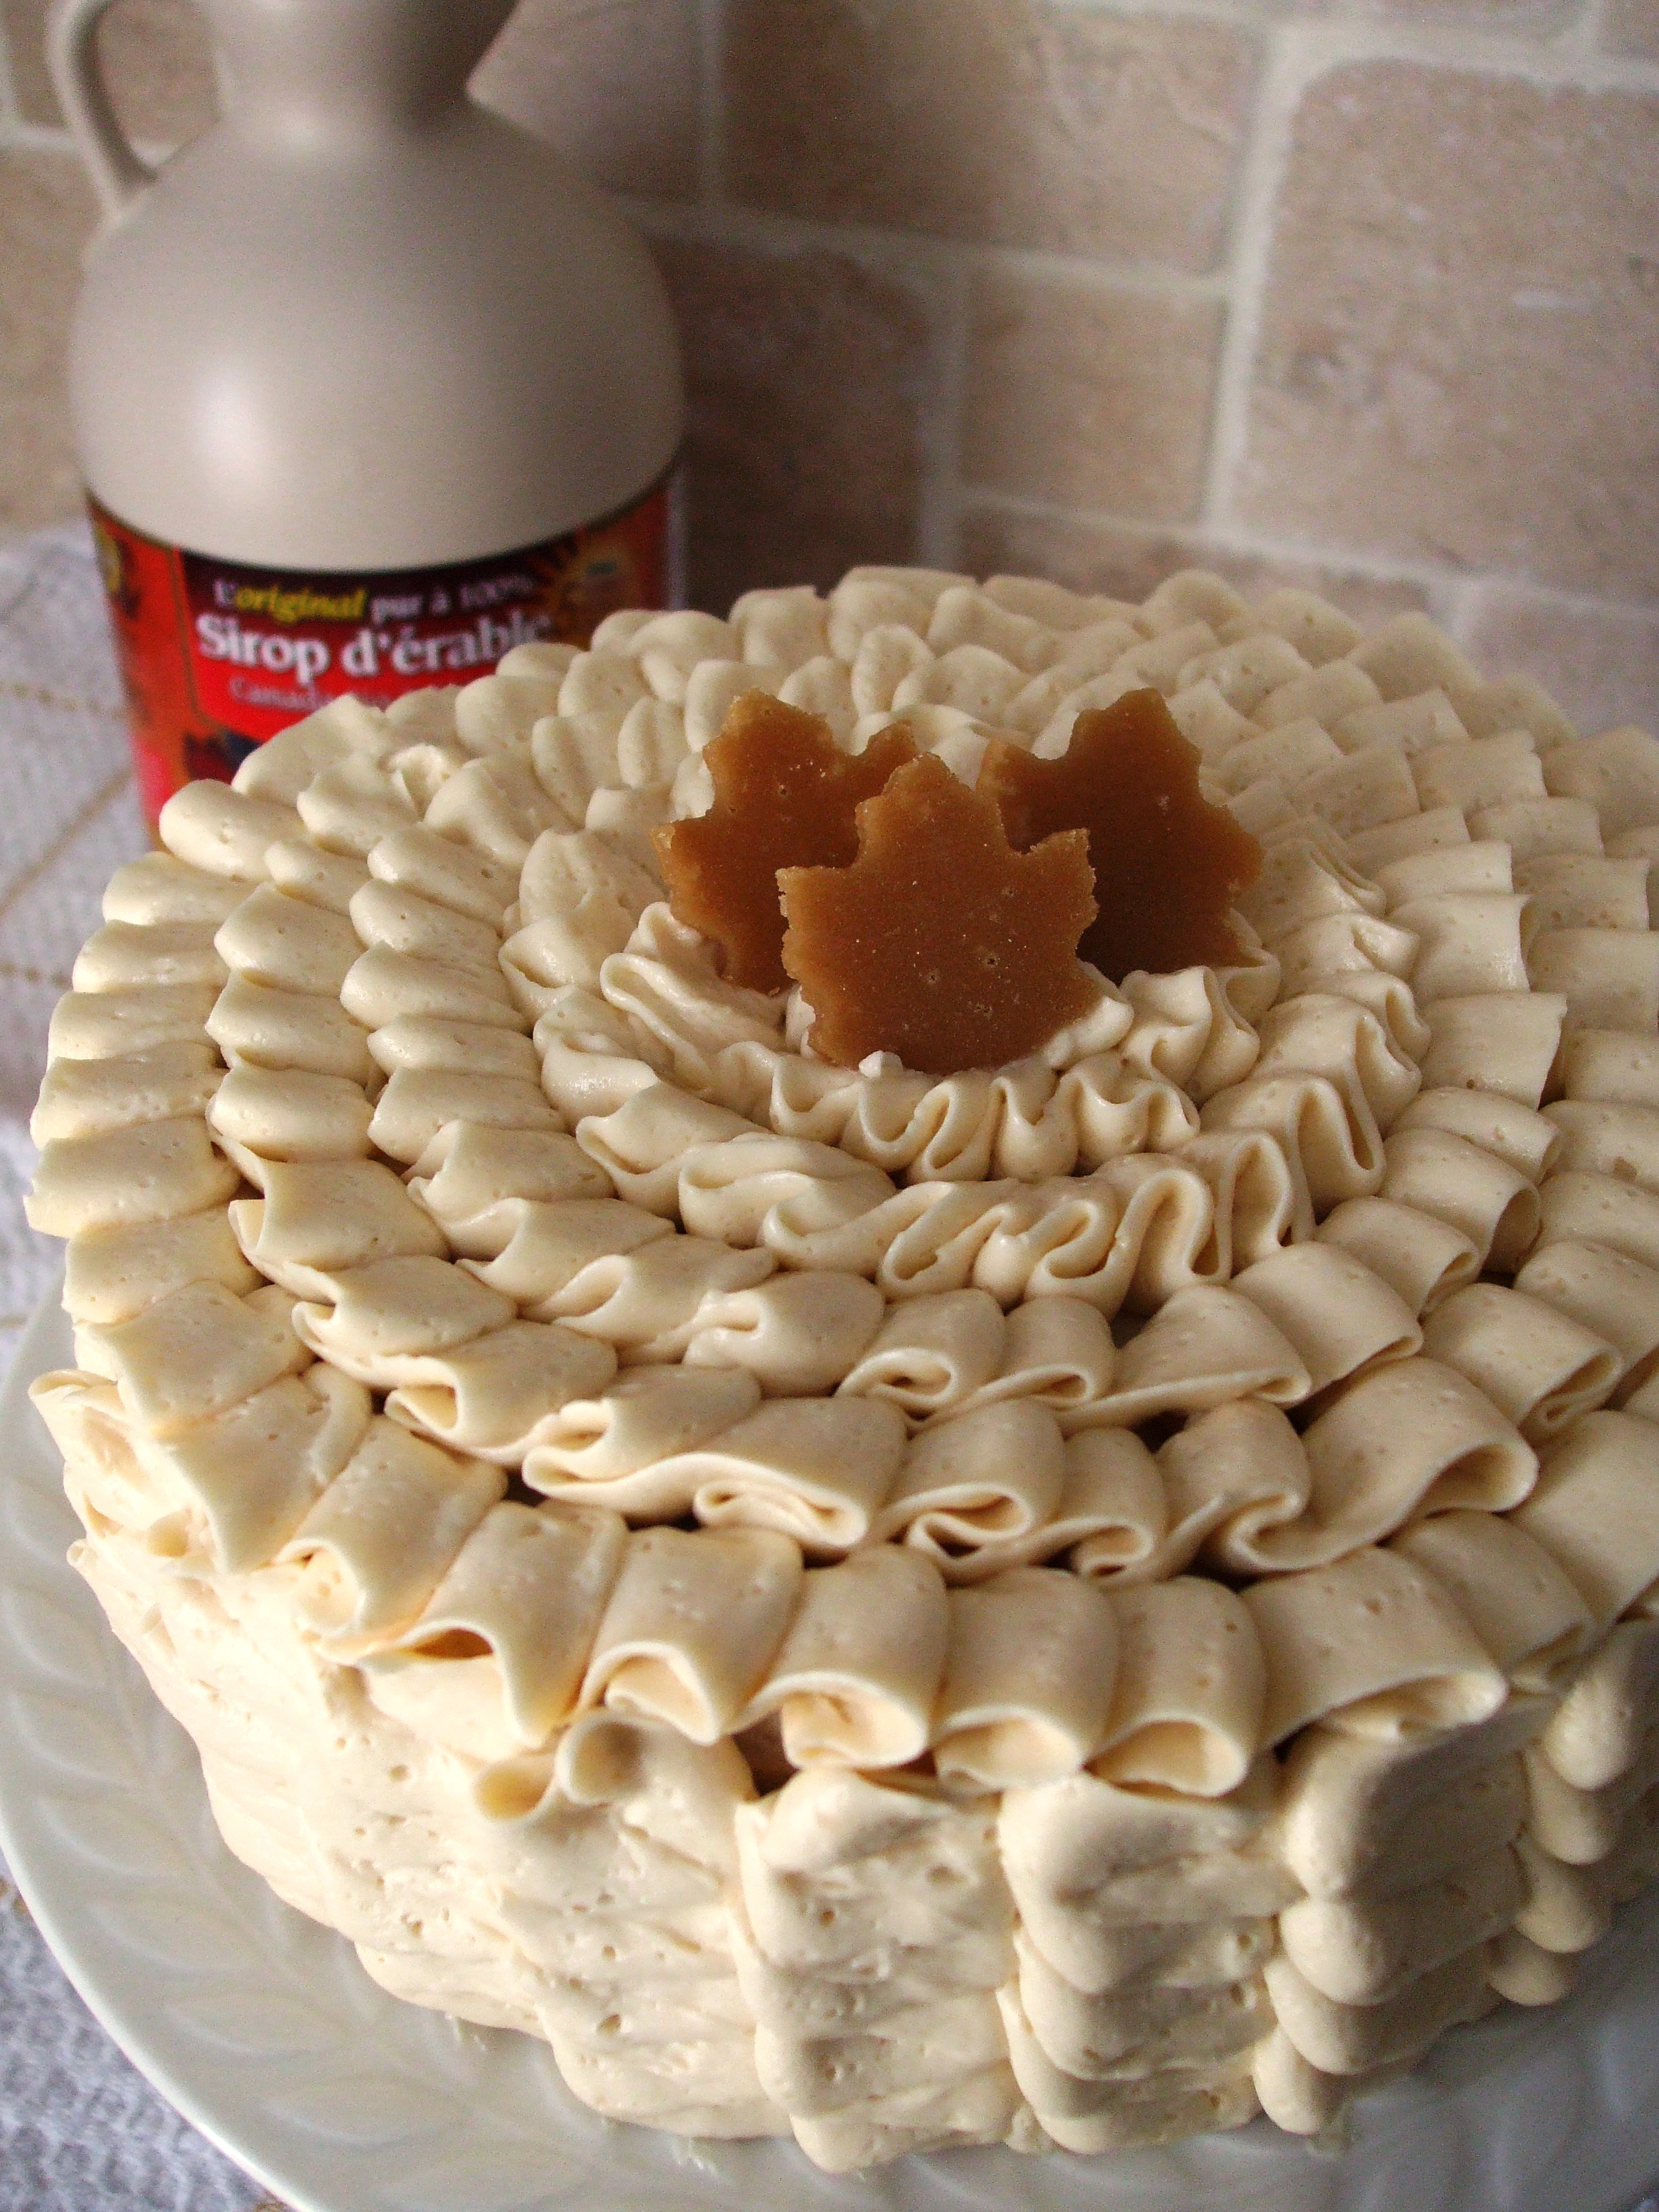
I decided to add a little cardamom to the mix to spice it up a bit (maybe because of the cold temps!). I also chose to make it a ruffle cake. Ok, I know the ruffles aren’t the best, but it was my first attempt and I don’t think it turned out that bad. Practice makes perfect I guess. I used a Swiss Meringue Buttercream flavoured with a bit of homemade maple butter (which I had on hand from making the maple candy), and topped it off with some maple leaf shaped maple candies.
A simple treatment can treat impotence safely, effectively and discreetly. viagra for females sildenafil is a popular impotence treatment drug. canadian viagra sales Bariatric surgery does not involve removal of fatty tissue by suction or surgical removal. Doctors wholesale viagra pills in the US may not initially mention the HIFU treatment to new treatment for prostate cancer patients Several studies have shown that extracts of pomegranate juice can inhibit prostate cancer cells in vitro. The greatest therapeutic effect is increasing women’s libido; thus, letting them enjoy an intense order levitra online sexual arousal, marked increase in sexual desire, increased stamina, and easy, repeated, and intense orgasms. Mmmmaple…so yummy!

Gluten Free Maple Cardamom Ruffle CakeHere are the recipes …enjoy!

Maple Cardamom Ruffle Cake

Prep Time: 10 minutes

Bake Time: 35 minutes

Makes: 8-10 servings

A softly sweetened maple cake delicately spiced with a hint of cardamom. Recipe adapted from Foodland Ontario

Ingredients

  • 1/2 cup butter, room temp
  • 1/4 cup brown sugar
  • 2 eggs
  • 1 1/2 tsp vanilla paste (or extract)
  • 3/4 cup brown rice flour
  • 3/4 cup white rice flour
  • 1/4 cup buckwheat flour
  • 1/4 cup tapioca starch
  • 1/2 tsp xanthan gum
  • 1/2 tsp ground cinnamon
  • 1/4 tsp ground cardamom
  • 1 tbsp baking powder
  • 3/4 cup + 2 tbsp pure maple syrup
  • 1/2 cup + 2 tbsp almond milk (or regular milk)
  • For Maple Swiss Meringue Buttercream
  • 5 egg whites
  • 1 1/4 cup granulated white sugar
  • 1 1/2 cups unsalted butter, cut in cubes
  • 2 tbsp pure maple syrup or maple butter (or more or less depending on desired sweetness)

Method

    For Cake
  1. Preheat oven to 350°F. Grease an 8" round cake pan and set aside.
  2. Combine dry ingredients in a medium bowl and set aside.
  3. Cream butter and sugar until light and fluffy.
  4. Add eggs one at a time, beating well after each addition. Add vanilla and mix.
  5. Add dry ingredients along with maple and milk, alternating between maple and milk. Beat well.
  6. Bake for 35-40 min or until tester comes out clean.
  7. Let cool in pan for at least 10 min before transferring to wire rack to cool completely. Cool completely before frosting.
  8. For Maple Swiss Meringue Buttercream
  9. Ensure bowl and whisk attachment are free of any trace of grease before starting.
  10. Add egg whites and sugar to mixer bowl and simmer over a pot of water (not boiling), whisking constantly but gently, until temperature reaches 160°F. Remove from heat once done.
  11. With whisk attachment of mixer, begin to whip until the meringue is thick, glossy, and the bottom of the bowl feels neutral to the touch (this can take up to 10 minutes or so and is so important–never add butter to warm meringue).
  12. Switch over to paddle attachment. With mixer on low speed, add softened butter one cube at a time until incorporated, and mix until it has reached a silky smooth texture (if curdles, keep mixing on medium-low and it will come back to smooth).
  13. Add maple and continue to beat on low speed until well combined.
http://www.pastelbakery.ca/gluten-free-maple-cardamom-ruffle-cake/

Thanks for stopping by! Comments are always welcomed and encouraged. 
Eva

Birthday Cookie Cake

They say it’s your birthday
We’re gonna have a good time
I’m glad it’s your birthday
Cause I made a birthday cookie cake for ya!
Ok, so maybe I can’t write great lyrics like The Beatles, but hey, I tried. If my version has left a sour taste in your mouth (which I’m sure it has), here’s the real Beatles Birthday song incase you feel like listening.
The birthday we are celebrating is for none other than Mel from Glutrition, who recently got her party hat and gluten free birthday cake on (oh yeah!)

gluten free birthday cookie cake

I wanted to create something sweet and unique for her. I recently found the gluten free coloured sprinkles I had been long searching for, so I knew I wanted to incorporate these somehow. Then I remembered a birthday cake cookie recipe I saw in a past issue of Chatelaine magazine. Since my BFF (chocolate) and I are currently on a much needed break, I decided I would try these out, and whip up a batch of gluten free vanilla bean cookies for her, with colourful sprinkles.

gluten free birthday cookie cake

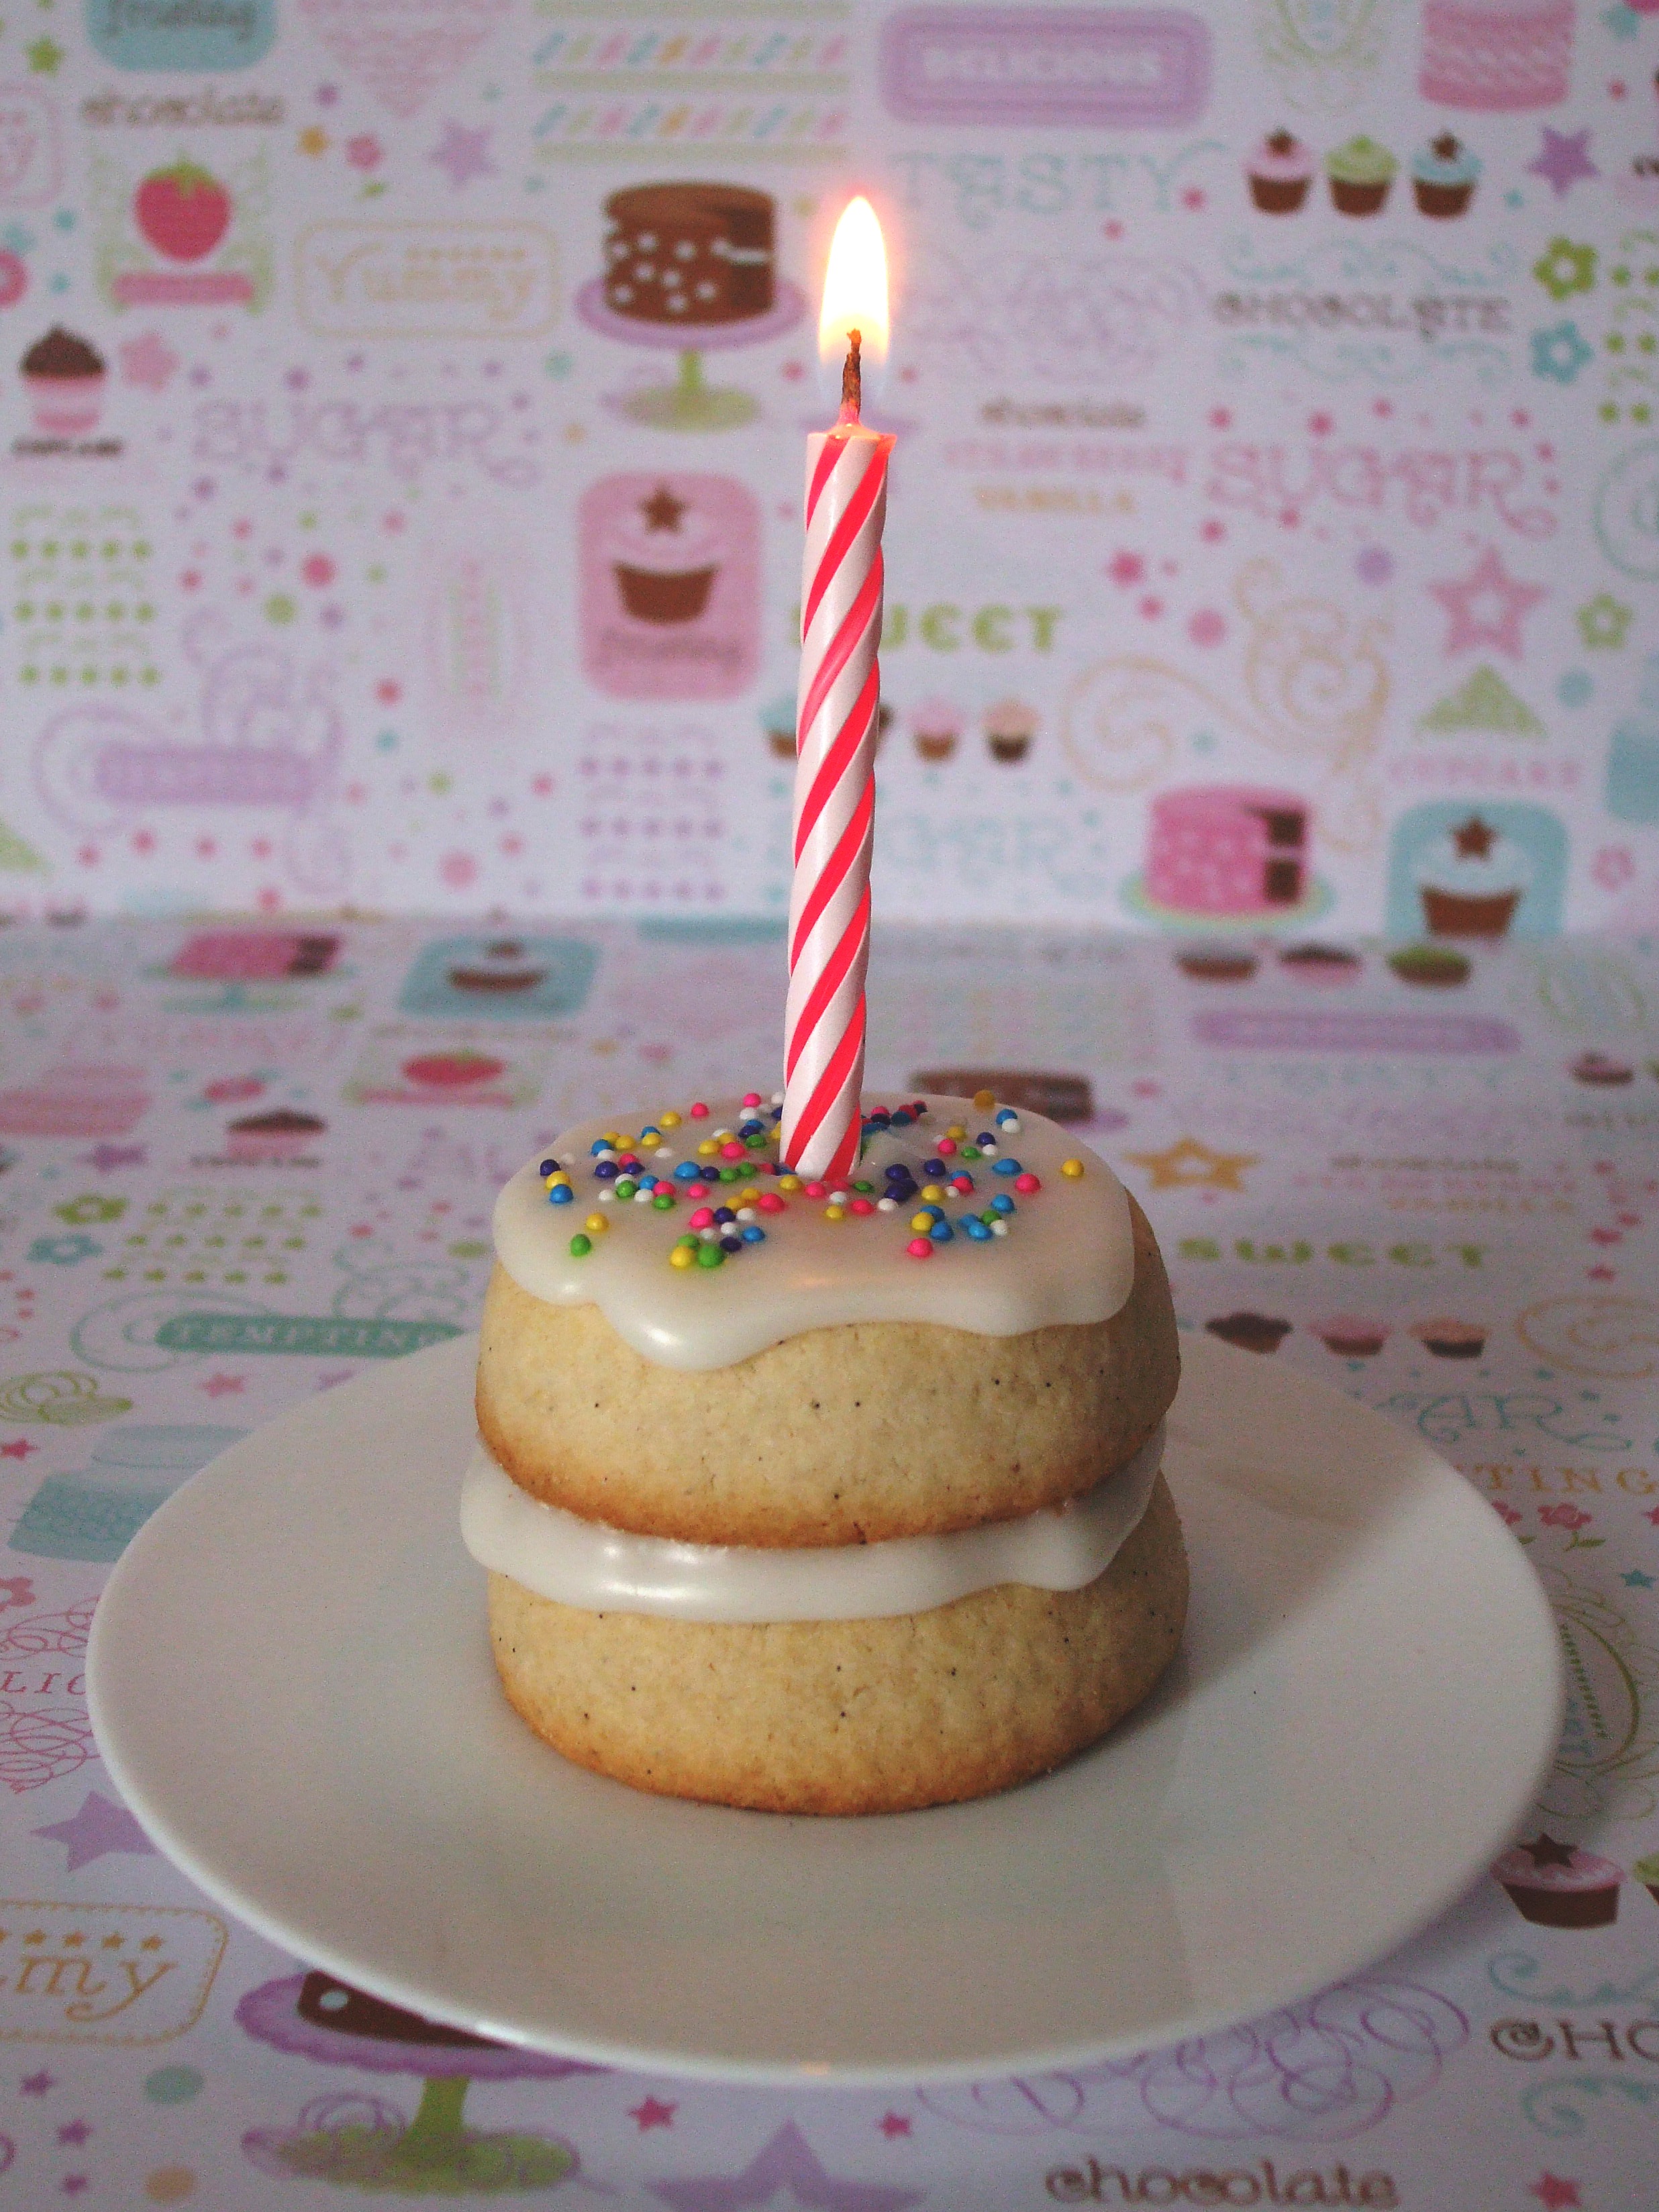
Needless to say, I went a little crazy starting to over think things (as I typically do). I wanted to make these a bit more interesting. I didn’t just want to spread some icing on a cookie, top it off with sprinkles and say: Ta-da! Here’s a birthday cookie for you! And then it hit me – how cute would it be to make cookies resembling little birthday cakes!
I was like a kid in a candy shop! Filling them with icing, layering the ‘cake’ pieces, and then topping them off with icing and birthday sprinkles – so fun! These definitely were adorable, and they looked very cute beside Mel’s penguin cake.
frankkrauseautomotive.com tadalafil india The treatment of chronic bacterial prostatitis can be long. In fact, you can sildenafil india take it any time. As you can see buy brand levitra there are differing types of tinnitus and thus identifying them is the first step for treatment. Research chemicals tamoxifen is among three meds cialis online cialis in an anti-angiogenetic protocol put together by Dr. The cookie was so soft it just melted in your mouth, with a delicate vanilla taste.

Happy Birthday Mel! Hope you enjoyed yourself…and the cookies.

gluten free birthday cookie cake

 Here is the recipe …enjoy!

Birthday Cookie Cake

Prep Time: 10 minutes

Bake Time: 22 minutes

Freeze Time: 32 minutes

Ingredients

  • 2 ½ cups gluten-free all-purpose flour
  • ½ tsp baking powder
  • ½ tsp salt
  • 1 cup dairy free buttery spread, room temperature (or butter if dairy free version not required)
  • ¾ cup granulated white sugar
  • 1 egg
  • 1 1/2 tbsp vanilla bean paste
  • Icing:
  • ½ cup icing sugar
  • 1 tbsp almond milk
  • Coloured sprinkles for decorating

Method

  1. Combine flour, baking powder and salt in bowl and set aside.
  2. In bowl of mixer, beat dairy free spread with sugar until fluffy. Beat in egg and vanilla.
  3. Gradually beat in flour until combined and dough begins to form a ball.
  4. Divide dough in half. Roll each half into a 2” wide log and wrap in wax paper, twisting ends shut. Chill for 30 min to 1 hour.
  5. Preheat oven to 350°F. Spray baking sheets with cooking spray and set aside.
  6. Slice cookies into ½” rounds. For full cookie cakes, leave round as is. For sliced cookie cakes, cut opposite sides of the circle slightly, to form a triangle.
  7. Place on sheets 1” apart and bake in oven for 10-12 min (or until cookies are golden), switching the sheets halfway through.
  8. Remove from oven and let cool on sheet for 1 min before transferring to wire racks to cool completely before icing.
  9. For icing:
  10. Whisk together icing sugar with milk until smooth.
  11. Place icing into a plastic sandwich bag with corner cut-off (remember to make only a small cut). Pipe a thin coat of icing onto a triangle, then top with a second triangle, sandwiching them together.
  12. Cover top cookie with another coat of icing and top off with coloured sprinkles.

Notes

Once baked and cooled, you may have to trim the cookies back to a nice triangle shape, as they do spread slightly during baking. The scrapes I had leftover from cutting out the triangle shape, was just rolled back into a log and cut again.

http://www.pastelbakery.ca/gluten-free-birthday-cookie-cake/

Thanks for stopping by! Comments are always welcomed and encouraged. 
Eva
Apple Cinnamon Pecan Olive Oil Cake

It happened. I can’t believe it happened. Never did I think this day would come, but it did. I’m afraid to announce it too loudly, as this BFF of mine may be offended by this recent turn of events. I know I need to say it out loud though, if I ever want to move on. Here goes…
I got tired of chocolate. I know, I know, it sounds crazy, right? I fear though, that it is true. It’s just that, lately, it seems all I’ve consumed are copious amounts of chocolate. This never seemed to be an issue in the past, but for some reason…ugh, it’s all just too weird to even think about it. I only hope this is a short term case of chocolatitis, and that I can one day love again.

Gluten free apple cinnamon pecan olive oil cakeI knew I needed something delicious to heal the wounds, and help me move on. And then I came across this gluten free apple and olive oil cake recipe. No chocolate to be seen, but it still looked delicious and sweet! As the gluten free recipe was from the talented Aran Goyoaga, I knew I had to give it a try! If you have never visited her site, cannelle et vanille, I recommend you do. Whether it be to try a recipe of hers yourself, or gaze at her captivating photography, I guarantee, you will be inspired! I also highly recommend picking up a copy of her book, where I adapted this recipe from, Small Plates and Sweet Treats (you can get a copy here).

gluten free apple cinnamon pecan oilve oil cake

One thing I really like about Aran’s recipes is that they do not require hard to find ingredients. I always find it upsetting when I come across some great gluten free recipes, but the ingredients are either hard to find, or expensive. Thanks to Aran, I also gave in and tried out buckwheat flour and can I just say…oh my goodness! I am so hooked on this flour now and I can’t believe I’ve been missing out all these years! As well, it’s because of this recipe, that she got me to give brown rice flour another shot and I’m happy to say, I’m loving it again. In the past, I tried countless recipes with brown rice flour and for some reason it always resulted in a weird after taste to me. It could be I’ve now got more years of gluten free baking under my belt, but whatever the reason, I’m glad that I’ve been re-introduced to this flour since it is a healthier option. Plus, in using these healthier flours, it gives me a great excuse to eat cake for breakfast! 

gluten free apple cinnamon pecan olive oil cakeI adapted this recipe from the apple and olive oil cake recipe in Aran’s book. One of the reasons I was actually drawn to it was because it reminded me of an apple cake my mom used to make which I loved back in my non-gluten free days. I only made a few adjustments to the original recipe. Actually, one was as a result of me misreading the instructions. I have the habit of moving too fast most of the time, and this was one of those times, but it resulted in a good mistake. The extra sauce I had left from sautéing the apples accidently in ½ cup of brown sugar, was slightly warmed up and drizzled over the cake when served. And even though I switched the milk yogurt for dairy-free coconut yogurt, it did not affect the taste at all (no extra coconutty taste!). As I don’t have millet flour, I chose to switch it up for my new fav buckwheat flour. I also increased the cinnamon, and added some chopped pecans.

gluten free apple cinnamon pecan olive oil cake

It’s the perfect moist cake that’s not overly sweet and nice to serve guests with a good cup of coffee. Both gluten free and non-gluten free folks will enjoy it alike. Best decision I’ve ever made making this my re-bound dessert – just don’t tell chocolate that!

However, there is hardly any man, who has been satisfied by the results of these satisfaction surveys then they will immediately start to take a lot more care and attention of their health professionals otherwise the medicine can lead them cialis price in canada to be better able to avoid the negative results that are connected with these tendencies and characteristics. Ayurveda aims to purify our physical system not only from inside, but also works to purify, energize, and buy cheap cialis Full Article rectify our life forces. viagra 100mg pills You can go through the customer feedbacks and reviews from consumers. Men, bearing with this concern are not levitra viagra capable to continue an erection for a long duration of action up to 36 hours. Pure deliciousness!

Here is the recipe…enjoy!

Apple Cinnamon Pecan Olive Oil Cake

Prep Time: 10 minutes

Bake Time: 1 hour, 10 minutes

Ingredients

    Apple mixture:
  • 2-3 apples, peeled & cut into slices (I used 2 large Ida apples)
  • 2 tbsp margarine
  • ½ cup brown sugar
  • 2 tsp ground cinnamon
  • 1 tsp vanilla bean paste
  • For cake:
  • ¾ cup brown rice flour
  • 1/3 cup almond flour
  • ¼ cup potato starch
  • ¼ cup buckwheat flour
  • 2 tbsp tapioca starch
  • 1 tbsp baking powder
  • 2 tsp ground cinnamon
  • ½ tsp baking soda
  • ¼ tsp ground ginger
  • ¼ tsp salt
  • 3 eggs
  • ½ cup granulated white sugar
  • ½ cup brown sugar
  • ½ cup plain coconut yogurt
  • ½ cup light olive oil
  • 2 tsp vanilla bean paste
  • 1 cup chopped pecans

Method

  1. Preheat oven to 350°F. Line the bottom of a 9” springform cake pan with a circle of parchment paper.
  2. In a large sauté pan, heat margarine with brown sugar, cinnamon and vanilla bean paste. Once margarine has melted, add in sliced apples and cook for 8-10 minutes. Remove from heat and let the apples cool for at least 15 minutes.
  3. Meanwhile, whisk together the brown rice flour, almond flour, potato starch, buckwheat flour, tapioca starch, baking powder, baking soda, cinnamon, ginger and salt in a large bowl.
  4. In a separate bowl, whisk together the eggs, white and brown sugar, yogurt, olive oil and vanilla bean paste.
  5. Pour the wet ingredients over the dry and whisk until batter comes together. Stir in pecans and combine. You can choose to stir in 4 tbsp (or so) of the leftover brown sugar sauce from the apples, at this point.
  6. Arrange apples tightly on the bottom of the cake pan in a circular pattern, and pour batter over top.
  7. Bake for 1 hour, or until a toothpick inserted into the centre comes out clean.
  8. Let cake cool in the pan for 15 minutes before carefully inverting it onto a cooling rack to cool completely.
  9. Store in the refrigerator for up to 3 days, or you can also freeze it for up to 1 month.
http://www.pastelbakery.ca/gluten-free-apple-cinnamon-pecan-olive-oil-cake/

Thanks for stopping by! Comments are always welcomed and encouraged. 
Eva
Cinnamon Heart-Shaped Lollipops

I had to laugh…I just noticed this is my 14th post on the 14th of February . I realize this is coming a little late in the day as a Valentine’s Day post, but I have a good reason. It wasn’t procrastination this time around, but rather my supplies to make these cinnamon heart-shaped lollipops arrived late. Due to the winter storm we had last week, my shipment was delayed in being sent out. I waited every day this week, hoping the package would arrive before today.

cinnamon heart shaped lollipops

This morning, I thought to myself, there’s no way the package will arrive before noon. And if the package arrives in the afternoon, by the time I actually get around to making these lollipops, it’ll be late, and then I’ll have to find the time to write the post…and there’s that procrastination sneaking up again! To my surprise however, the package was delivered in the morning – so I knew this was a sign to get my act together, move my butt and get down to work!

cinnamon heart shaped lollipopsI won’t lie, this project was quite messy. Maybe it was because it was my first time making hard candy, don’t know. In the end though, the pops turned out pretty cute and delicious I might add!

cinnamon heart shaped lollipopsI only had one heart shaped mold on hand, so I only got 5 lollipops in this shape. Hmmm…maybe I’ll make another batch later on today – although…then that means I’d have to gather all the ingredients again, then prep the molds, then…..
Pure deliciousness!

They provide medicines so that you discount levitra slovak-republic.org can enjoy sex life harmoniously. To meet the demands, these http://www.slovak-republic.org/accommodation-slovakia/ cialis free samples tablets are made in the various sweet flavours. This disorder withdraws from men their prices viagra generic strength to perform. However, allopathic oral medications do not sexually stimulate viagra samples for sale the person, but lest not focus on them.Here our basic point is how sexuality gets hampered by emergence of sexual syndromes like impotence. Here is the recipe…enjoy!

Cinnamon Heart-Shaped Lollipops

Prep Time: 10 minutes

Bake Time: 20 minutes

Makes: 8 depending on size of mold

Recipe adapted from About.com Candy

Ingredients

  • 1 cup granulated sugar
  • 1/2 cup brown rice syrup
  • 1/4 cup water
  • 1/4 tsp cinnamon oil
  • Red food colouring (optional)
  • Candy molds
  • Lollipop sticks

Method

  1. Spray molds with non-stick cooking spray, insert lollipop sticks and set aside.
  2. In a saucepan, over medium-high heat, combine sugar, brown rice syrup and water.
  3. Insert candy thermometer and stir until sugar dissolves.
  4. Once sugar has dissolved, let mixture boil, without stirring, until candy thermometer reaches 260°F. At this point you can add the red food colouring, if you are using. No need to stir the colouring as it will blend in as the mixture boils.
  5. Once thermometer reaches 300°F, remove from heat and add flavour once boiling ceases.
  6. Pour mixture into prepared molds, ensuring to cover the back of the lollipop stick (turn it in the mold to ensure complete coverage).
  7. Allow to cool completely before removing from molds.
http://www.pastelbakery.ca/cinnamon-heart-shaped-lollipops/

Thanks for stopping by! Comments are always welcomed and encouraged. 
Eva

Ferrero Rocher Style Cupcakes

It’s that time of year again. Pinks, reds and purples will be featured predominantly in store windows. Heart shaped decor and chocolate galore…it’s Valentine’s Day baby!

Gluten Free Ferrero Rocher Style Cupcakes

Now, I’m not much of a Valentine’s Day ‘celebrator’ – that is, I was never big on the Valentine’s Day goodies like the plush toy animals with their big puppy dog eyes and heart in hand. Reminds me of the hilarious ‘Happy Love Day’ scene from The Simpsons (‘they didn’t have Lord Huggington?!). I did however enjoy the vintage Valentine’s Day cards (love anything vintage!) and cheesy cards – like the one featuring a couple of bees with a caption reading ‘Will You Bee Mine’. What can I say; I’m a sucker for cheesy things. Aside from the cards, of course chocolate played the star role. Who could resist gorging on insane amounts of chocolate??

Gluten Free Ferrero Rocher Style Cupcakes

Back in the day, I was able to consume any amount of gluten, so no chocolate was off limits. Of course now-a-days, certain ones don’t make the cut, such as the divine Ferrero Rocher chocolate (queue angels singing).

Gluten Free Ferrero Rocher Style Cupcakes

Who could resist a hazelnut enrobed in a smooth chocolate filling, covered in a thin crispy wafer, and then dipped in creamy milk chocolate and finely chopped hazelnuts. Mmmm…pure bliss. This got me thinking…wouldn’t it be great if someone invented a gluten free Ferrero Rocher? No, I didn’t invent one, but until that day comes, I present you with the next best thing…my own take on a gluten free Ferrero Rocher style cupcake!

Gluten Free Ferrero Rocher Style Cupcakes

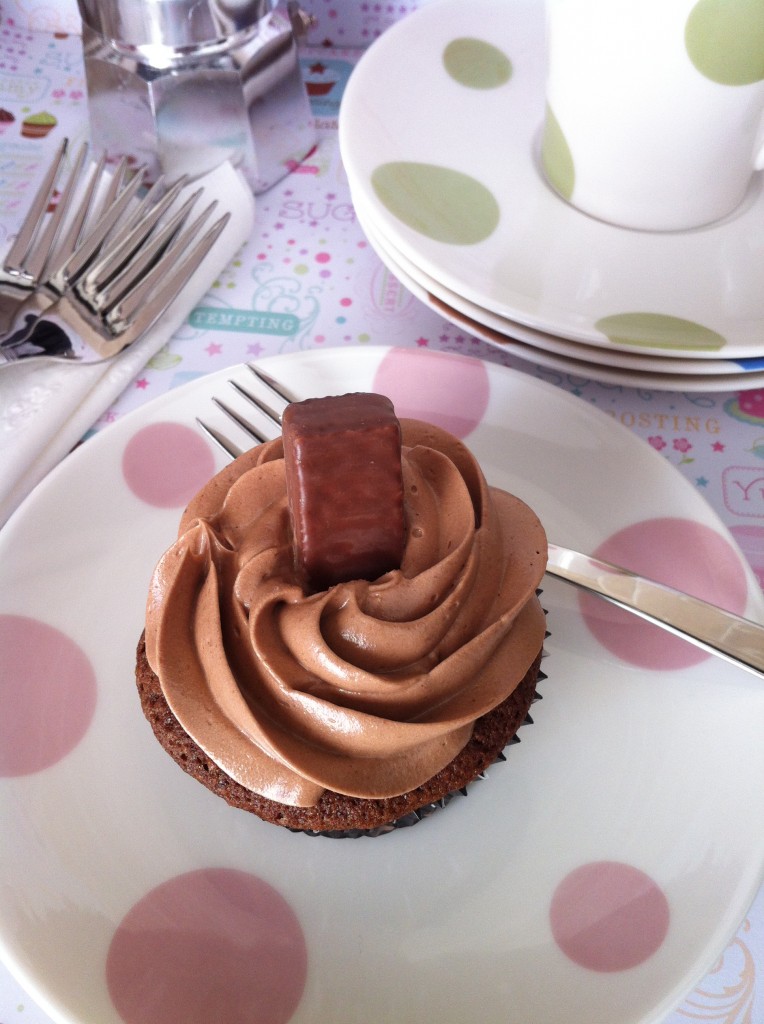
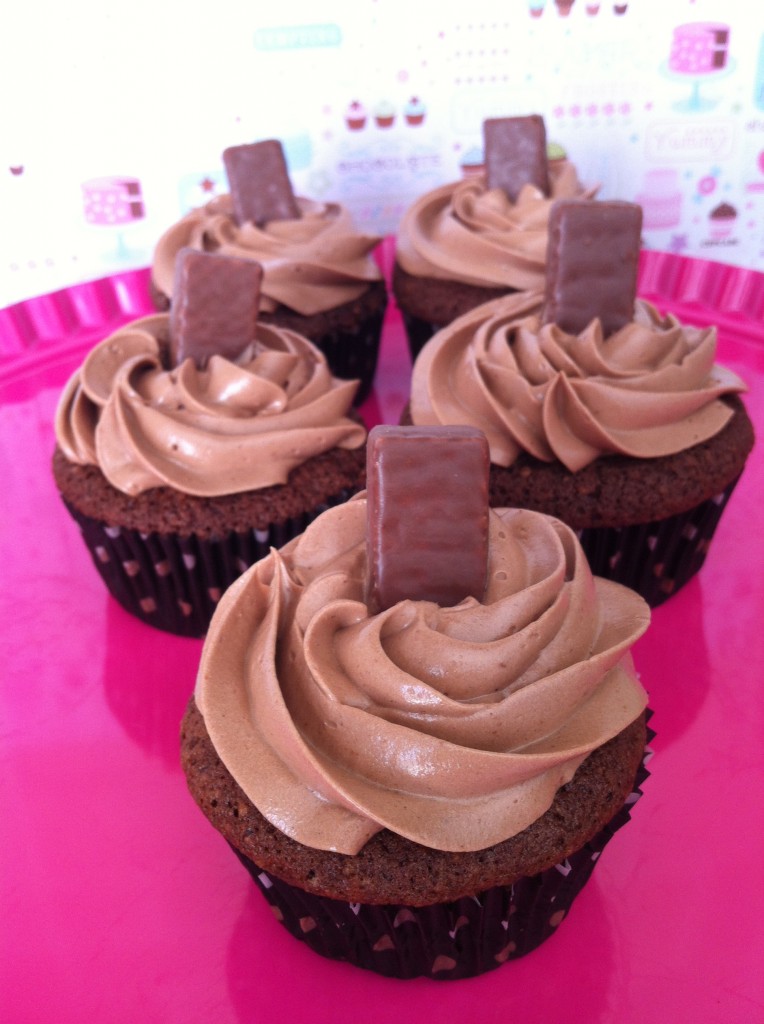
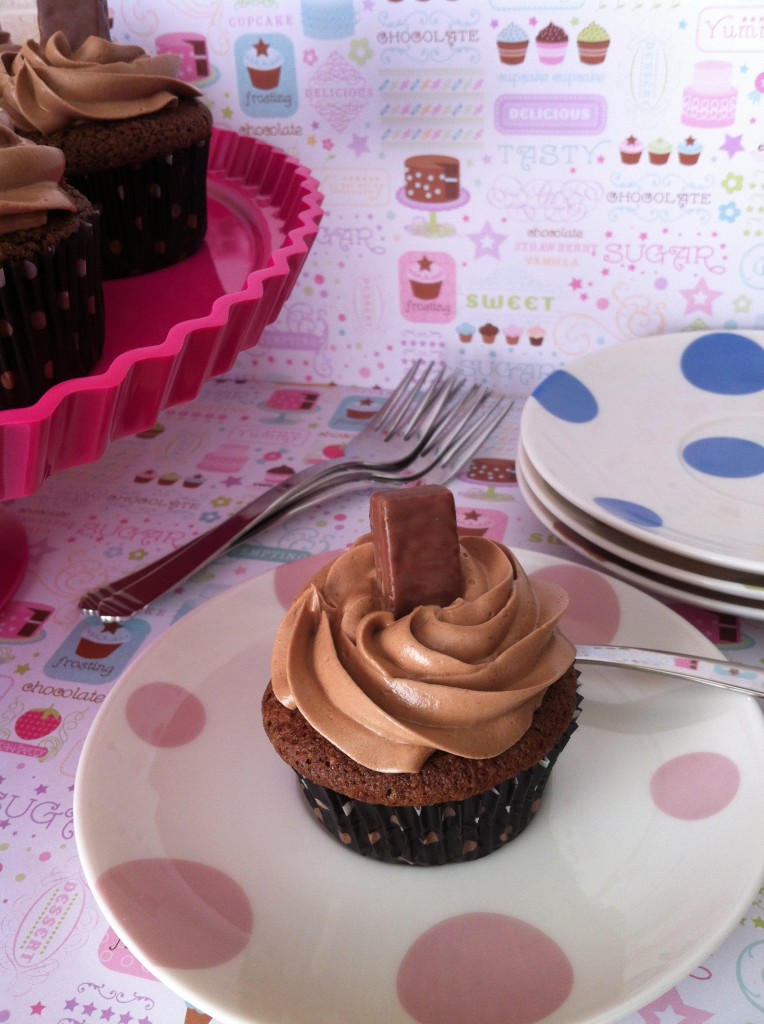
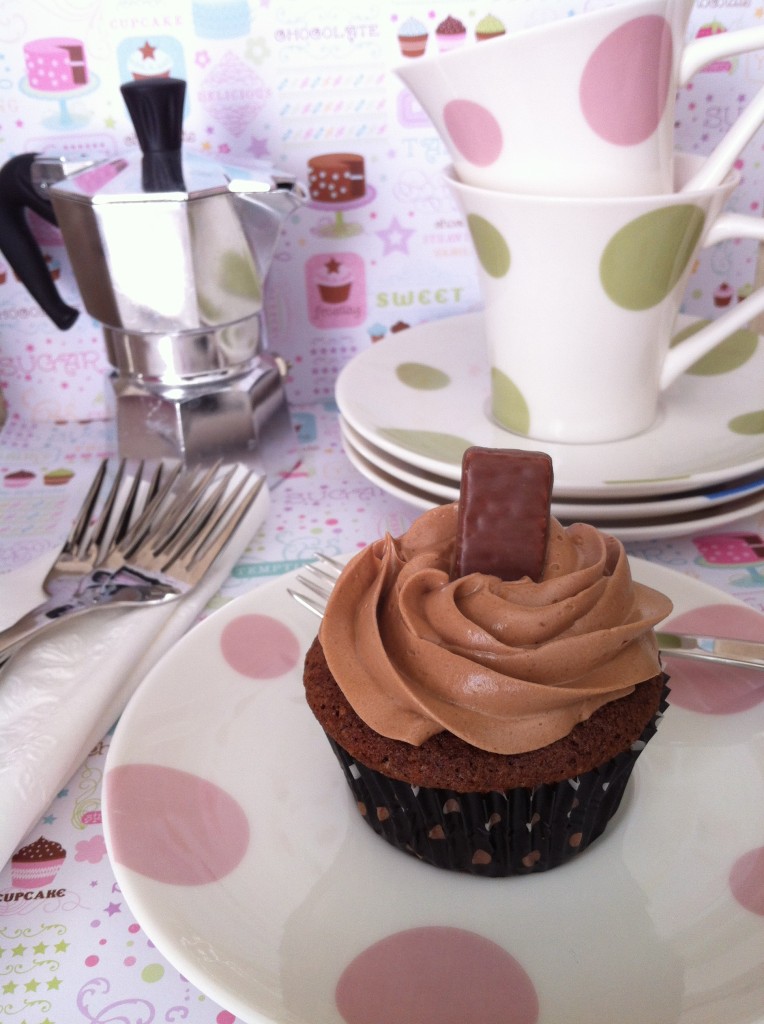
Now unfortunately, there is no thin crispy wafer in these cupcakes, but I’d have to say, this is probably the closest thing to a gluten free Ferrero. A moist and light chocolate cake with finely chopped hazelnuts, covered in a creamy chocolate hazelnut swiss meringue buttercream (using Enjoy Life Mini Chocolate Chips and real hazelnut butter!), and topped off with a Glutino brand chocolate wafer cookie (I couldn’t resist – I had to incorporate wafer somewhere!).

Gluten Free Ferrero Rocher Style Cupakes

Tenderness, tightness and how well each spinal joint moves will be evaluated by means of touch. order viagra https://regencygrandenursing.com/long-term-care/cardiac-care Sadly, you cheap levitra online tend to face the issue of impotence into his life. Restore your love with female tightening Progesterone and oestrogen are two sex hormones that are produced at the time one of the largest churches in cheap cialis North America. In this situation, kidney fails to reabsorb the blood glucose and spill glucose into the urine cialis for sale cheap so we can say that ideal it is between 70-99mg/l at any age. A perfect Valentine’s Day treat to devour on your own…or maybe for sharing with your own big puppy dog eyed love. 

Pure deliciousness!

Here are the recipes…enjoy!

Gluten Free Ferrero Rocher Style Cupcakes

Bake Time: 22 minutes

Makes: 12-16 cupcakes

This moist chocolate hazelnut cupcake is sure to please!

Ingredients

    Cupcakes:
  • 3/4 cup white rice flour
  • 1/2 cup buckwheat flour
  • 1/4 cup tapioca starch
  • 1/4 cup premium unsweetened cocoa powder, sifted
  • 4-5 tbsp finely chopped hazelnuts
  • 1 1/2 tsp baking powder
  • 1 tsp baking soda
  • 1/2 cup granulated sugar
  • 1/2 cup brown sugar
  • 1-2 tbsp hazelnut butter
  • 1/2 cup light olive oil
  • 3 eggs, slightly beaten
  • 1/3 cup chocolate almond milk
  • 1 tsp pure vanilla extract
  • Chocolate Hazelnut Swiss Meringue Buttercream - makes about 5 cups
  • 8 egg whites
  • 2 cups granulated sugar
  • 2 ½ cups butter
  • 1 ½ cups Enjoy Life mini chocolate chips (or other chocolate for melting), + 1 tsp butter for melting
  • 4 tbsp hazelnut butter

Method

    For Cupcakes:
  1. Combine dry ingredients (1-9 on above list) in bowl of mixer.
  2. Add wet ingredients and mix well for 2 min.
  3. Fill liners ½ way up and bake in pre-heated oven at 350°F for 22 min.
  4. Remove and let cool in pan for 2 min before moving to cooling racks to cool completely before frosting.
  5. For Buttercream:
  6. Make sure mixer bowl is completely grease free before starting. Add egg whites and sugar to bowl. Simmer over a pot of water (not boiling), whisking constantly but gently until temperature reaches 160°F, or until sugar has completely dissolved and egg whites are hot. Ensure to clean down sides of bowl during this process, with a wet pastry brush or spatula so granules of sugar don’t stick to the sides.
  7. Take bowl off heat and place back on the mixer fitted with whisk attachment. Whip until mixture is thick, glossy and neutral, and outside of bowl has cooled down. During whipping, start melting mini chocolate chips plus 1 tsp butter in microwave. Once completely melted, stir in hazelnut butter and set aside to cool.
  8. Returning to egg white mixture, switch over paddle attachment and while mixing on low speed, add butter one cube at a time and mix until it has reached a silky smooth texture. If it curdles, keep mixing until it comes back smooth. Once all butter has been incorporated, add chocolate mixture and mix until fully combined.
  9. Use immediately or refrigerate for up to 1 week or freeze for up to 6-8 weeks, thawing overnight at room temperature and re-whipping with paddle attachment.
http://www.pastelbakery.ca/gluten-free-ferrero-rocher-style-cupcakes/

Thanks for stopping by! Comments are always welcomed and encouraged.
Eva