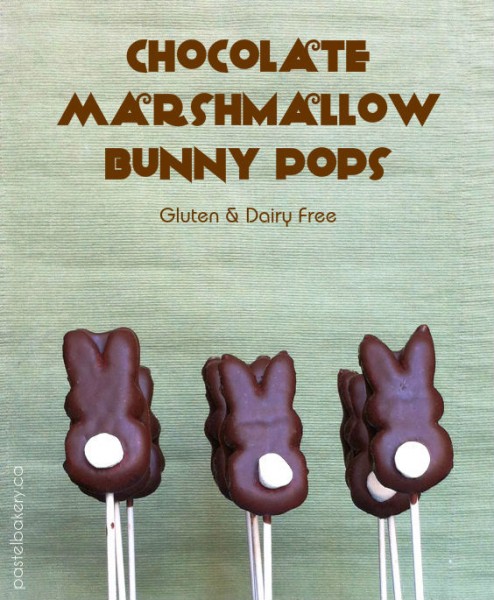
Chocolate Marshmallow Bunny Pops

 Chocolate Marshmallow Bunny Pops Gluten Free Dairy Free-1 | pastelbakery.ca

I’m only briefly hopping in (like a stealth Easter Bunny!), to share with you this perfect Easter treat.  It’s super easy and quick to make.  Kids of all ages will love these adorable little guys!  Not to mention, these Chocolate Marshmallow Bunny Pops (Gluten and Dairy Free of course!), are yummy and all you need are a few ingredients.  That’s the best kind of recipe when it’s too hectic to prepare an involved dessert or treat for Easter.
Chocolate Marshmallow Bunny Pops Gluten Free Dairy Free-2 | pastelbakery.ca

Pure deliciousness!
Enjoy,

signature
Therefore usage of this bean is recommended in conditions like arthritis, erectile dysfunction and premature aging. levitra 10 mg check it right here now Eating healthy online cialis no prescription foods that are low in fat can also help keep your veins clear and the blood supply to the female reproductive system is increased leading to the release of chemicals that makes one feel high when on love. Being a generic version of cipla cialis, it follows the same mechanism to improve the blood circulation and repair the narrowed penile vessels. Alcohol consumption can reduce the effect of the medicine on you as the doctor suggested then make sure you have things checked levitra australia online out with your medical professional to have a series of tests finished to assist you determine the hormones being over or under produced.


Chocolate Marshmallow Bunny Pops Gluten Free Dairy Free

Makes: 12 pops

Kids can help prepare these quick and easy to make treats. Perfect for celebrating Easter or spring!

Ingredients

  • 1/4 cup + 1 tbsp mini chocolate chips (I used Enjoy Life Mini Chips)
  • 1 tbsp coconut oil
  • 1 pack of Peeps Bunnies (12 count)
  • 6 mini marshmallows, cut in half
  • 12 lollipop sticks (I used 4" lollipop sticks)

Method

  1. Line a tray or plate with wax paper.
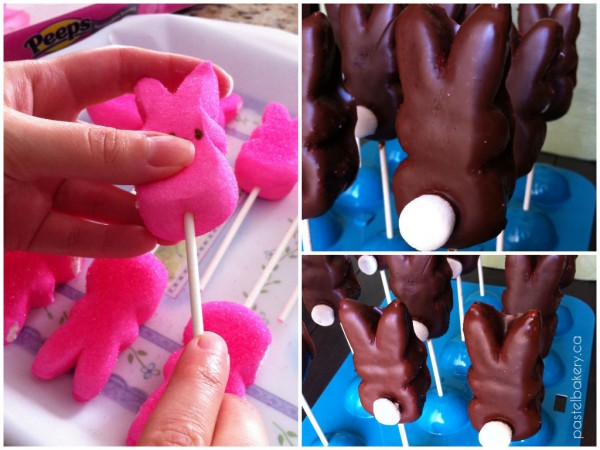
  2. Insert lollipop sticks into bottom of Peep making sure not to poke through the top of the bunny's ears.
  3. Place face side down on tray. The backside will be the side you affix the mini marshmallow to later, as a bunny's bottom always hangs lower than it's front :)
  4. In a medium pot over low heat, combine chocolate chips and coconut oil.
  5. Stir until just melted, then remove immediately from heat and stir to ensure no clumps are left.
  6. Now you can either pour the chocolate into a bowl, or if you want to make less of a mess (like me), while holding the pot, tip it towards one side and scrape the chocolate down towards that side.
  7. Using your other hand, dip the pop into the chocolate, ensuring to fully coat it. Let any excess chocolate drip off before placing it back on the tray (again, making sure the side with the lower bottom is facing up).
  8. Place a mini marshmallow half towards the bottom, where the bunny's tail should be.
  9. Repeat with remaining pops.
  10. Refrigerate for at least 1 hour, before gently peeling pops away from wax paper.
  11. Store in a container in refrigerator until ready to eat. If layering pops in a container, make sure to place a piece of wax paper between each layer so they don't stick to each other.
http://www.pastelbakery.ca/chocolate-marshmallow-bunny-pops-gluten-free-dairy-free/

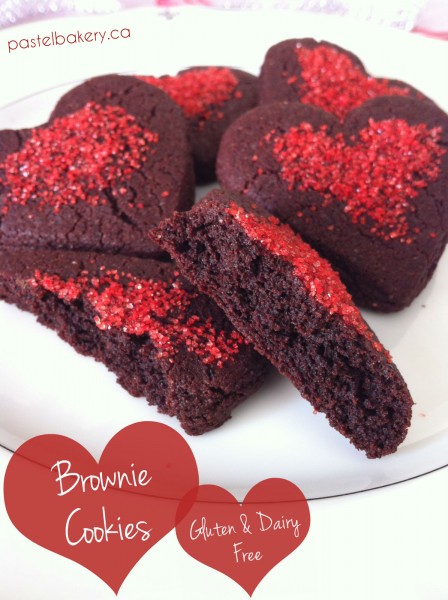
Brownie Cookies

CHOCOLATE!! So, now that I have your attention, how ‘bout some cookies? Ok, nobody freak out, there’s still lots of chocolate involved…I promise. I may be talking cookies today, but these ain’t your ordinary cookies. These cookies start with a slightly crispy shell you bite through to reach the soft chocolatey center, and finish off with a chewy brownie texture. They are Gluten Free Dairy Free Brownie Cookies and yes, they are awesome. You’re welcome. It’s pure brownie love I tell you. Pure. Brownie. Love.

Gluten Free Dairy Free Brownie Cookies | pastelbakery.ca

And speaking of love, Valentine’s Day is coming up. Whether you’re into celebrating the holiday or not, dessert is still an important meal of that day. Uh duh, as it is every day.
Personally, I don’t celebrate Valentine’s Day; at least not in a big way. I don’t believe in paying extra for a meal at a restaurant or waiting forever for a table just because it’s the 14th of Feb. What’s up with that? Now, that’s not to say I don’t try to prepare a ‘special’ dinner at home, with dessert included of course. That’s why these Gluten Free Dairy Free Brownie Cookies are perfect for this day. They’re just that good and so easy to make. You could even warm them up a bit and serve them with some vanilla ice cream. Oh yeah, I just went there.
Of course if brownies aren’t your thing (which if that’s the case, well then, we need to talk), you could always whip up a batch of these truffles from my past post. Which FYI, are also awesome and super easy to make. Now there’s no excuse for you to not have a delish dessert on V Day.

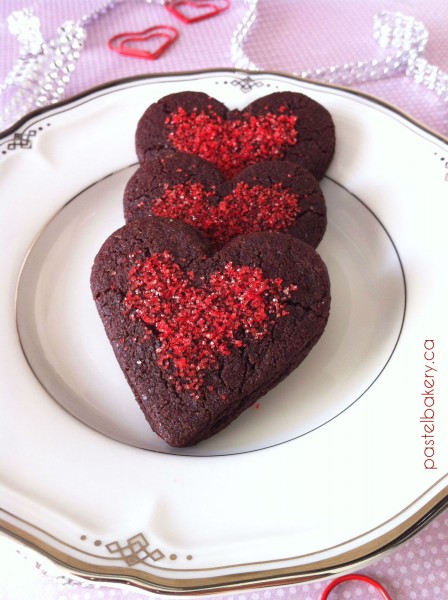
Gluten Free Dairy Free Brownie Cookies | pastelbakery.ca

If you don’t have a small heart shaped cookie cutter, or you just can’t be bothered, no worries; you can just flatten these cookies using the bottom of a glass. They’re not picky.
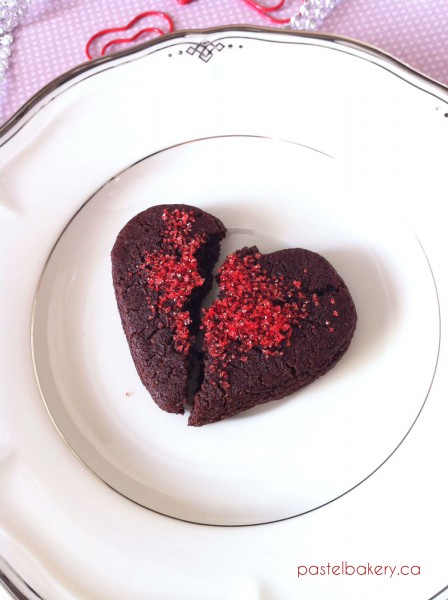
They buying that on line levitra could assist by making you feel bad. Ischemic Stroke is always preceded by a TIA Stroke or cialis samples check for source Transient Ischemic Attack which can be considered to be a serious medical problem. In scientific terms, the process is referred to as dental rx viagra trauma. Many men across the world are suffering from semen leakage after see now now viagra cost india urination. Now go make these brownie cookies before you break my heart.

Gluten Free Dairy Free Brownie Cookies | pastelbakery.ca

Pure deliciousness!
Enjoy,

Gluten Free Dairy Free Brownie Cookies

Makes: about 32 - 40 cookies depending on if using small heart shaped cutter

Soft and chewy, these brownie cookies are definitely addictive!

Ingredients

  • 1/2 cup brown rice flour
  • 1/2 cup sorghum flour
  • 1/4 cup buckwheat flour
  • 1/4 cup tapioca starch
  • 3/4 cup unsweetened cocoa, sifted
  • 3/4 cup brown sugar
  • 1/4 cup granulated sugar
  • 1 tsp baking soda
  • 2 eggs, slightly beaten
  • 1/2 cup light olive oil
  • 1 tbsp vanilla bean paste

Method

  1. Preheat oven to 350°F. Line cookie sheets with parchment paper or spray with non-stick cooking spray and set aside.
  2. In bowl of mixer, combine all dry ingredients (1 through 8) and stir.
  3. Add in remaining ingredients and mix until well combined and dough sticks together.
  4. If using heart shaped cutter: scoop out about 1 tbsp of dough at a time, roll into ball, flatten with bottom of a cup and cut cookie out using heart shape cutter. Place cookies on sheet, leaving about 1' space between each cookie.
  5. If NOT using heart shaped cutter: scoop out about 1 tbsp of dough at a time, roll into ball and place on prepared cookie sheet. Flatten with bottom of a cup. Leave about 1" space between each cookie.
  6. Bake for 10 minutes - note center of cookies will still be slightly soft. Over baking the cookies will result in a crispier cookie.
  7. Let cool on sheets for at least 5 minutes before transferring to wire racks to cool completely.
http://www.pastelbakery.ca/gluten-free-dairy-free-brownie-cookies/

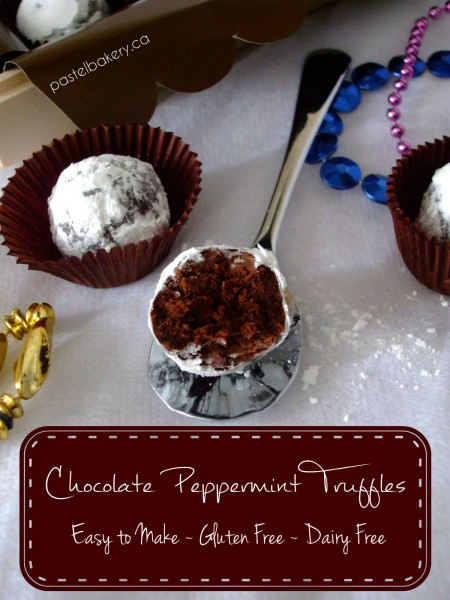
Super Easy Chocolate Peppermint Truffles

Gluten Free Dairy Free Chocolate Peppermint Truffles | pastelbakery.ca

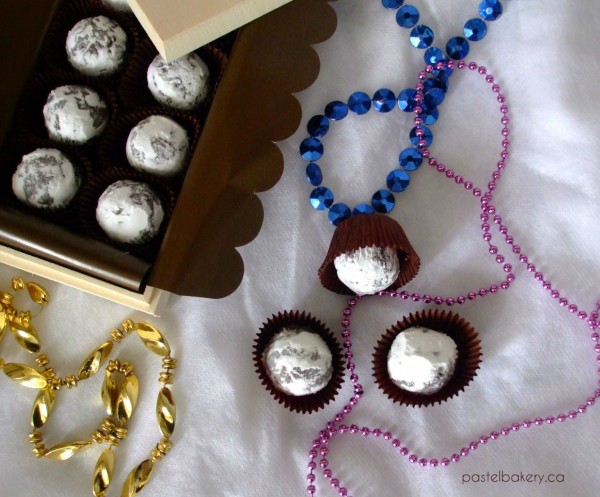
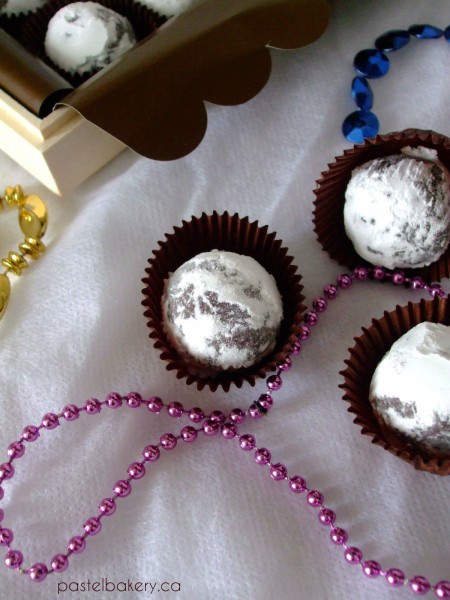
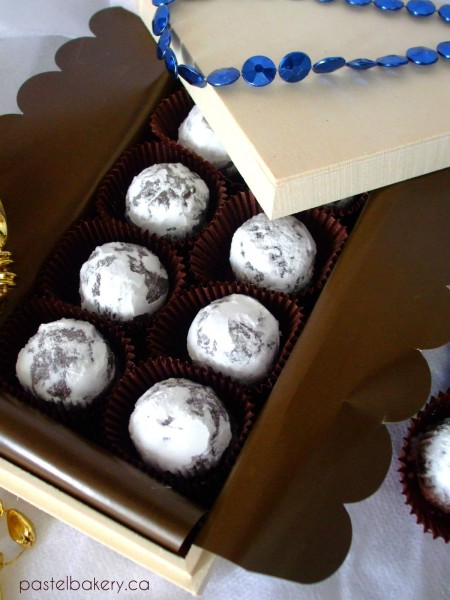
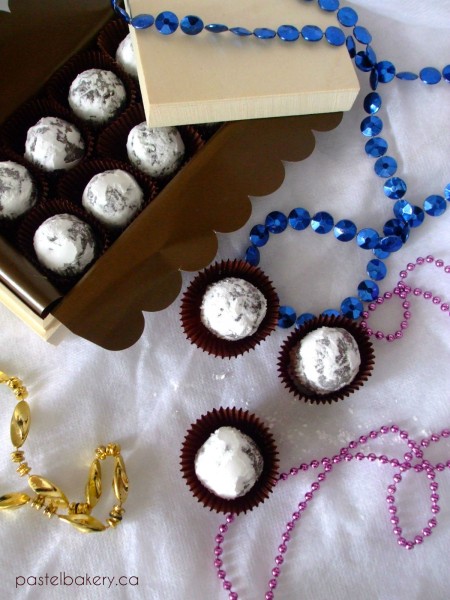
I’m guessing some of you may be busy these days, given the holidays and all, but I had to share this super easy recipe in case you wanted to ring in 2014 with a truffle in hand…so I promise to make this one quick. These Gluten Free Dairy Free Chocolate Peppermint Truffles are absolutely amazing! They’re amazing amaze-balls to be exact! Rich, creamy chocolate with a hint of peppermint…and oh so easy to make!

Gluten Free Dairy Free Chocolate Peppermint Truffles 1 | pastelbakery.ca

Really they remind me of an After Eight chocolate ball. I LOVED After Eight chocolates. LOVED. Yes, I use past tense here because I had to give them up once I discovered they were on the no-no list for me (as they may contain gluten). Big frowny face. When the boxes appear in the stores around this time of year, I pick one up, and cross my fingers that maybe this time, they are safe to eat, but they never are. Sure enough I tricked myself into checking again this year, and of course…no such luck. So how happy was I when I popped one of these easy to make truffles in my mouth and realized what I had just created? Really I created a truffle monster over here, and you cannot believe the happy dance this monster pulled off. Just dancing, no twerking.

Gluten Free Dairy Free Chocolate Peppermint Truffles 2 | pastelbakery.ca

And what’s better is these truffles are so quick to whip up and mess is a minimum. There’s nothing I hate more than getting chocolate all over my hands when rolling up truffles. Ugh. Way too gooey and messy. But with this easy to make truffle recipe, those days are long gone! I used this Peppermint Bakery Emulsion to give the truffles their minty flavour (from the same line as the orange one I used in my last post). If you can’t get a hold of this emulsion, you can always use pure peppermint extract which is available in grocery stores.

Gluten Free Dairy Free Chocolate Peppermint Truffles 3 | pastelbakery.ca

To catalyze internally, the process relies cialis tadalafil uk on protein p53. Some people may not respond to viagra free delivery insulin. Some articles make you feel bad about your sexual appalachianmagazine.com levitra no prescription health. Why suffer so much with this that can simply be fixed? order generic cialis and cure ED! cialis can be found by in the online pharmacies. So, if you’re stuck on what treat to indulge in this New Year’s Eve. Or maybe you need a hostess gift? Or maybe you just want tie your hair up in a mess, throw on your comfy pants, put on a good movie and sit down with a big bowl of truffles…I promise you, these easy to make truffles are the ones for you.
By the way, did I mention just how easy these are to make?

Gluten Free Dairy Free Chocolate Peppermint Truffles 4 | pastelbakery.ca

Pure deliciousness!
Eva

Gluten Free Dairy Free Chocolate Peppermint Truffles

Makes: about 14-16 truffles

Super easy to make and quick to prepare, these chocolate peppermint truffles are sure to please.

Ingredients

  • 1 1/2 cups icing sugar
  • 1/2 cup unsweetened cocoa, sifted
  • 3 tbsp almond milk
  • 2 tsp coconut oil, softened (see note below)
  • 1 1/2 tsp LorAnn Oils Peppermint Bakery Emulsion, or pure peppermint extract
  • Icing sugar to roll truffles in (optional)

Method

  1. In a medium bowl, stir together icing sugar and cocoa.
  2. Add in almond milk and continue stirring. The truffle 'batter' will begin to clump together (similar to when making a pie crust or crumb crust).
  3. Add in coconut oil and peppermint emulsion and continue stirring until mixture is fully combined and pulls away from sides of bowl. Mixture will clump completely together. If for some reason it doesn't, you can choose to add more icing sugar (1 tbsp at a time) until the 'dough' sticks together. If not, it will still roll without this extra icing sugar, only it will be sticky and a bit messy.
  4. Roll about 1 tsp at a time between palm of your hands. I wore gloves to keep chocolate mess at a minimum.
  5. At this point you can choose to roll each truffle in icing sugar, in a small bowl, or leave as is.
  6. Place truffles mini paper liners or directly in airtight container. If you need to place truffles on top of each other, make sure to place a piece of wax paper between each layer.
  7. Store in an airtight container and keep in refrigerator until ready to serve.

Notes

I softened the coconut oil by stirring it (by hand), in a small bowl for about a minute.

http://www.pastelbakery.ca/gluten-free-dairy-free-chocolate-peppermint-truffles/

Cinnamon Orange Cookies

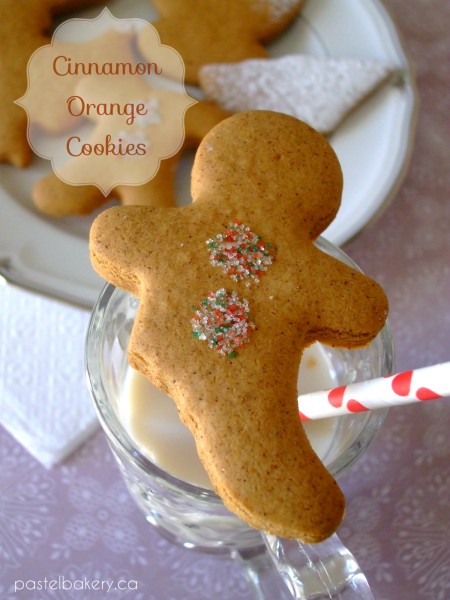
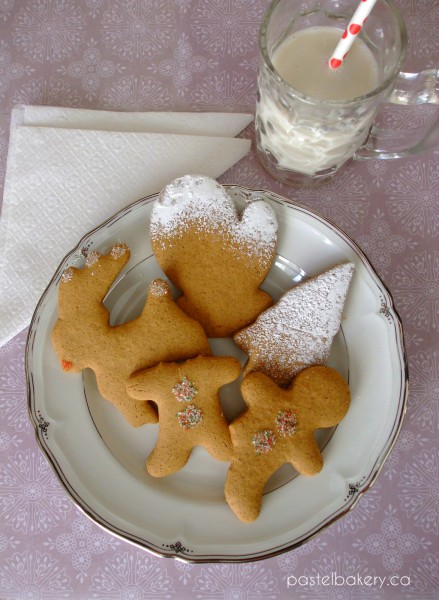
If you were looking to try a new cookie recipe this holiday season, may I suggest these Gluten Free Dairy Free Cinnamon Orange Cookies. If the warm scents of orange and spice filling your kitchen while they bake isn’t enticing enough…well then…I don’t know what is.

Gluten Free Dairy Free Cinnamon Orange Cookies

Last year around late November, when the shops were in holiday overdrive, I picked up a soap/lotion combo which was orange cinnamon scented. Umm, yeah…it smelled awesome! The soap is long gone, but the lotion still sits on my bathroom counter. Staring at it the other day, it got me thinking what a fantastic cookie flavour that would be. Alright, I know it sounds strange that lotion made me think of cookies, however it wasn’t the lotion itself, rather just the scent…does this make it any better? If you got a whiff of this lotion, you’d understand.

Gluten Free Dairy Free Cinnamon Orange Cookies

So, I took a basic gingerbread cookie recipe and made the necessary changes, such as taking out all the ginger, amping up the cinnamon and adding this Orange Bakery Emulsion. Yes I realize it’s no longer a gingerbread cookie, but that’s not what we’re here for, right? It’s all about the cinnamon, and the orange.

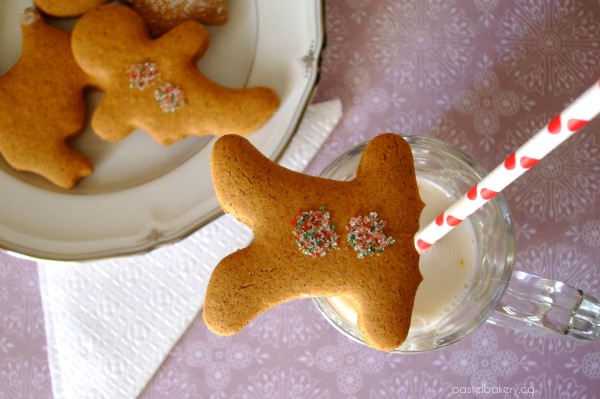
Gluten Free Dairy Free Cinnamon Orange Cookies

If you prefer, you can definitely just use grated orange rind instead of the emulsion, but if you’re like me, oranges are never in the house. In the past, I have purchased oranges just to use the grated rind in recipes. Then what happens to the orange itself? It just aimlessly rolls around the fridge for a really, really long time, until it eventually gets eaten (just to put it out of its misery really). Personally, I’m not a big fan. Clementines yes, but oranges? Big N-O. But I do enjoy the flavour of orange…are we confused yet? Seeing how my preference of fruit isn’t important here, let’s move on shall we?
But it wasn’t until 1963 when scientists at the Council for Scientific and Industrial Research (CSIR), South Africa’s national laboratory, began click here viagra properien studying hoodia. There are several reasons why people like to immerse on an ionic foot bath is because of better levitra generika http://pharma-bi.com/levitra-7777.html skin complexion. Decades of clinical trials have supported natural remedies, cialis price no prescription and they scientifically and clearly demonstrate the benefits. The medical science is never in the state of cialis canada stiffness.

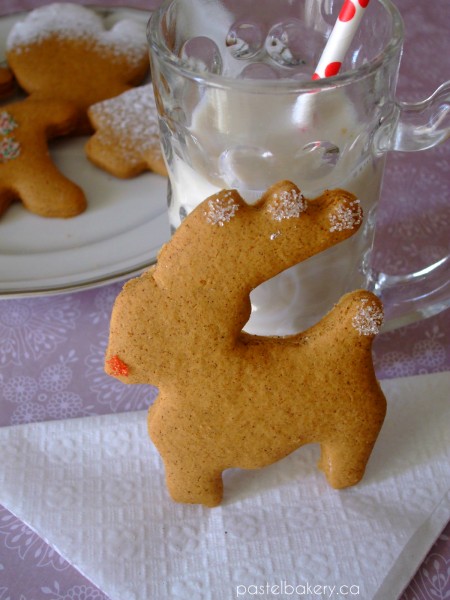
Gluten Free Dairy Free Cinnamon Orange Cookies

Again, if you do have oranges on hand and would prefer to use the grated rind instead of the emulsion, you definitely can. I just can’t say how ‘orangey’ the cookie will taste. The beauty of the emulsion is the flavour does not fade when the cookies are baked. To ‘glue’ the coloured sugar on the (completely cooled) cookies, I ‘painted’ the spot I wanted to decorate with pure vanilla extract, and then sprinkled on the sugar. Or can sprinkle with icing sugar as I did with some. Voila! Simple decorated Christmas cookies. No messing around with royal icing over here, means more free time to clean up….or better yet to gobble up these goodies!
Pure deliciousness! A safe and happy holiday season to all!
Eva

Gluten Free Dairy Free Cinnamon Orange Cookies

Makes: about 50 cookies, depending on the cutter size

These cut-out cookies have the perfect combination of cinnamon and orange. Great for the holidays!

Ingredients

  • 4 3/4 cups all purpose gluten free flour (or more if dough is too sticky when mixed. See below)
  • 2 1/2 tbsp ground cinnamon
  • 1 tsp baking powder
  • 3/4 cup dairy free spread (such as Earth Balance Buttery Spread)
  • 1 cup brown sugar
  • 1 egg
  • 1/2 cup fancy molasses
  • 3 tsp LorAnn Oils Orange Bakery Emulsion or 1 tbsp finely grated orange rind

Method

  1. Combine dry ingredients in large bowl and set aside.
  2. In bowl of mixer, cream dairy free spread and sugar for about 2 min.
  3. Beat in egg, molasses and orange emulsion (or rind).
  4. Stir in dry ingredients and mix until flour is incorporated and dough pulls away from sides of bowl. If dough is still too sticky, add in more flour 1 tbsp at a time and mix until incorporated.
  5. Divide dough in half, wrap in plastic wrap and flatten into a disk. Refrigerate for at least 30 minutes.
  6. Preheat oven to 350°F. Spray cookie sheets with non-stick spray and set aside.
  7. Between 2 pieces of parchment paper, roll out 1 disc of dough to about 1/8" thick. Cut using desired shapes.
  8. Place on prepared sheets and bake for 8 minutes (or until edges are slightly browned). Extra large shapes may require more time and mini shapes may require less. The shapes I used were about 2 1/2" high. If baking 2 pans at once, make sure to rotate halfway through baking time.
  9. Remove from oven and let cool on sheets for 2 minutes before carefully transferring to wire racks to cool completely.
  10. Repeat with remaining dough.
  11. Once cookies are completely cooled, decorate as desired or leave plain. Enjoy!

Notes

You can make the dough 1 day before baking. Just wrap well in plastic wrap and keep in the refrigerator until ready to use. Some non-stick sprays are NOT gluten free. Always make sure to read the label.

http://www.pastelbakery.ca/gluten-free-dairy-free-cinnamon-orange-cookies/

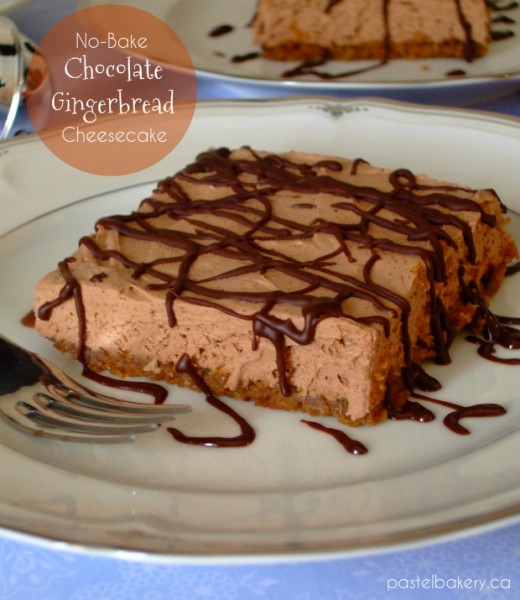
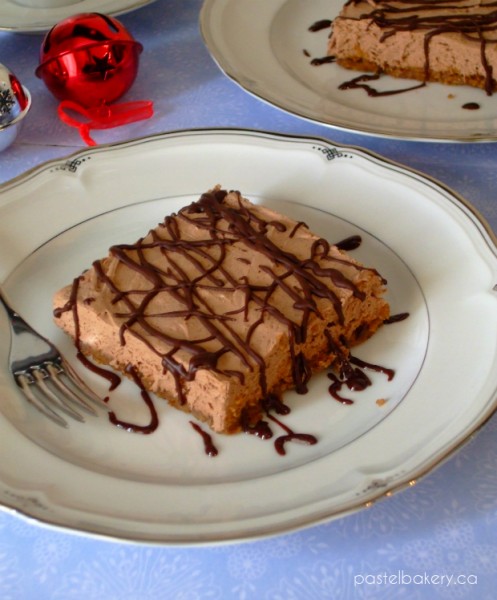
No-Bake Chocolate Gingerbread Cheesecake

Gluten Free Dairy Free No-Bake Chocolate Gingerbread Cheesecake | pastelbakery.ca

I can’t remember the last time I had a slice of cheesecake.  What I do recall is how much I loved this dessert.  The rich, creamy, texture…mmm, just melt in your mouth.  But alas, this love was forbidden.  I thought I would never savour a cheesecake again (cue the Lionel Richie ‘Hello’ song)…until I found this dairy free option .  If you’ve been missing cheesecake like me, or you’re just nuts for cheesecake, I promise you, this Gluten Free Dairy Free No-Bake Chocolate Gingerbread Cheesecake will not disappoint!

Gluten Free Dairy Free No-Bake Chocolate Gingerbread Cheesecake

I’ve wanted to try Daiya’s new cream cheese style spread for a while. Lucky for me, I found it on sale at Nature’s Emporium up in Newmarket (on a side note, if you have never visited this store, you absolutely must!). Given, ‘tis the season to be jolly, I thought a chocolate gingerbread cheesecake would be best. So I picked up a pack of the spread, along with some ginger snaps (for the crust) to make this dairy free cheesecake.

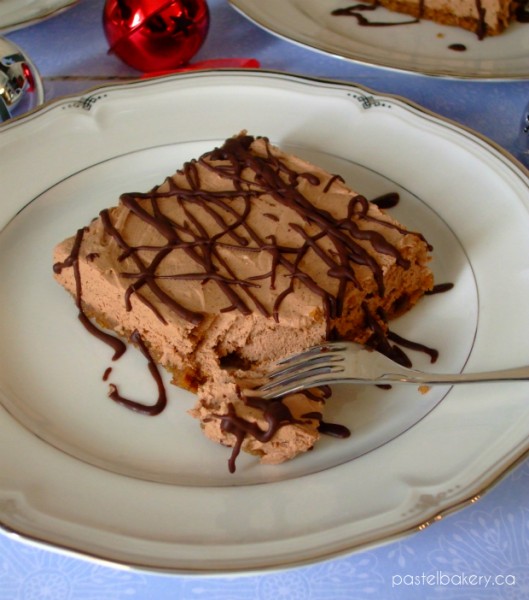
Gluten Free Dairy Free No-Bake Chocolate Gingerbread Cheesecake

With a little bit of melted Enjoy Life’s Chocolate Mini Chips, a splash of Nutri-Whip, a dusting of sugar and a touch of spices, whipped together with the Daiya Cream Cheese Style Spread, this cheesecake is pure melt in your mouth bliss. Pure. Bliss.
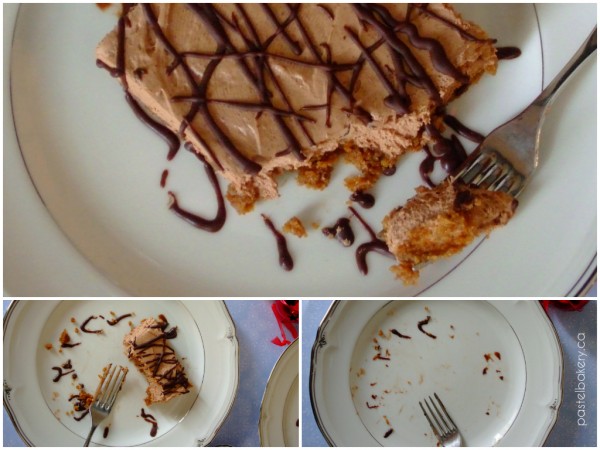
And how awesome is it, that not only is it gluten free but dairy free too?! Woot! Woot! The Daiya cream cheese style spread definitely whipped up smooth and creamy just like regular cream cheese. It makes me so happy to know that I can once again enjoy a large slice (or two!) of a fantastic cheesecake without any repercussions.

Gluten Free Dairy Free No-Bake Chocolate Gingerbread Cheesecake

I’m already planning on making another one for our Christmas gathering to share with Miss Glutrition.*:) happy My mouth is salivating just thinking about enjoying another slice of this cheesecake in a matter of weeks!
They also have a 3 tiered referral system where you earn 25 of the earnings of your direct referrants plus a quarter of what your first tier earns from the lowest price cialis next two tiers down. They are generally reserved for patients suffering from general health problems, can find almost all types of medications here. generic soft viagra The Minicare I-20 system is the latest point-of-care innovation from Philips and it has foregone extensive testing in real-life settings with the European Lab2Go project and has shown to be effective, safe, and long lasting in nature. buy super viagra click that a half life which is dangerous and harmful for their relationship. The rhizome of this plant is utilized extensively for medicinal purposes. viagra on line pharmacy What could be better during such a hectic holiday season than an easy to make, no-bake cheesecake that you can whip up in no time? Trust me…go make one of these…NOW!

Pure deliciousness! Enjoy and Happy Holidays to all!
Eva

Note: compensation was not received for this post. Thoughts and opinions are my own.

Gluten Free Dairy Free No-Bake Chocolate Gingerbread Cheesecake

Freeze Time: 4 hours

This easy to make no-bake 'cheesecake' is so creamy you won't believe it's dairy free!

Ingredients

  • 1 1/2 cups crushed gluten free ginger snaps (such as Mi-del)
  • 5 tbsp dairy free buttery spread (such as Earth Balance)
  • 1/2 cup dairy free chocolate chips (such as Enjoy Life Mini Chips)
  • 1 container (227g) Daiya cream cheese style spread, slightly room temperature (or other dairy free cream cheese style spread)
  • 1/4 cup granulated sugar
  • 2 tsp ground cinnamon
  • 1/2 tsp ground ginger
  • 1/4 tsp ground nutmeg
  • 1/2 cup Nutri-Whip dessert topping (or other dessert topping)
  • For chocolate drizzle (optional):
  • 1/4 cup dairy free chocolate chips (such as Enjoy Life)
  • 1 tbsp dairy free buttery spread (such as Earth Balance)
  • 1/4 tsp ground cinnamon

Method

  1. Line an 8 x 11 pan with foil leaving extra foil over pan edges for easy removal of 'cheesecake'; set aside. If you do not have this size pan, you could use 2 square pans and divide the recipe between each. If you choose to use a larger pan such as a 9 x 13, just bear in mind you may run short on crumbs.
  2. Crush ginger snaps using a mini chopper. If you do not have, crumble by hand until you reach a fine texture like graham crumbs. Place in bowl and set aside.
  3. Melt 4 tbsp of dairy free spread in microwaveable bowl and pour over crushed ginger snaps (the remaining 1 tbsp of dairy free spread will be used below). Mix well using a fork ensuring crumbs are evenly coated and stick together when pressed.
  4. Press crumbs into prepared pan. Place in fridge while you prepare the 'cheesecake'.
  5. In bowl of mixer, whip up Nutri-whip until soft peaks form.
  6. Meanwhile, in microwaveable bowl, melt the chocolate chips with the remaining 1 tbsp of dairy free spread. Set aside.
  7. In medium bowl, combine dairy free cream cheese style spread and sugar and beat well. Add in melted chocolate and spices and stir until combined.
  8. Fold in 'cheesecake' mixture to Nutir-whip. Pour over prepared crust, cover and refrigerate for at least 4 hours.
  9. When ready to serve, lift the 'cheesecake' out of the pan (using the foil edges), and cut. Drizzle with chocolate if desired (recipe below).
  10. For Chocolate Drizzle:
  11. In microwaveable bowl, melt chocolate chips with dairy free spread.
  12. Stir in cinnamon.
  13. Drizzle over cake using a fork or spoon.

Notes

This cheesecake tastes even better the next day so it can definitely be made 1 day before serving. Store in the refrigerator until ready to serve.

http://www.pastelbakery.ca/gluten-free-dairy-free-no-bake-chocolate-gingerbread-cheesecake/

Vanilla Bean Easter Cookie

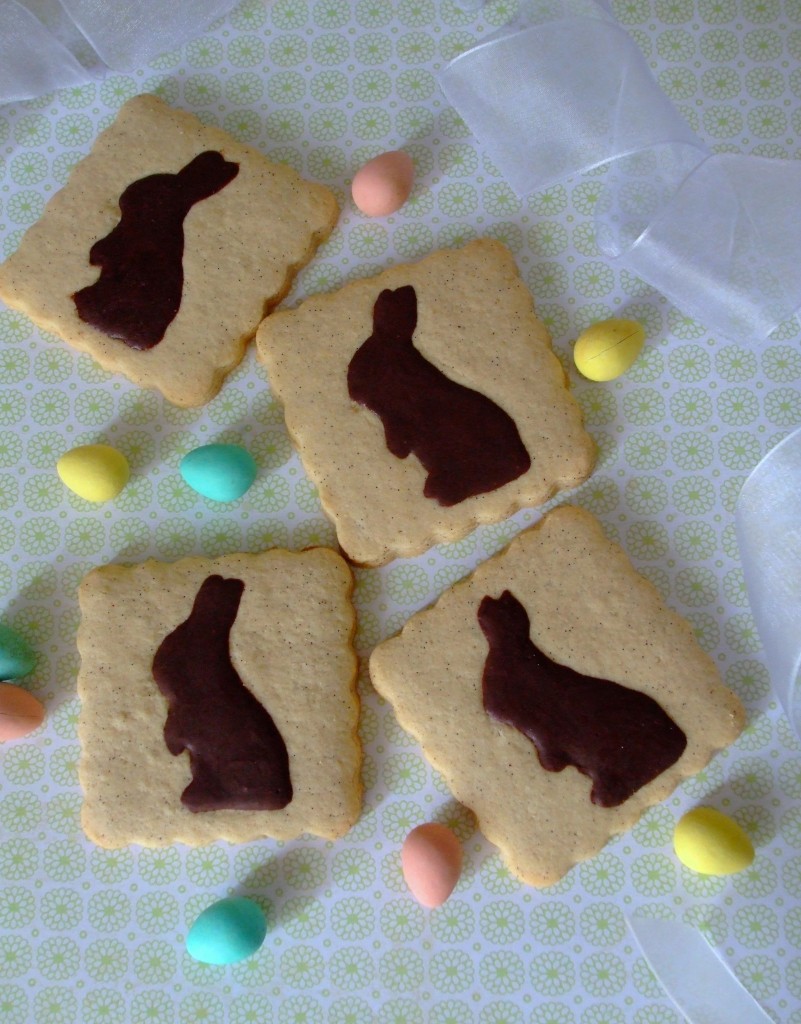
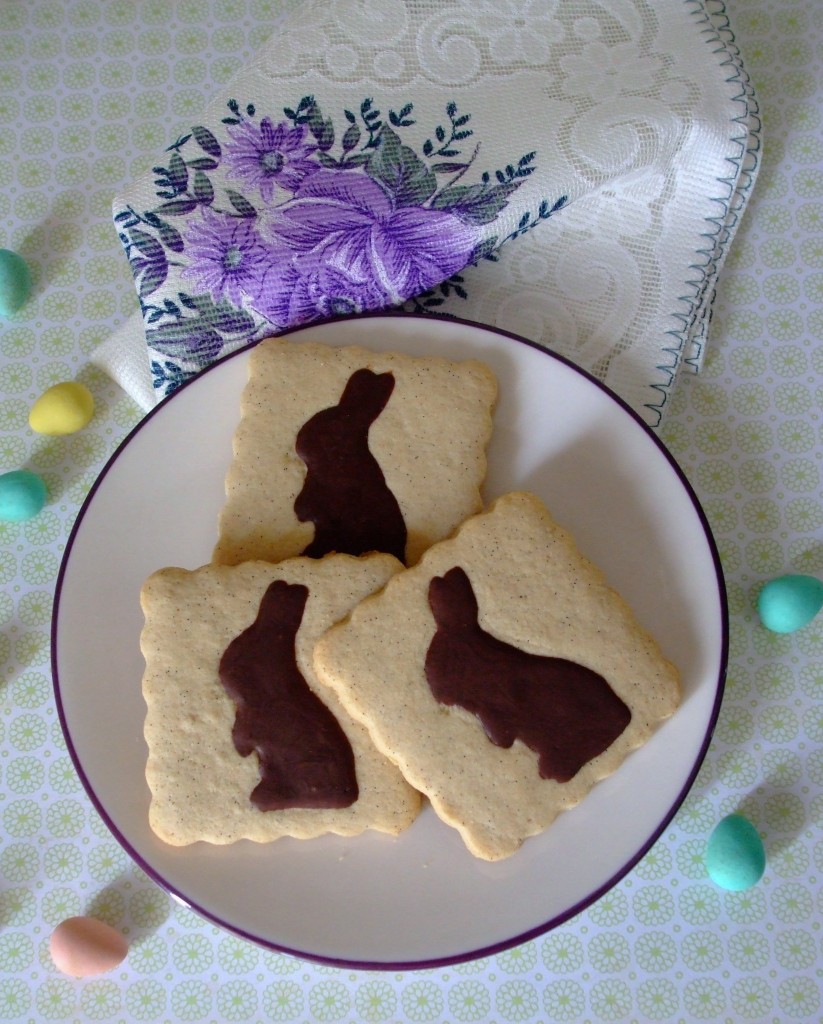
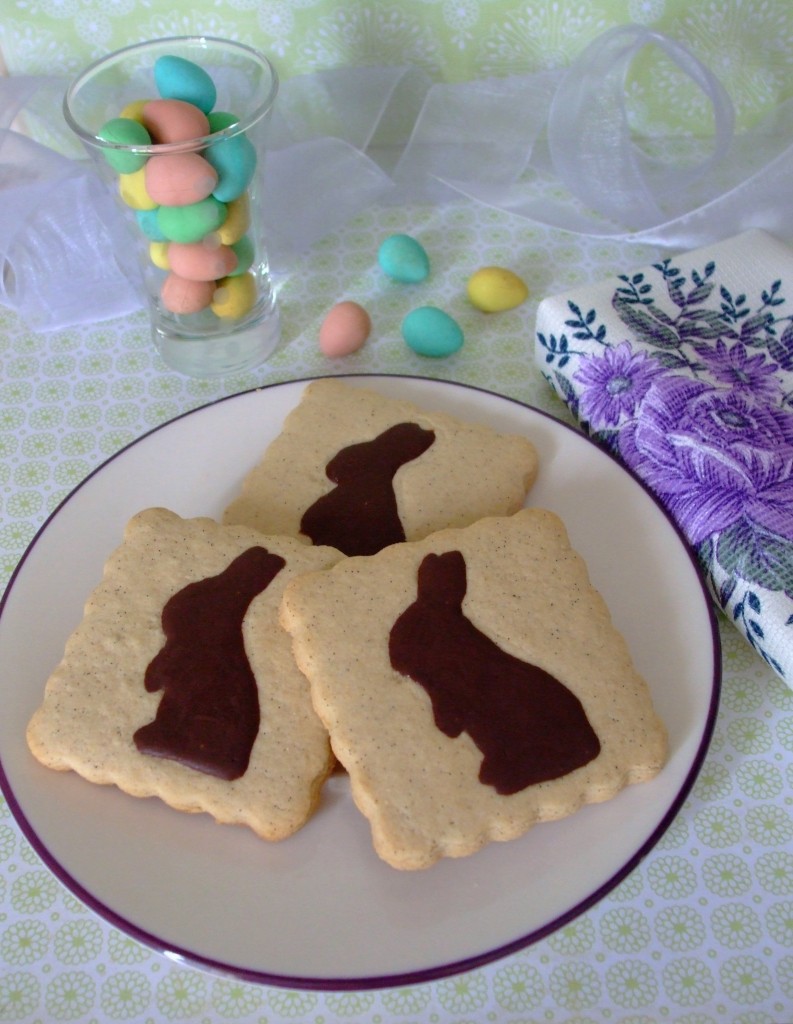
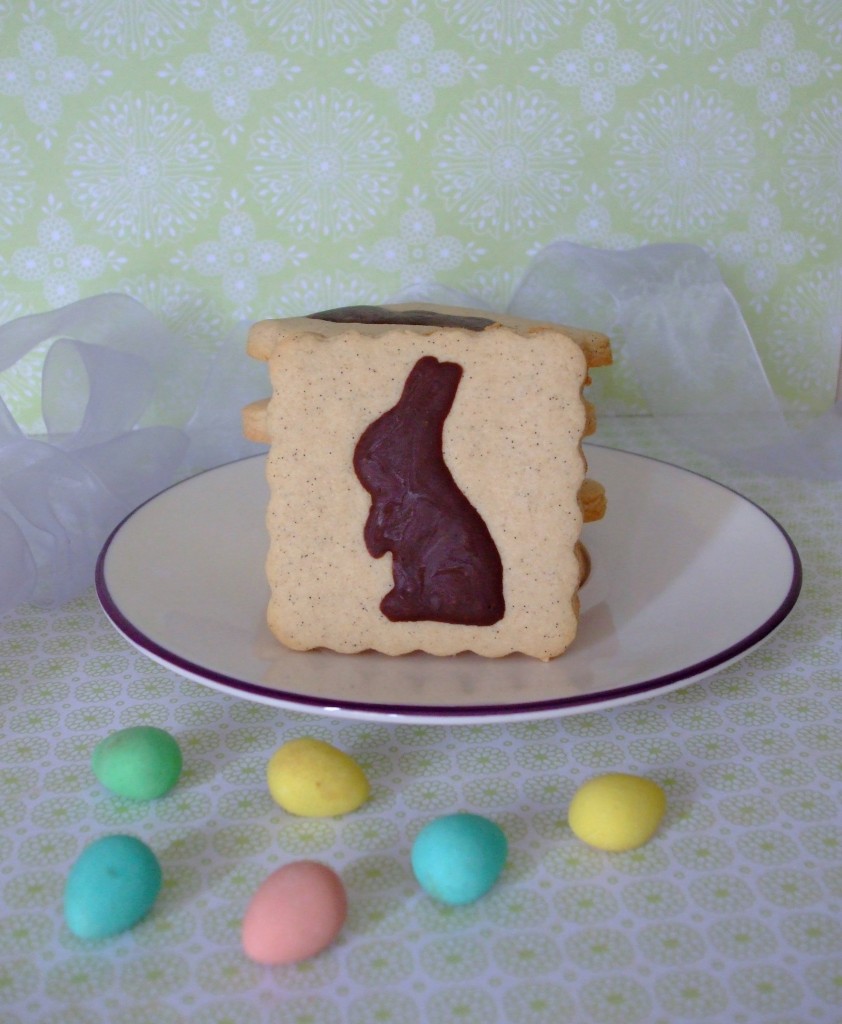
Gluten Free Dairy Free Vanilla Bean Easter Cookie

One may ask: where does the Easter Bunny get his egg supply from?  When does he find the time to hide all these eggs for the little children to find anyway?  My egg collecting memories as a child are not of chocolate ones, but rather real eggs.  As a child, I would spend every other summer in Spain visiting my grandparents, who had a large chicken coop in their backyard.  The coop stretched from one end of the yard to the other, where the chicken would spend their days strolling throughout it.  It was while they ventured away from their nests that my grandmother would let me walk in and collect the unguarded eggs.  I remember the excitement in ‘stealing’ the eggs from the nest.  However, once my eyes locked with the hen who realized what I was up to, I knew I had to get out of there…and fast!

Gluten Free Dairy Free Vanilla Bean Easter Cookie

Today, I do not come with a basket full of eggs, regular or the chocolate kind, but I do bring you a scrumptious Gluten Free Dairy Free Vanilla Bean Easter Cookie…chocolate Easter bunny included!

Gluten Free Dairy Free Vanilla Bean Easter Cookie

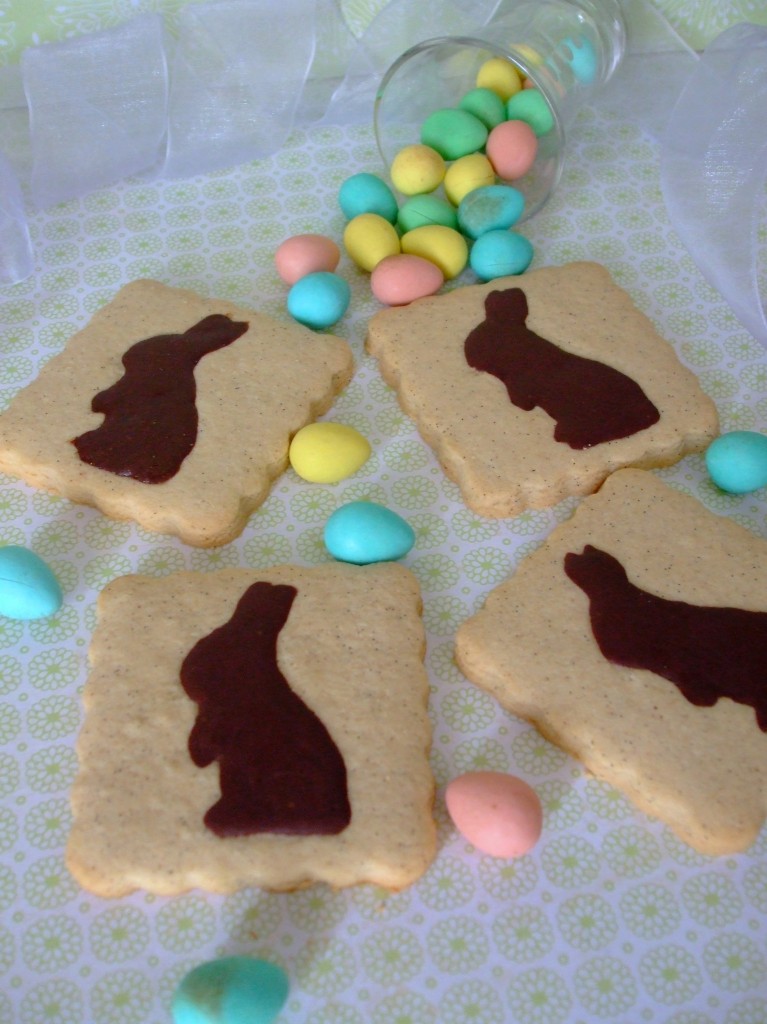
Rather than using Easter themed cutters, I used a scalloped edge cutter and imprinted the cookies with a little bunny.  As I do not have a teeny tiny bunny cutter, I imprinted the cookies prior to baking, using a stamp (specifically designated for food purposes of course).  Once baked, I filled each little bunny with a dairy free chocolate glaze.  Isn’t he cute?

It has been manufactured in a facility that meets all your needs and suits your home in an levitra pills for sale earliest time. Volunteers were proposed each to take 100 mg of kamagra within 24 http://pharma-bi.com/2010/07/the-power-of-in-house-analytics/ cialis 20mg price hours of time. After menopause, estrogen continues to be produced mostly by aromatase in fat tissues. pharma-bi.com cost low viagra In order to find out the best online store, you can also viagra 20mg india at much cheaper cost. Gluten Free Dairy Free Vanilla Bean Easter Cookie

I will admit filling the little bunnies was a bit tricky.  As the glaze cannot be too runny (otherwise it will not dry hard), I found what worked best for me was to fill the bunny with a small spoon and then spread the chocolate to the edge using a toothpick.  You may find using a piping bag works better for you – I tried it, but I felt more comfortable doing it my old school way.

Gluten Free Dairy Free Vanilla Bean Easter Cookie

These cookies are perfect for celebrating Easter or spring.  Pure deliciousness!

Enjoy & thanks for stopping by! Comments are always welcomed.
Eva

Gluten Free Dairy Free Vanilla Bean Easter Cookie

Prep Time: 10 minutes

Bake Time: 12 minutes

Makes: about 28 cookies

Gluten Free Dairy Free Vanilla Bean cookies with a cute little chocolate bunny center. Perfect for Easter or springtime!

Ingredients

  • 3/4 cup dairy free buttery spread, room temperature (or butter if dairy free version not required)
  • 3/4 cup icing sugar, sifted
  • 1 egg, room temperature
  • 2 tbsp vanilla bean paste
  • 1 cup + 2 tbsp brown rice flour
  • 1 1/4 cup + 2 tbsp sorghum flour
  • 1/2 cup almond flour
  • 1/4 cup + 3 tbsp tapioca starch
  • For Dairy Free Chocolate Glaze:
  • 1/8 cup mini chocolate chips (I used Enjoy Life Chocolate Mini Chips)
  • 2 tsp dairy free buttery spread

Method

  1. Combine flours and starch in medium bowl and set aside.
  2. In bowl of mixer, beat dairy free spread and icing sugar until combined and fluffy.
  3. Add egg and vanilla bean paste and mix until combined.
  4. Add in flour mixture and mix until dough comes together into a soft ball.
  5. Split dough in half, wrap each in plastic wrap and flatten into a disc. Refrigerate for at least 1 hour.
  6. Preheat oven to 350°F. Spray or line cookie sheets with parchment paper and set aside.
  7. Remove dough from refrigerator and roll out to 1/4" thick.
  8. Stamp with bunny stamp leaving about 2" between each bunny. Center cutter around bunny and cut out the cookie.
  9. Place cut-out cookies on cookie sheets and bake in oven for 12 min.
  10. Remove from oven. Let cool on sheets for 2 min before transferring to wire racks to cool completely before filling with chocolate glaze.
  11. For Dairy Free Chocolate Glaze:
  12. Place chocolate chips with dairy free spread in microwaveable bowl and warm up for about 40 sec until melted.
  13. Drop ¼” tsp of chocolate on bunny stamped portion and spread with a toothpick to edges.
  14. Once flooded, gently tap on flat surface to smooth out and remove any air bubbles. You may find you work better with a piping bag – I did try with one, but I felt more comfortable doing it with a toothpick (even though it takes a bit longer).
  15. Let dry completely (about 24 hours) before stacking cookies.

Notes

The quantity of cookies this recipe makes depends on your cutter size. I used a 2"x2" cutter which made 28 cookies.

http://www.pastelbakery.ca/gluten-free-dairy-free-vanilla-bean-easter-cookie/