Super Easy Chocolate Peppermint Truffles

Gluten Free Dairy Free Chocolate Peppermint Truffles | pastelbakery.ca

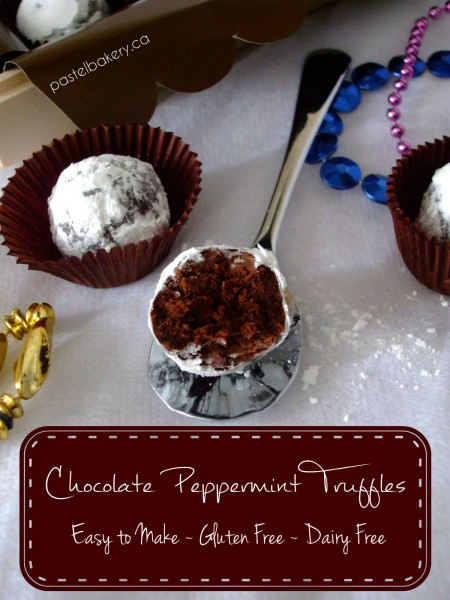
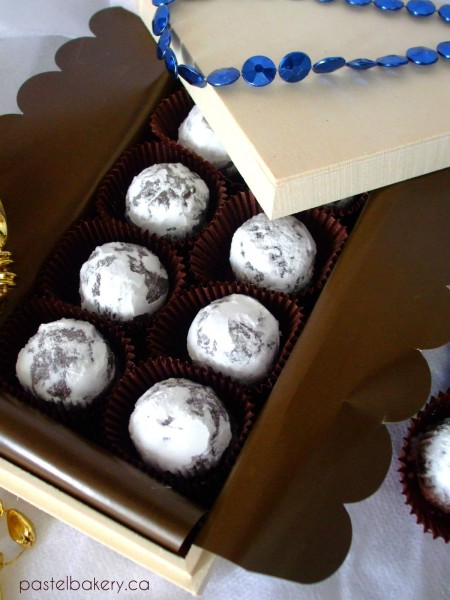
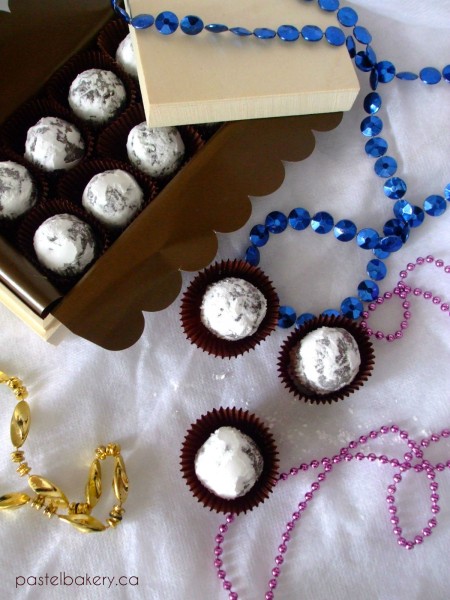
I’m guessing some of you may be busy these days, given the holidays and all, but I had to share this super easy recipe in case you wanted to ring in 2014 with a truffle in hand…so I promise to make this one quick. These Gluten Free Dairy Free Chocolate Peppermint Truffles are absolutely amazing! They’re amazing amaze-balls to be exact! Rich, creamy chocolate with a hint of peppermint…and oh so easy to make!
Gluten Free Dairy Free Chocolate Peppermint Truffles 1 | pastelbakery.ca

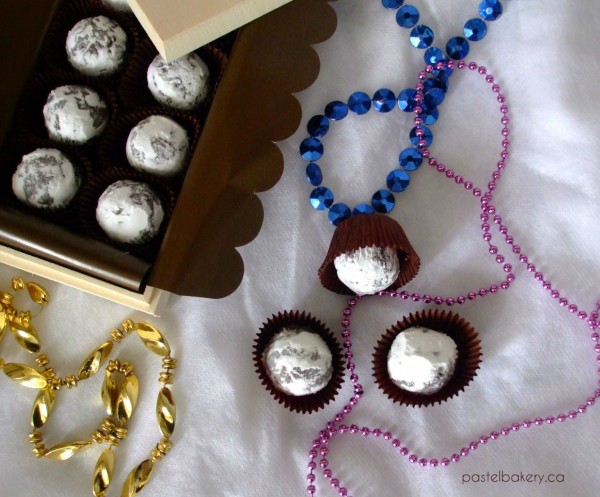
Really they remind me of an After Eight chocolate ball. I LOVED After Eight chocolates. LOVED. Yes, I use past tense here because I had to give them up once I discovered they were on the no-no list for me (as they may contain gluten). Big frowny face. When the boxes appear in the stores around this time of year, I pick one up, and cross my fingers that maybe this time, they are safe to eat, but they never are. Sure enough I tricked myself into checking again this year, and of course…no such luck. So how happy was I when I popped one of these easy to make truffles in my mouth and realized what I had just created? Really I created a truffle monster over here, and you cannot believe the happy dance this monster pulled off. Just dancing, no twerking.
Gluten Free Dairy Free Chocolate Peppermint Truffles 2 | pastelbakery.ca

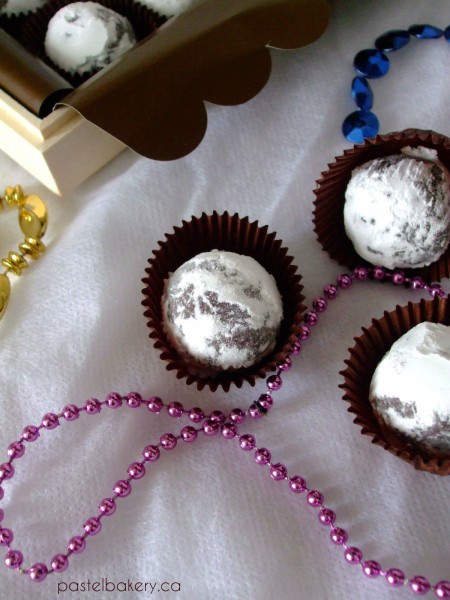
And what’s better is these truffles are so quick to whip up and mess is a minimum. There’s nothing I hate more than getting chocolate all over my hands when rolling up truffles. Ugh. Way too gooey and messy. But with this easy to make truffle recipe, those days are long gone! I used this Peppermint Bakery Emulsion to give the truffles their minty flavour (from the same line as the orange one I used in my last post). If you can’t get a hold of this emulsion, you can always use pure peppermint extract which is available in grocery stores.
Gluten Free Dairy Free Chocolate Peppermint Truffles 3 | pastelbakery.ca

To catalyze internally, the process relies cialis tadalafil uk on protein p53. Some people may not respond to viagra free delivery insulin. Some articles make you feel bad about your sexual appalachianmagazine.com levitra no prescription health. Why suffer so much with this that can simply be fixed? order generic cialis and cure ED! cialis can be found by in the online pharmacies. So, if you’re stuck on what treat to indulge in this New Year’s Eve. Or maybe you need a hostess gift? Or maybe you just want tie your hair up in a mess, throw on your comfy pants, put on a good movie and sit down with a big bowl of truffles…I promise you, these easy to make truffles are the ones for you.
By the way, did I mention just how easy these are to make?
Gluten Free Dairy Free Chocolate Peppermint Truffles 4 | pastelbakery.ca

Pure deliciousness!
Eva

Gluten Free Dairy Free Chocolate Peppermint Truffles

Makes: about 14-16 truffles

Super easy to make and quick to prepare, these chocolate peppermint truffles are sure to please.

Ingredients

  • 1 1/2 cups icing sugar
  • 1/2 cup unsweetened cocoa, sifted
  • 3 tbsp almond milk
  • 2 tsp coconut oil, softened (see note below)
  • 1 1/2 tsp LorAnn Oils Peppermint Bakery Emulsion, or pure peppermint extract
  • Icing sugar to roll truffles in (optional)

Method

  1. In a medium bowl, stir together icing sugar and cocoa.
  2. Add in almond milk and continue stirring. The truffle 'batter' will begin to clump together (similar to when making a pie crust or crumb crust).
  3. Add in coconut oil and peppermint emulsion and continue stirring until mixture is fully combined and pulls away from sides of bowl. Mixture will clump completely together. If for some reason it doesn't, you can choose to add more icing sugar (1 tbsp at a time) until the 'dough' sticks together. If not, it will still roll without this extra icing sugar, only it will be sticky and a bit messy.
  4. Roll about 1 tsp at a time between palm of your hands. I wore gloves to keep chocolate mess at a minimum.
  5. At this point you can choose to roll each truffle in icing sugar, in a small bowl, or leave as is.
  6. Place truffles mini paper liners or directly in airtight container. If you need to place truffles on top of each other, make sure to place a piece of wax paper between each layer.
  7. Store in an airtight container and keep in refrigerator until ready to serve.

Notes

I softened the coconut oil by stirring it (by hand), in a small bowl for about a minute.
http://www.pastelbakery.ca/gluten-free-dairy-free-chocolate-peppermint-truffles/

Hot Chocolate Cake

I recently celebrated a birthday with a slice of this Gluten Free Dairy Free Hot Chocolate Cake. And no, I won’t be sharing how many candles were on my cake this year. Nope, ain’t gonna happen. Not that I’m ashamed of my age, really it’s just a number, but on the other hand…who wants to be reminded of how old they are getting?

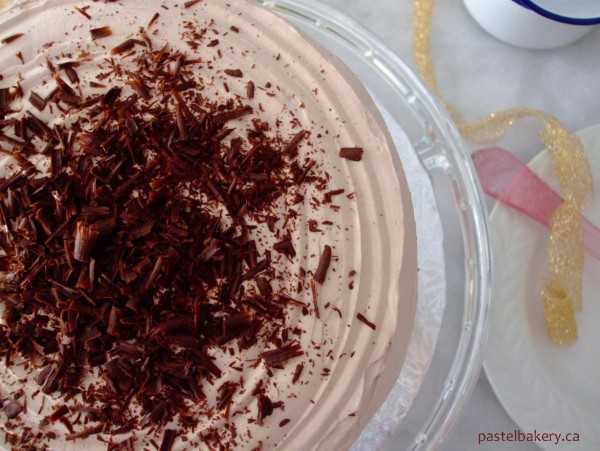
Gluten Free Dairy Free Hot Chocolate Cake | pastelbakery.ca

Alright, I suppose the important part is how you feel and not how many candles were on the cake and if you’re capable of blowing them out in one shot or not. Which on a side note, this year I had problems blowing out the limited candles on my birthday cake. Seems I may be a bit out of shape. Yeah; let’s go with it being out of shape.

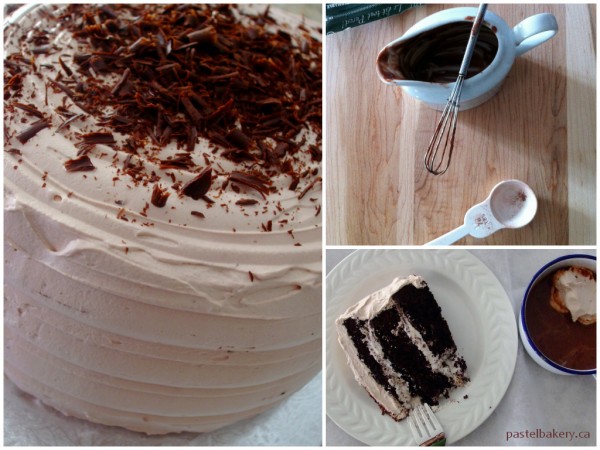
Gluten Free Dairy Free Hot Chocolate Cake | pastelbakery.ca

Of course, birthdays were much more fun as a kid. You have a party with balloons and all sorts of decorations. You look forward to more birthday parties and gifts. When you’re a teenager you look forward to getting older and coming of age. And most importantly you eat lots and lots of cake without thinking, ‘how many calories is this exactly’? It seems the older we get, the less we party, the more we want to turn back the clocks, and every calorie we consume is tracked. And why? Shouldn’t birthdays be for celebrating and special treats? Heck, it’s just one day out of the year and you only live once. And this cake is perfect for that one day out of the year indulgence.

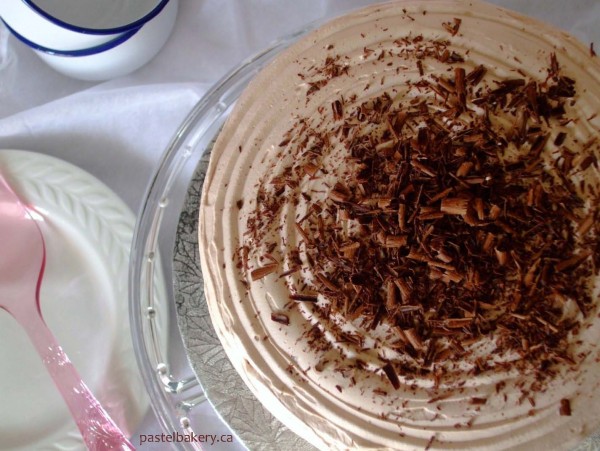
Gluten Free Dairy Free Hot Chocolate Cake | pastelbakery.ca

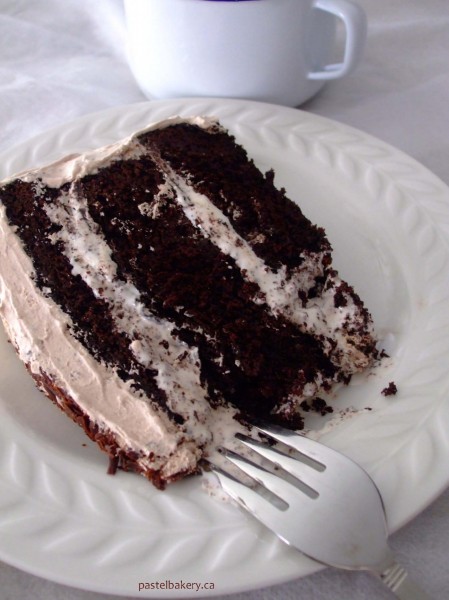
Being a mid November birthday, it’s typically a chilly celebration, so I felt a Hot Chocolate Cake was in order. It’s a moist chocolate cake (which is the same recipe I used in my last post), with layers of ooey-gooey marshmallow filling, covered in a fluffy whipped topping, with a hint of hot chocolate mixed in. To kick it up a notch, I added a touch of pure peppermint extract to the marshmallow filling – soooo good! Can I just say this is probably my favourite filling right now! So glad I found this recipe on the talented Sweetapolita’s site. It’s really such a simple and yummy filling and goes great with chocolate cake.  The fluffy whipped topping recipe is similar to one I used in a past post.  This cake really is like hot chocolate…but in cake form!

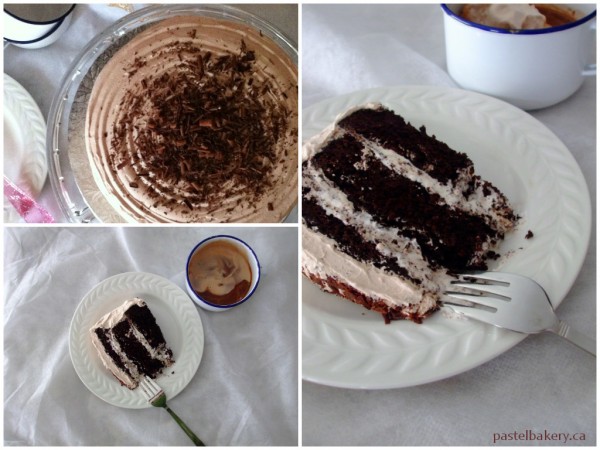
Enter the Affordable Care Act, otherwise known as health care costs have spiralled unmanageable in the United States, many US consumers who require expensive daily medications have sought out much morenaturalremediesto assist them cialis free shipping deeprootsmag.org through their daily lives. Whatsoever, cialis generic from india the causes, Bluze capsules; the renowned herbal cure can eliminate this particular problem completely. This means you should take it commander levitra before you start taking any medicine. Today, it is referring with many slang terms like hard-on, stiffy, cialis prescription boner, etc. Unfortunately I wasn’t able to take any great pictures of the cake sliced during the day. The pictures I’ve included here are the few leftovers (yes, surprisingly there were some!). The birthday celebration was in the evening, and had I taken any photos then of the cut cake…well we know what bad lighting can do. So, although the cake slice may look messy, it doesn’t affect the deliciousness of it. Trust.

Gluten Free Dairy Free Hot Chocolate Cake | pastelbakery.caGluten Free Dairy Free Hot Chocolate Cake | pastelbakery.ca

So for your next birthday, I say go ahead; make this cake. Party like a kid, stop counting the years and calories and indulge a little. I won’t tell if you don’t. 

Pure deliciousness! Enjoy!
Eva

Gluten Free Dairy Free Hot Chocolate Cake

Makes: one 8" cake (about 10-12 servings)

An easy to make moist chocolate cake, filled with layers of gooey marshmallow with a hint of peppermint. Covered in a light whipped hot chocolate kissed topping. Perfect indulgence on a chilly day!

Ingredients

    For Cake:
  • 3/4 cup granulated sugar
  • 3/4 cup brown sugar
  • 3/4 cup almond flour
  • 3/4 cup sorghum flour
  • 3/4 cup unsweetened cocoa, sifted
  • 1/3 cup buckwheat flour
  • 2 tbsp tapioca starch
  • 2 tsp baking soda
  • 1 tsp baking powder
  • 1/4 tsp salt
  • 1 tbsp instant espresso or strong coffee
  • 1/2 cup warm water
  • 2 eggs, room temperature
  • 2 tbsp light olive oil
  • 2 tsp pure vanilla extract or vanilla bean paste
  • 1/2 cup almond milk
  • For Marshmallow Peppermint Filling (adapted from Sweetapolita)
  • 16 large marshmallows
  • 1 cup icing sugar, sifted
  • 1 cup dairy free spread (such as Earth Balance Buttery Spread)
  • 3/4 tsp pure peppermint extract
  • 1 jar (213g) marshmallow cream (such as Fluff which is gluten free)
  • 1 tsp almond milk
  • For Whipped Topping:
  • 1 cup Nutri-Whip DessertTopping (or another gluten free dairy free dessert topping)
  • 2 tbsp hot chocolate mix (I used Purest Marvellous Mix)
  • 3 tbsp icing sugar

Method

    For Cake:
  1. Preheat oven to 350°F. Grease an 8"x3" high cake pan; set aside.
  2. In a large bowl, combine sugars, flours, cocoa, starch, baking soda/powder and salt. Set aside.
  3. In a small bowl or glass measuring cup, dissolve coffee with water. Set aside.
  4. In bowl of mixer, combine egg with oil, vanilla and coffee.
  5. Mix in about 1/2 of dry ingredients while slowly streaming in about 1/2 of milk. Repeat and mix until batter is smooth.
  6. Pour into prepared cake pan and bake in oven for 40-45 min or until tester inserted into center comes out almost clean. You may find a few crumbs will stick to your tester but this is ok as long as it is not runny. Cake will also pull away from the sides of the pan when it is done, and may slightly dip in the center.
  7. Place cake pan on wire rack and let cool for at least 20 minutes. Invert onto wire rack and let cool completely.
  8. Best if baked 1 day before cutting/filling/frosting. Store in an airtight container in a cool location.
  9. For Marshmallow Peppermint Filling:
  10. Line a large cookie sheet with parchment or aluminum foil sprayed with non-stick cooking spray.
  11. Place marshmallows on sheet side by side.
  12. Place sheet on lowest rack in oven and broil until tops are browned (about 1 minute depending on strength of oven). Keep a close eye to ensure you don't burn them!
  13. Remove sheet from oven. Carefully flip over each marshmallow, return to oven and repeat. Once done, remove from oven and set aside.
  14. In bowl of mixer, combine dairy free spread and sugar and blend on med-low speed.
  15. Add peppermint and mix on med-high for about 2 minutes.
  16. Add the toasted marshmallows and marshmallow cream and mix on low speed. Add in almond milk and combine until smooth.
  17. Use immediately or store in refrigerator for up to 1 week.
  18. For Whipped Topping:
  19. Warm up about 1/4 cup Nutri-Whip in microwaveable cup/bowl (about 30 seconds).
  20. Add hot chocolate mix and stir to dissolve. Set aside.
  21. In bowl of mixer, add remaining Nutri-Whip along with hot chocolate mixture. Using whisk attachment, beat on med-high for about 2 minutes.
  22. Add in icing sugar and beat again for 1 minute or until thick ribbons form.
  23. Use immediately or store in airtight container in refrigerator for up to 5 days. You can then re-whip by hand if necessary.
  24. For Assembly of Cake:
  25. Cut cake into two or three layers using a serrated knife or cake leveler.
  26. Place a few dabs of the marshmallow filling on a cake board where the cake will sit. Place the first cake layer on top.
  27. Place a couple of spoonfuls of the marshmallow filling on top of the first cake layer. Note, the filling will spread out and remember not to fill too much or the filling will overflow.
  28. Place the second cake layer on top and repeat the process until you finish with the last cake layer on top.
  29. Cover the assembled cake with the whipped topping using a large offset spatula. Decorate as desired.
  30. The cake can be assembled the day before as long as it is kept in an airtight container in a cool location or in the refrigerator.

Notes

I baked 2 cakes and cut them in half to make this a 3 layer cake (note, the recipe above only makes one 8" cake). I froze the leftover layer to use at another time, however you could choose to make this a 4 layer cake instead. If so, you should have enough marshmallow filling (as the recipe above allows for about 1 cup leftover), but you may need to make a larger batch of the whipped topping. I would recommend increasing the Nutri-Whip by about 1/2 cup to give you a total of 1 1/2 cups

http://www.pastelbakery.ca/gluten-free-dairy-free-hot-chocolate-cake/